Project Video
Overview
I’d been trying all different methods for putting my logo on a shirt that didn’t involve purchasing a screen printing kit. My most repeatable, successful result involved the process of block printing I show in this video. No, the shirts aren’t for sale – but if that is something you would actually be interested in, please let me know in the comments.
How To
This walk-through is a near transcript of the video with screengrabs from the video and some additional details. Items in bold text were not mentioned in the video.
Phase 1: Transfer your design to the block/linoleum
The basic concepts of a block print, or carving linoleum, is to transfer your design to the block in reverse. Then carve away everything else, leaving only your design as the raised portion of the block. You don’t have to use linoleum, and you can carve your design directly into a block of wood..
Transferring the design can be as easy as tracing over it using carbon paper.
Another technique a friend shared with me is to trace over your design on tracing paper with a pencil. Then, flip the design over (so it is in reverse) on top of the linoleum. Trace over it again, and the graphite on the bottom will be transfered to the linoleum.
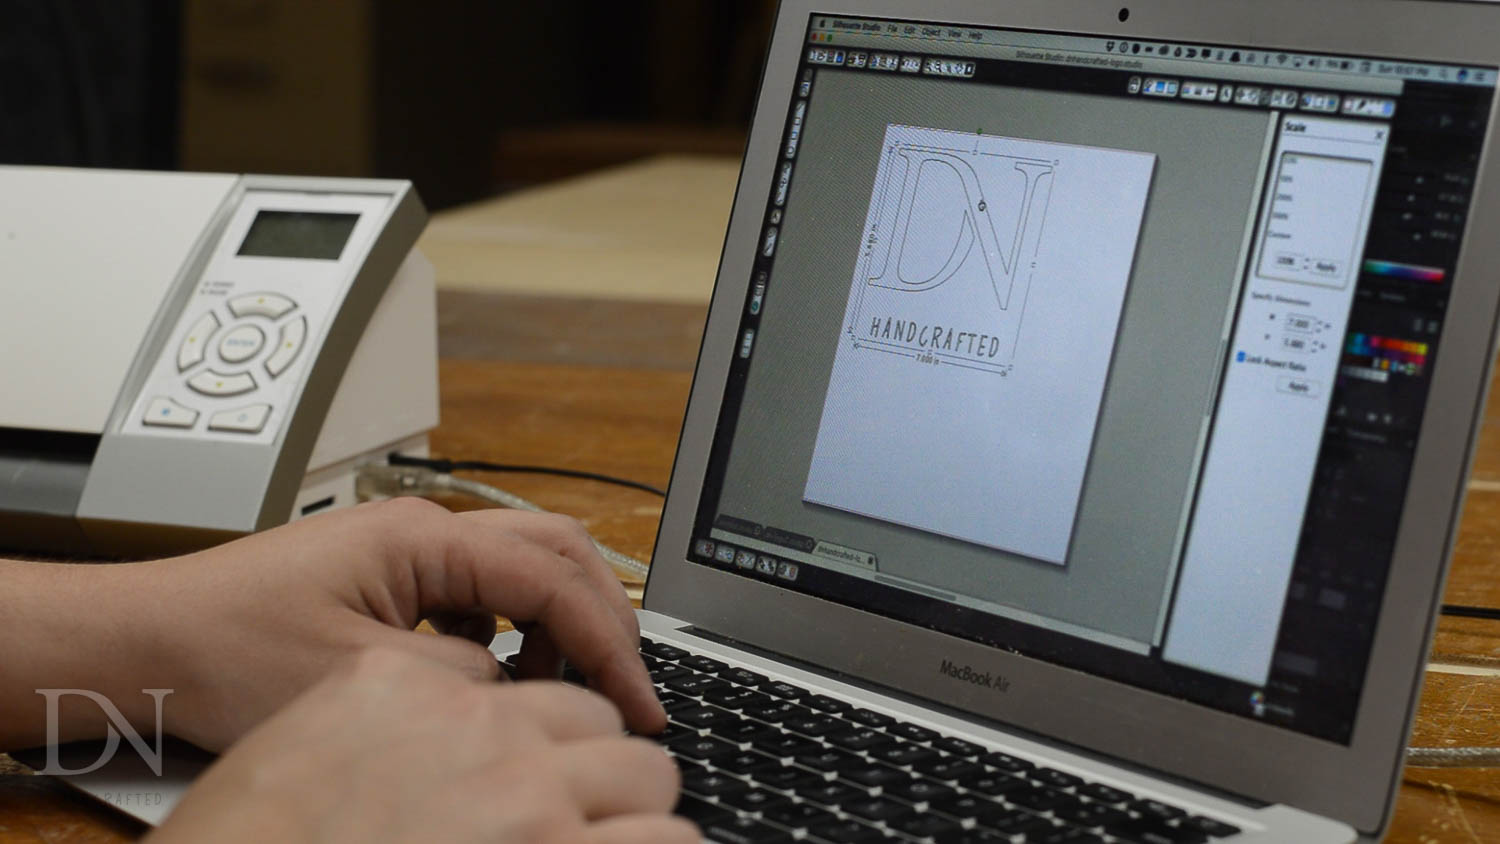
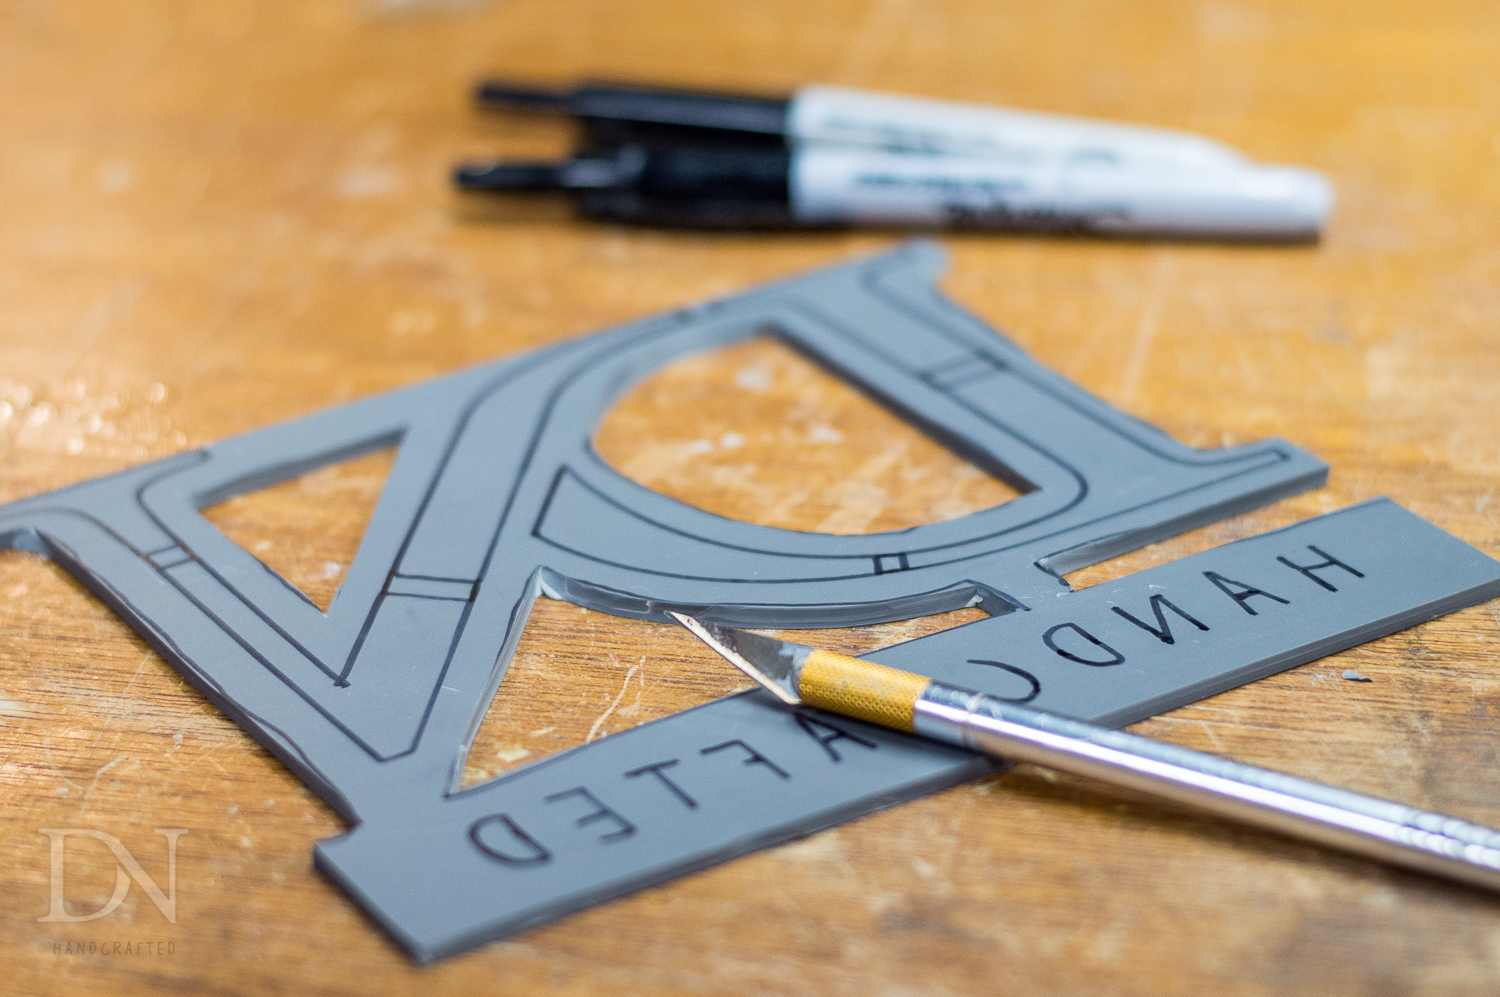
I decided to go the stencil route, and since I own a Silhouette Cameo, I decided to use it to cut out the stencil. To start, I imported my design from Adobe Illustrator into Sillohuette Studio.
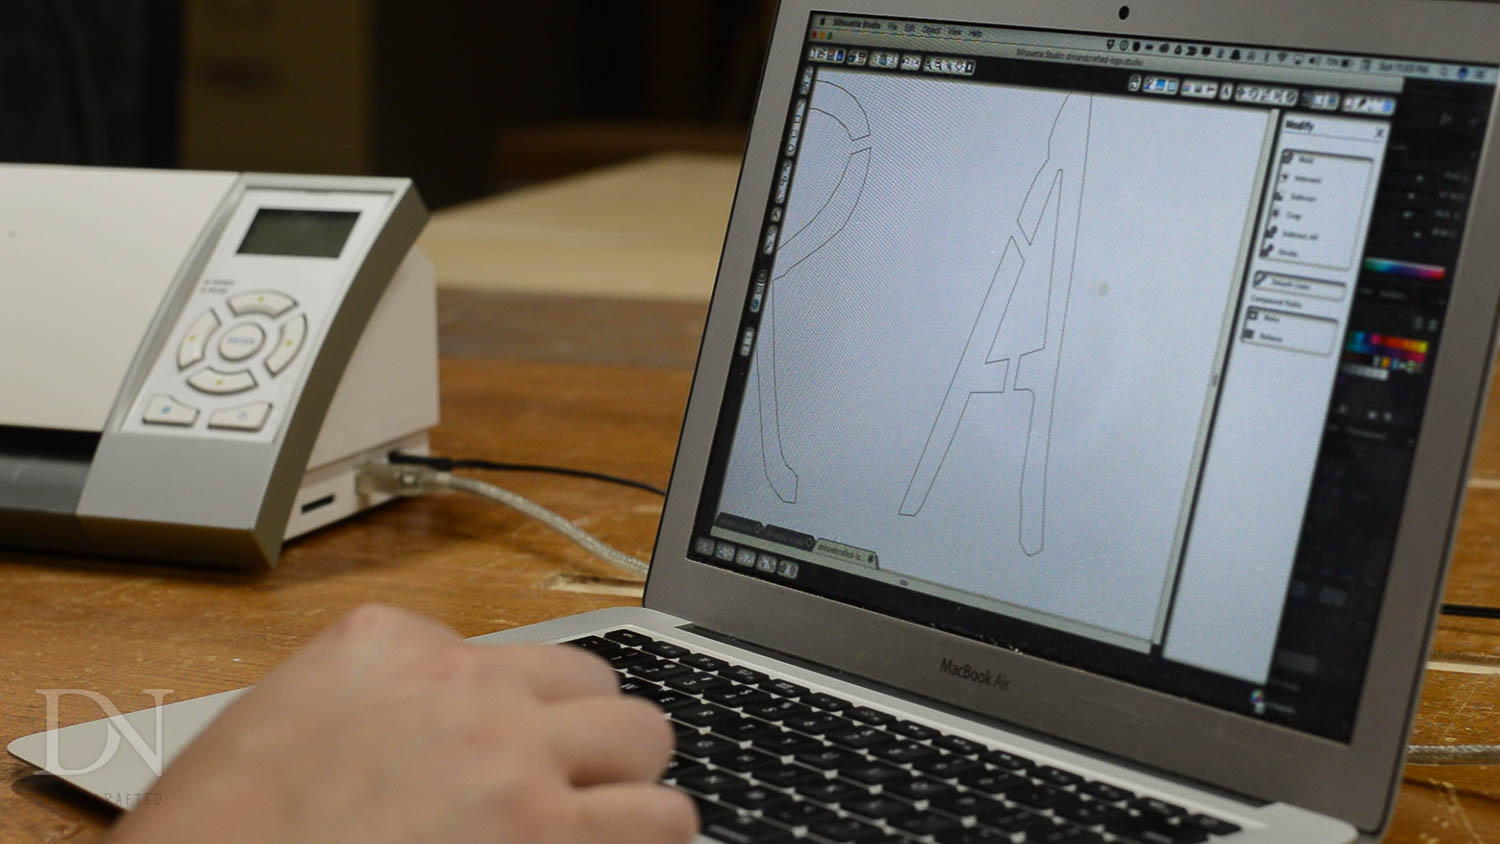
In order to keep the parts aligned after they were cut, I erased some of the design to create little connection points at key places.
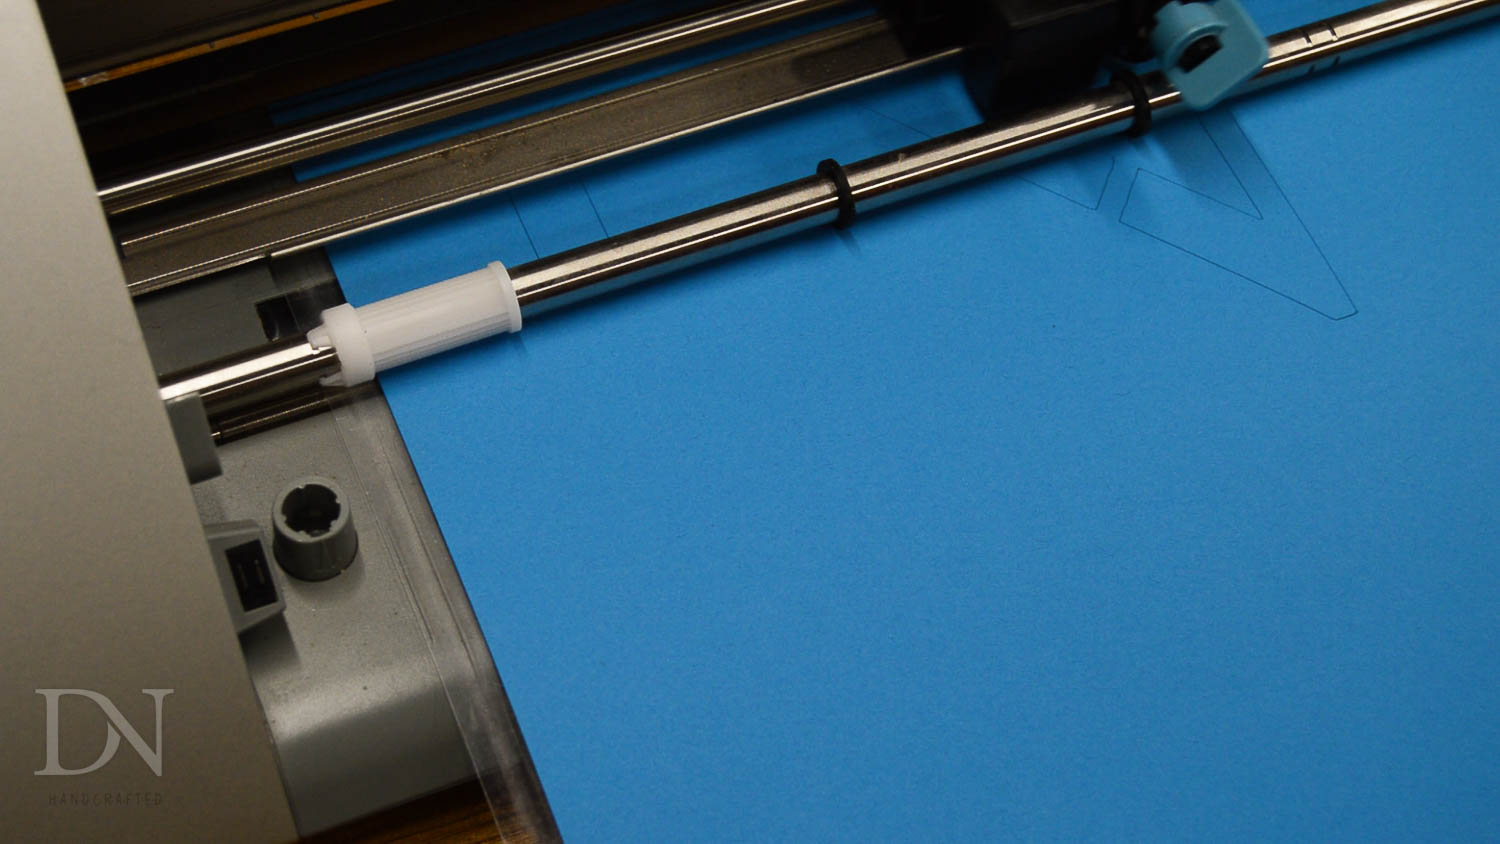
After that, I sent it to the cameo and let it cut out the stencil. This part is fun to watch, and doesn’t take too long.
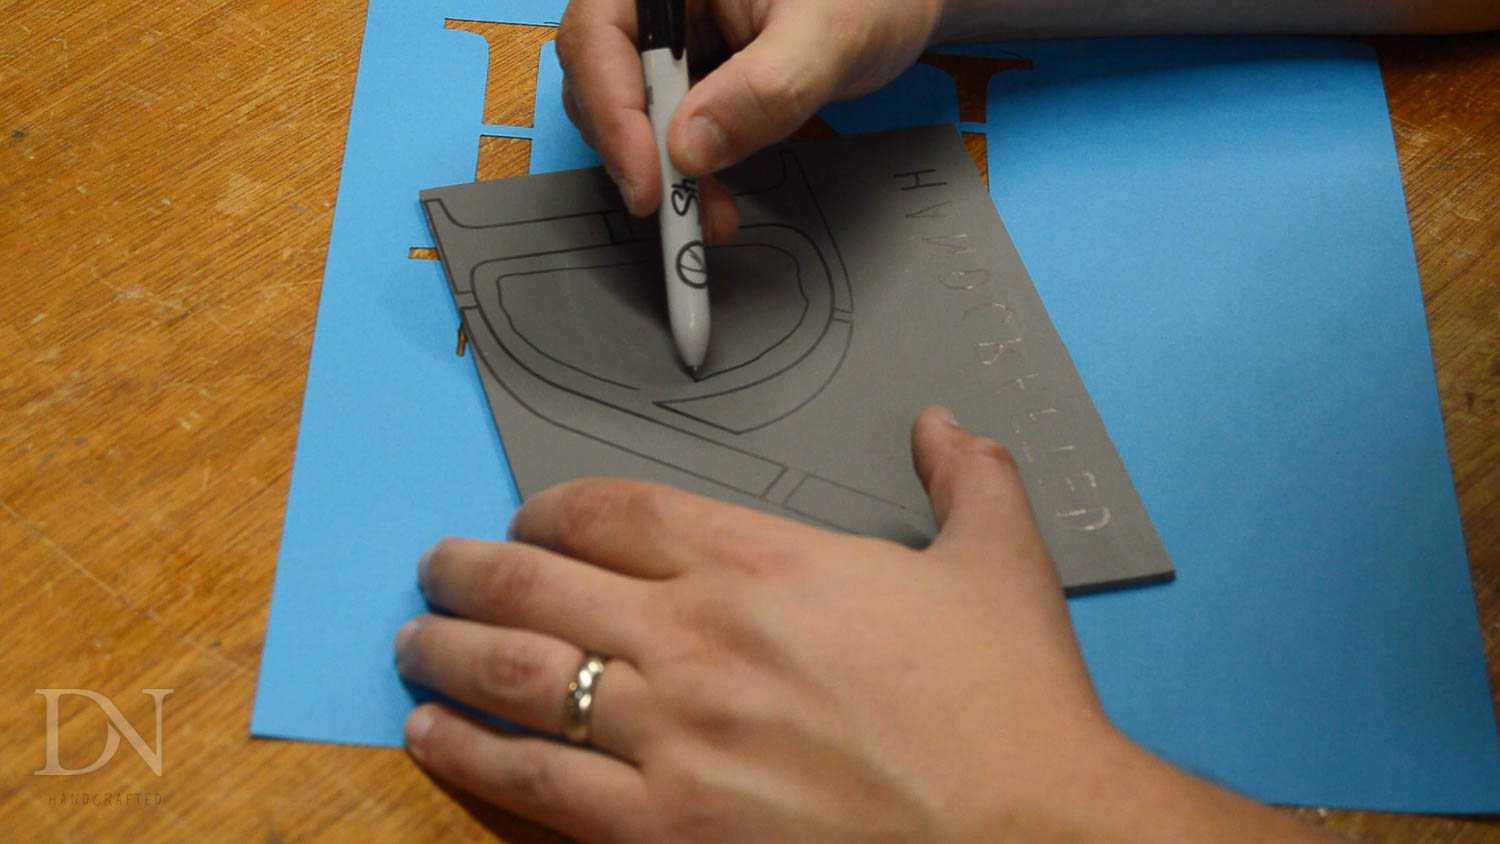
I taped the stencil to the linoleum so I could trace the outlines without it shifting.
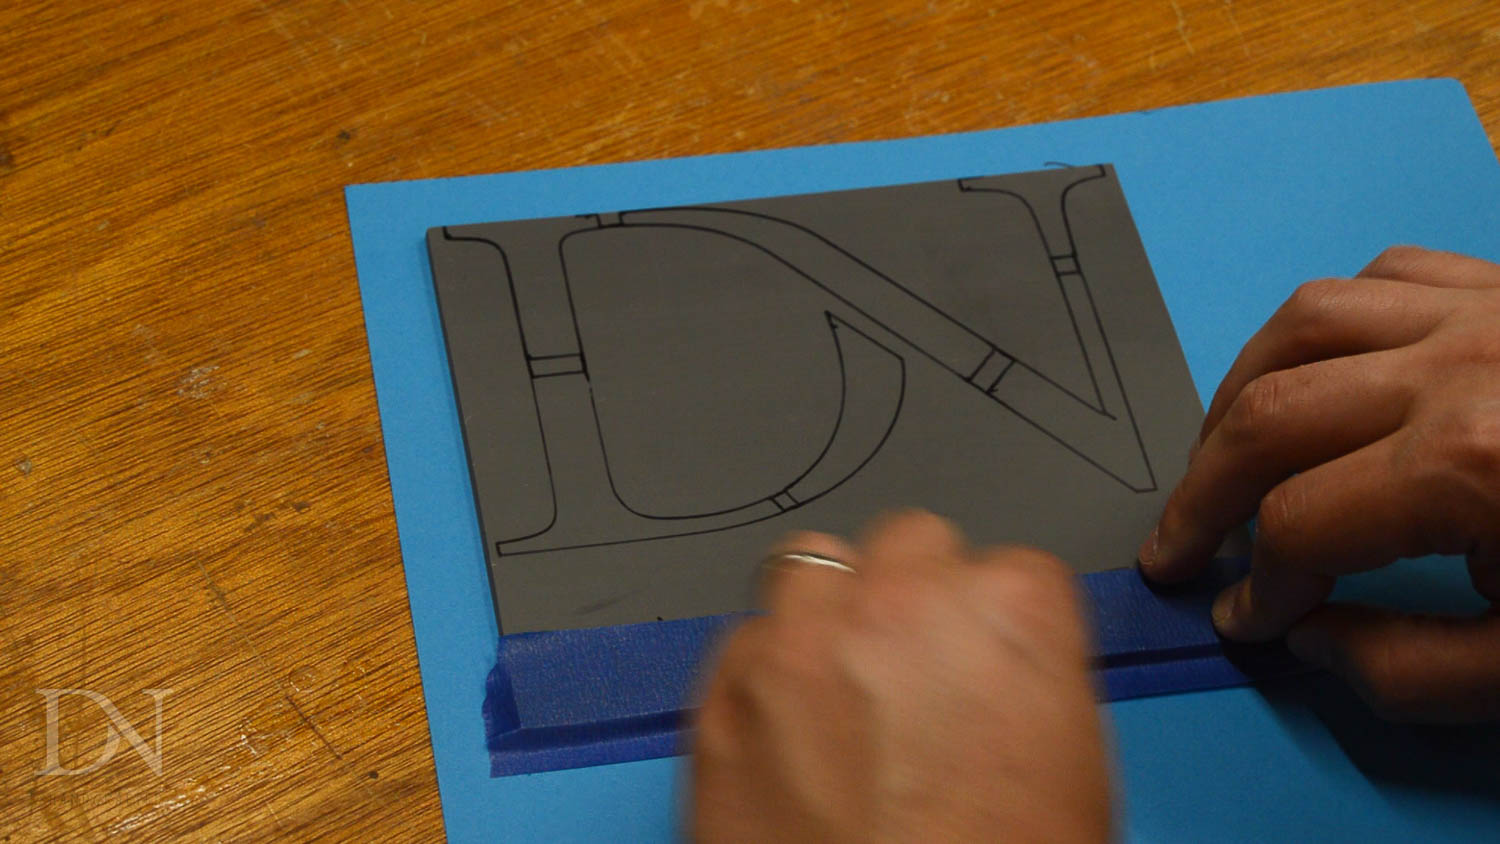
Remember that your design needs to be backwards when you are looking at it so you don’t have to trace it twice… don’t ask how I know this.
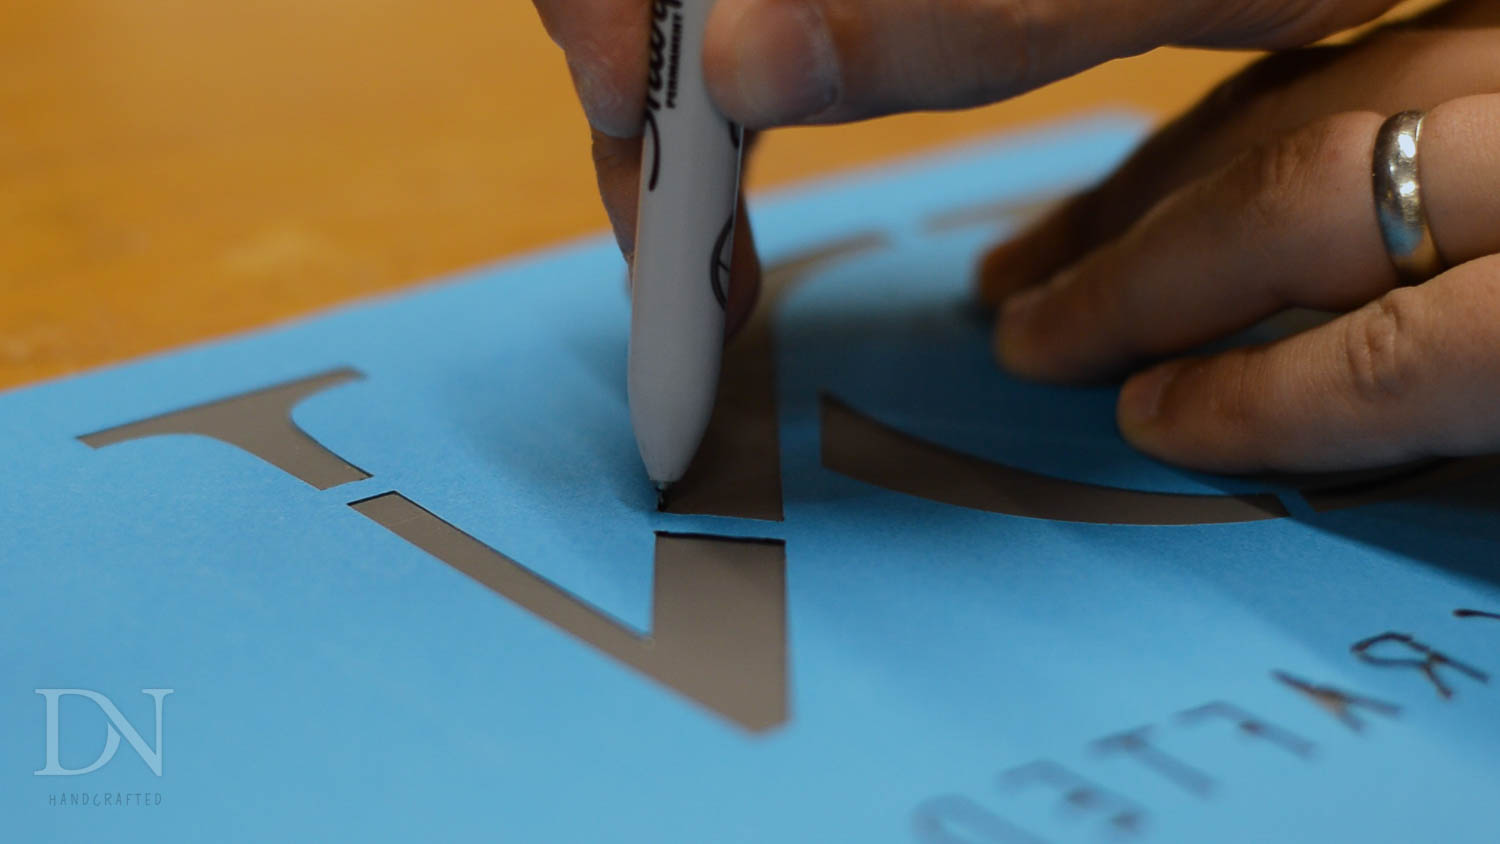
To end up with less material to carve away, I drew some lines outside my actual design that I cut away first.
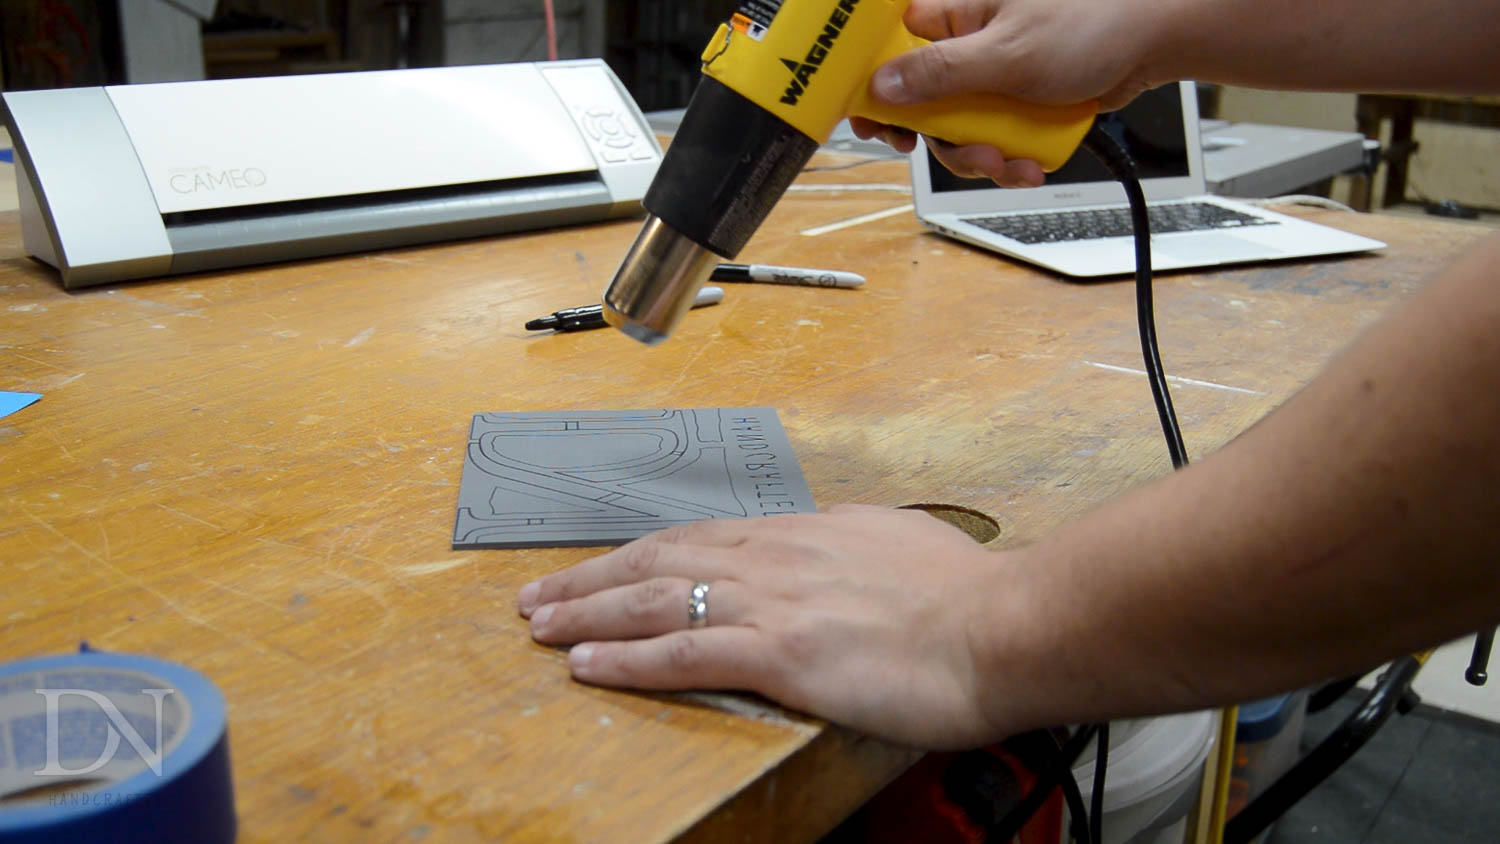
Using a heat gun to warm up the linoleum is a trick I learned from some friends. Warm lino will cut much easier than if it is cold.
You can save yourself some time and purchase linoleum already mounted to a block, but I chose to make mine out of a scrap of plywood.
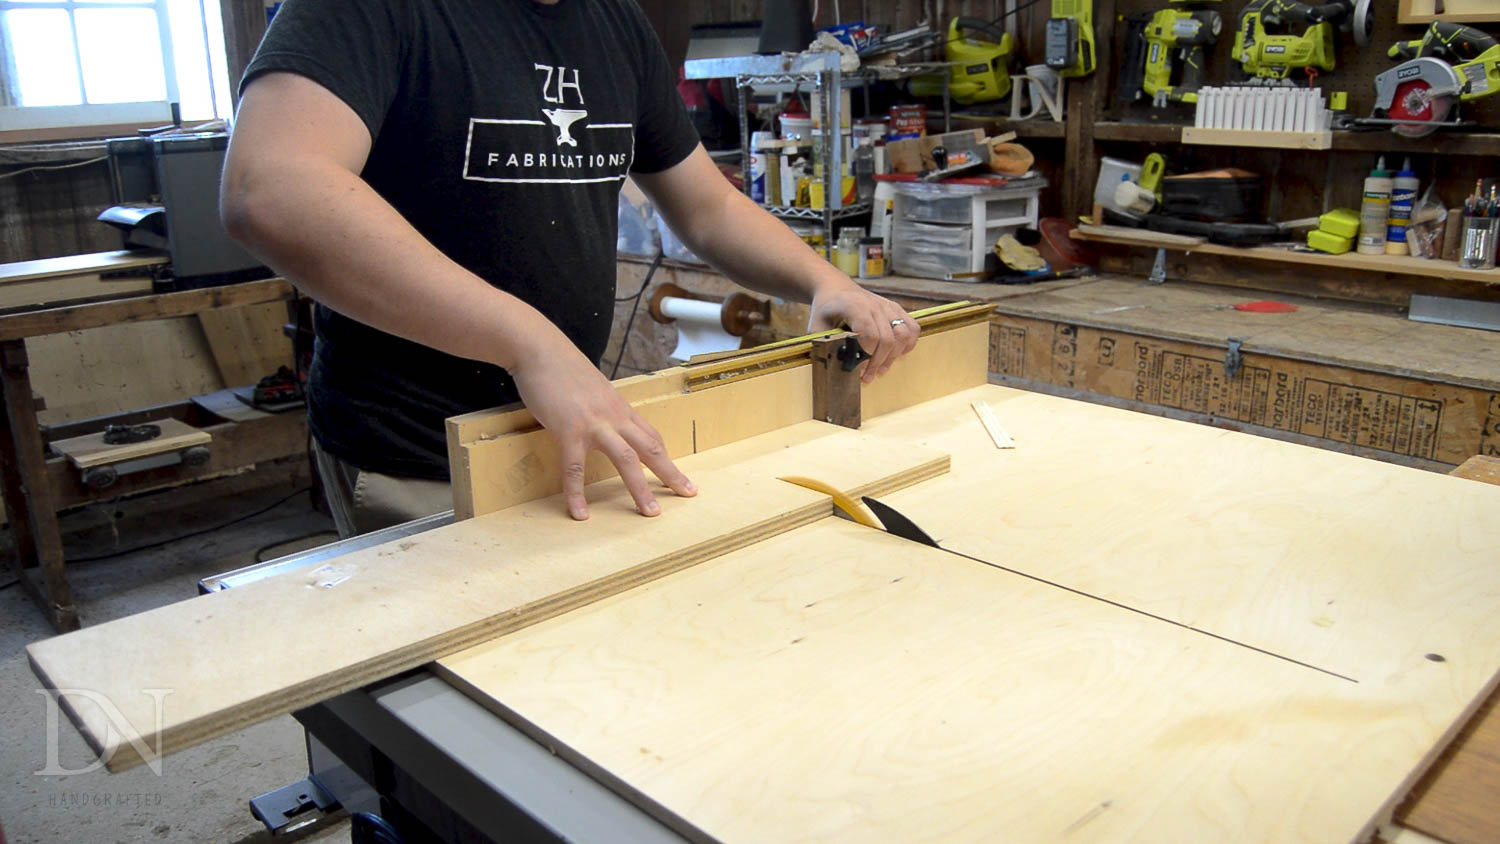
After cutting out a rectangle, I moved over to the router table – installing a 1.5” core box bit.
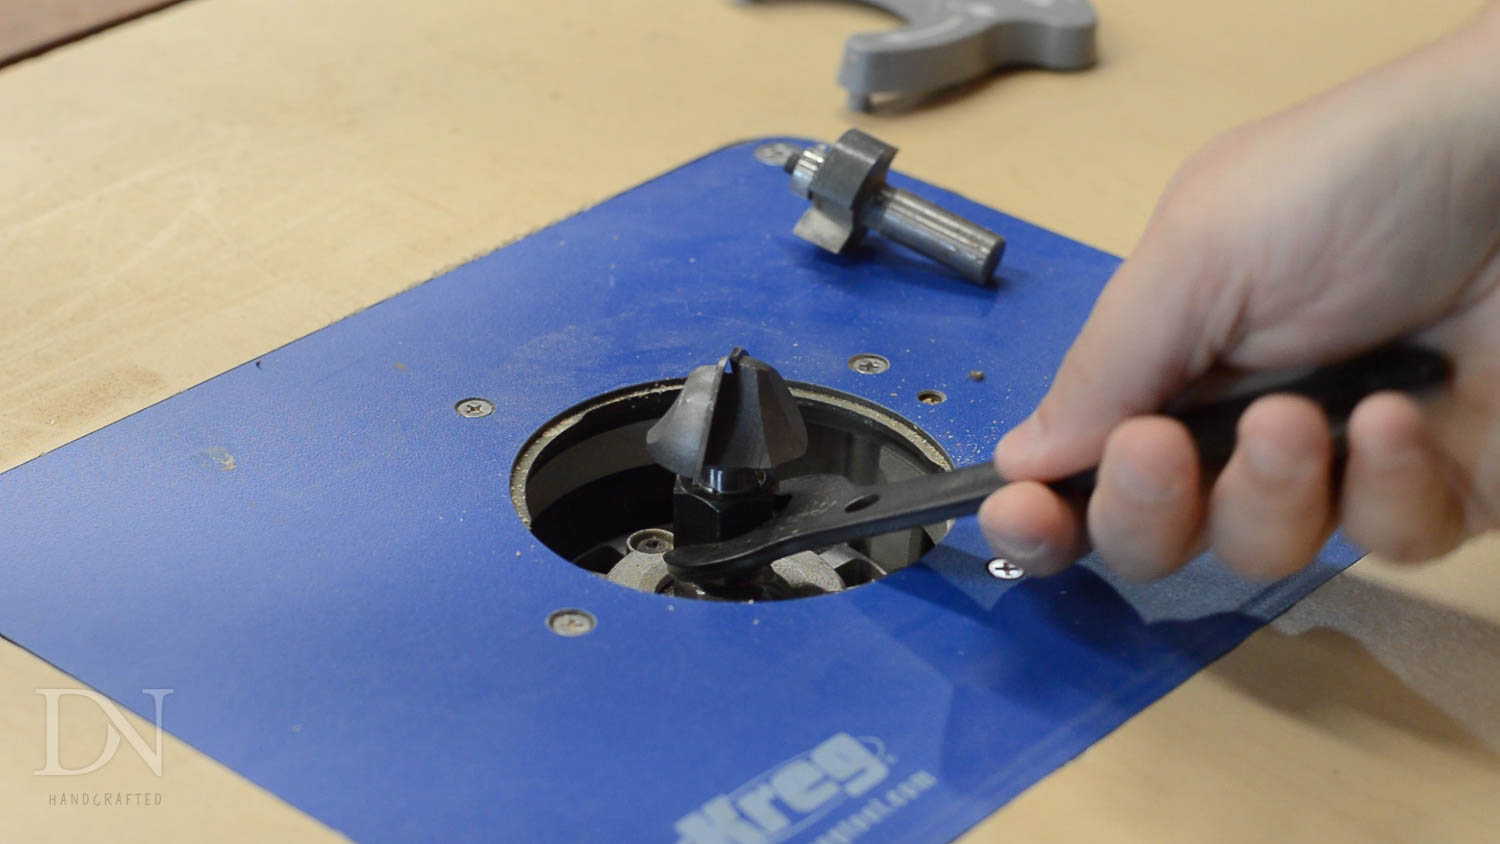
I ran all four sides over the bit, with it raised just a touch out of the table.
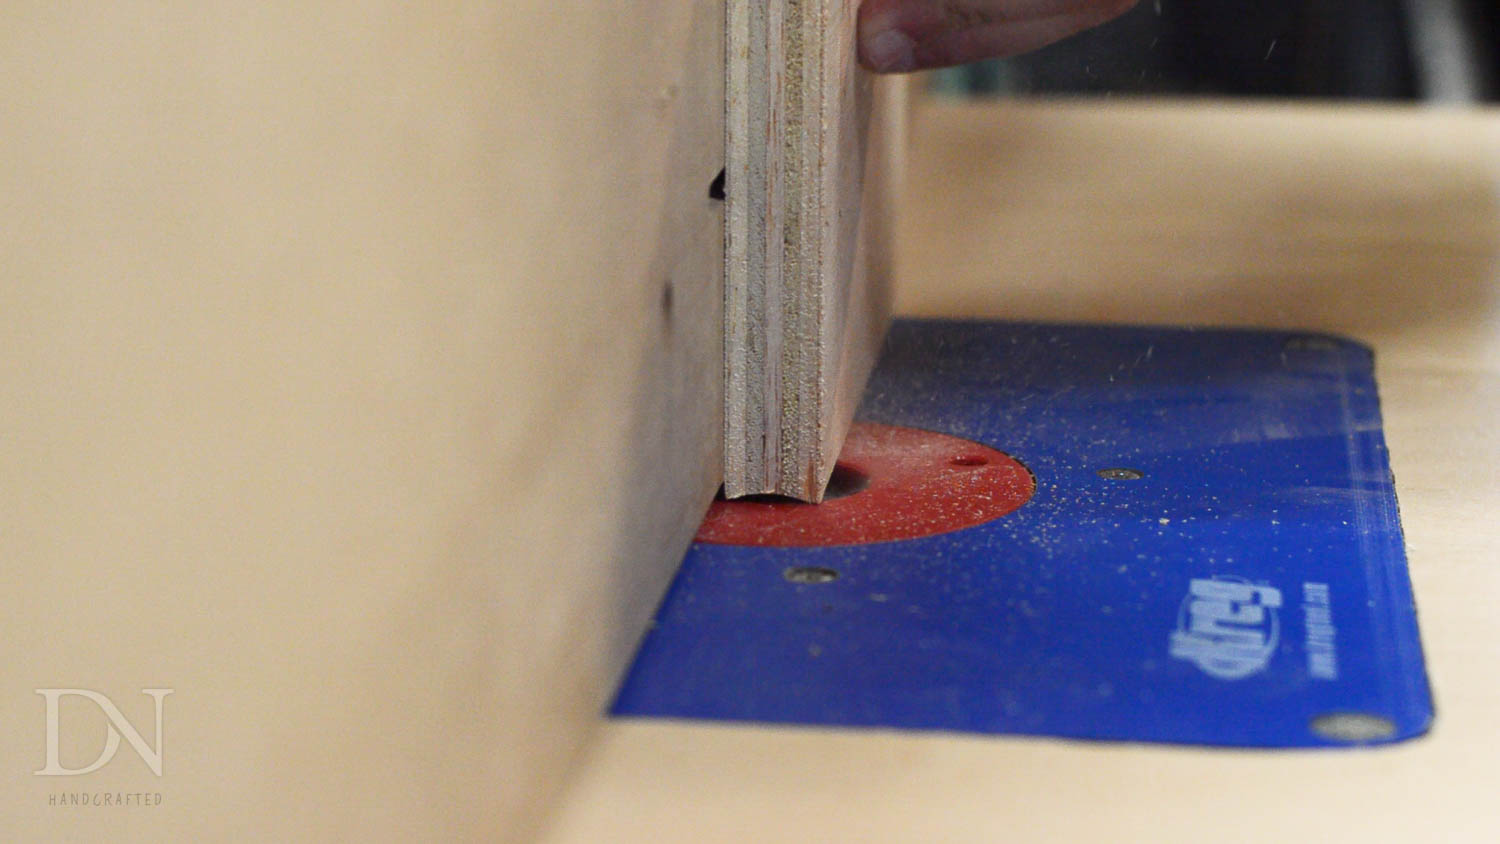
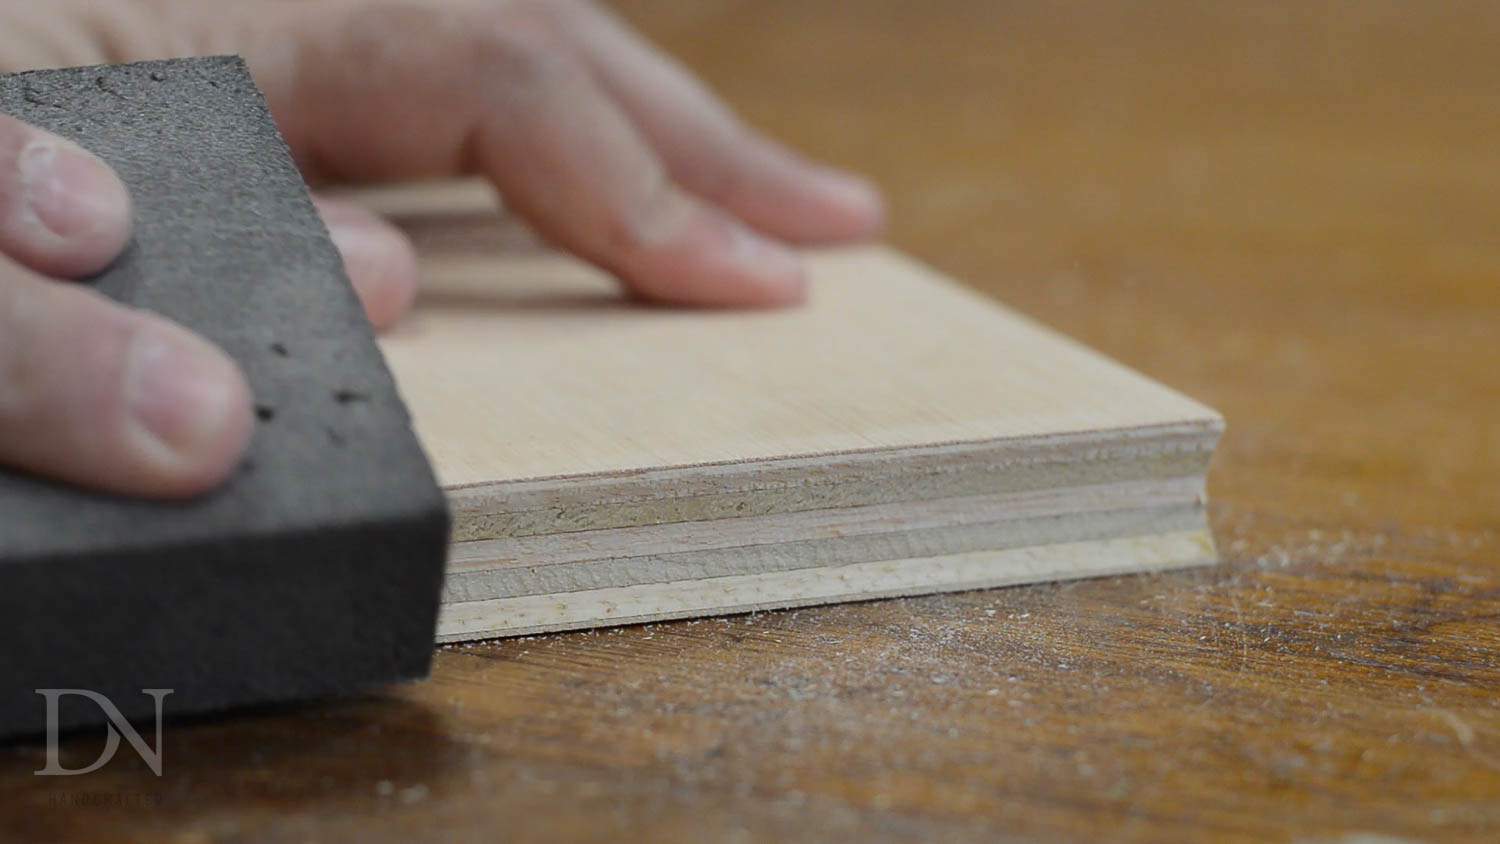
This gave the finished block a little indentation to easily lift it off the printing surface once I’ve made the print. I broke the sharp edges with some sandpaper, and also sanded the surface a bit.
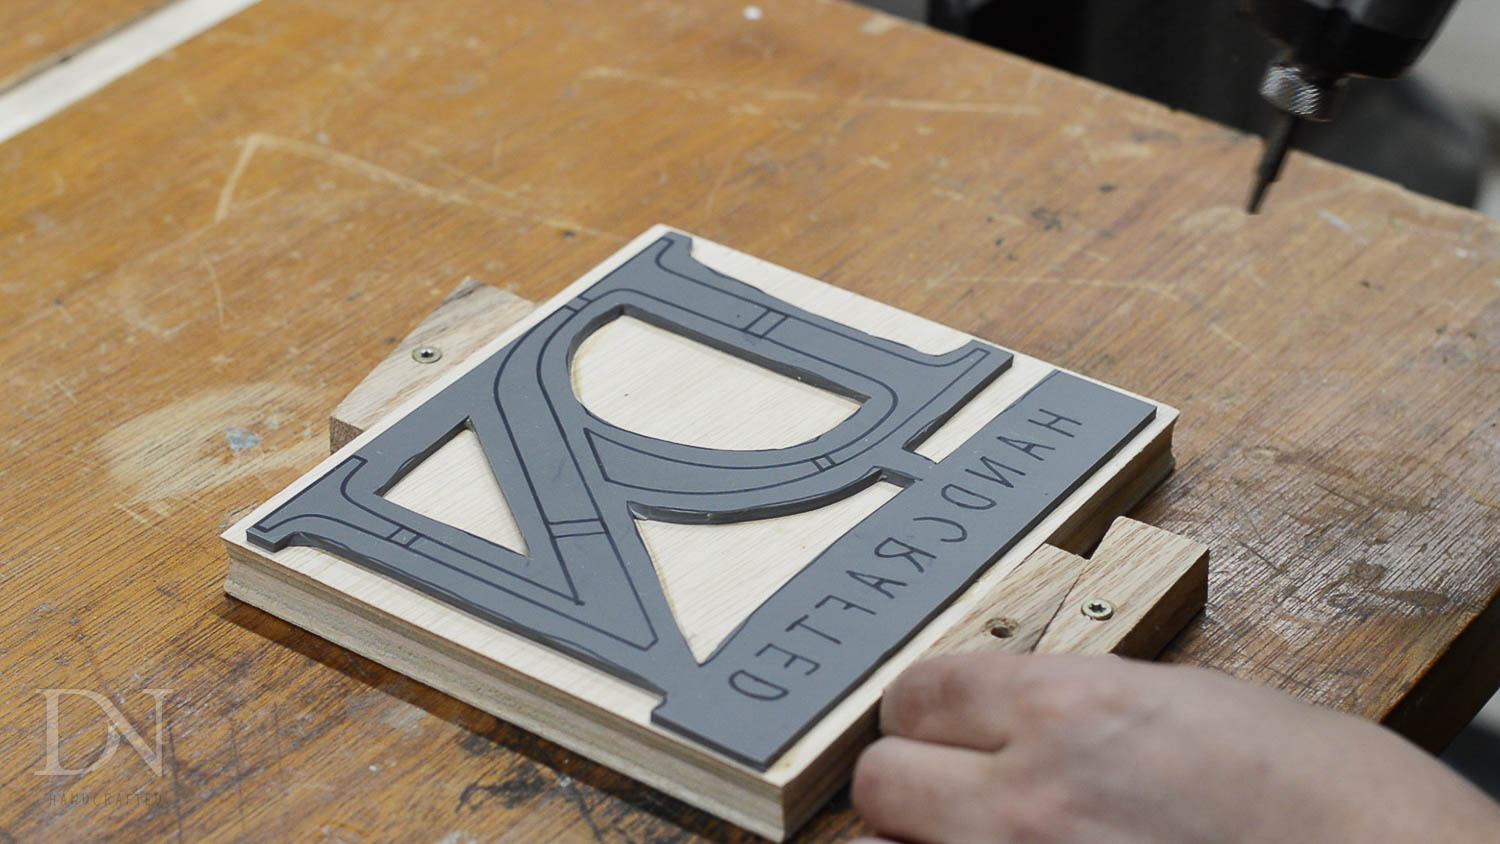
I traced the position of linoleum onto the block.
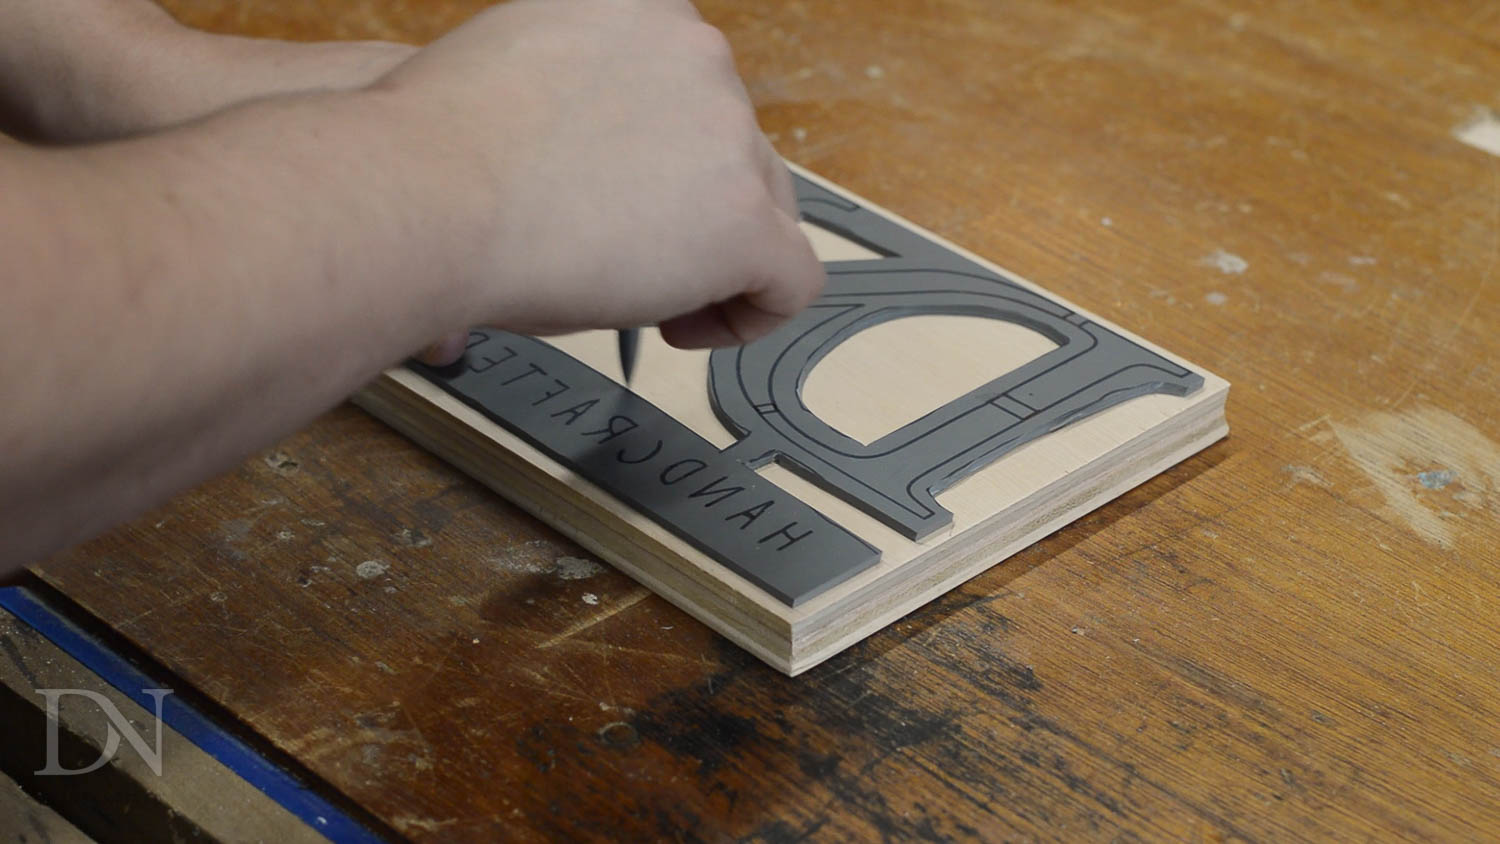
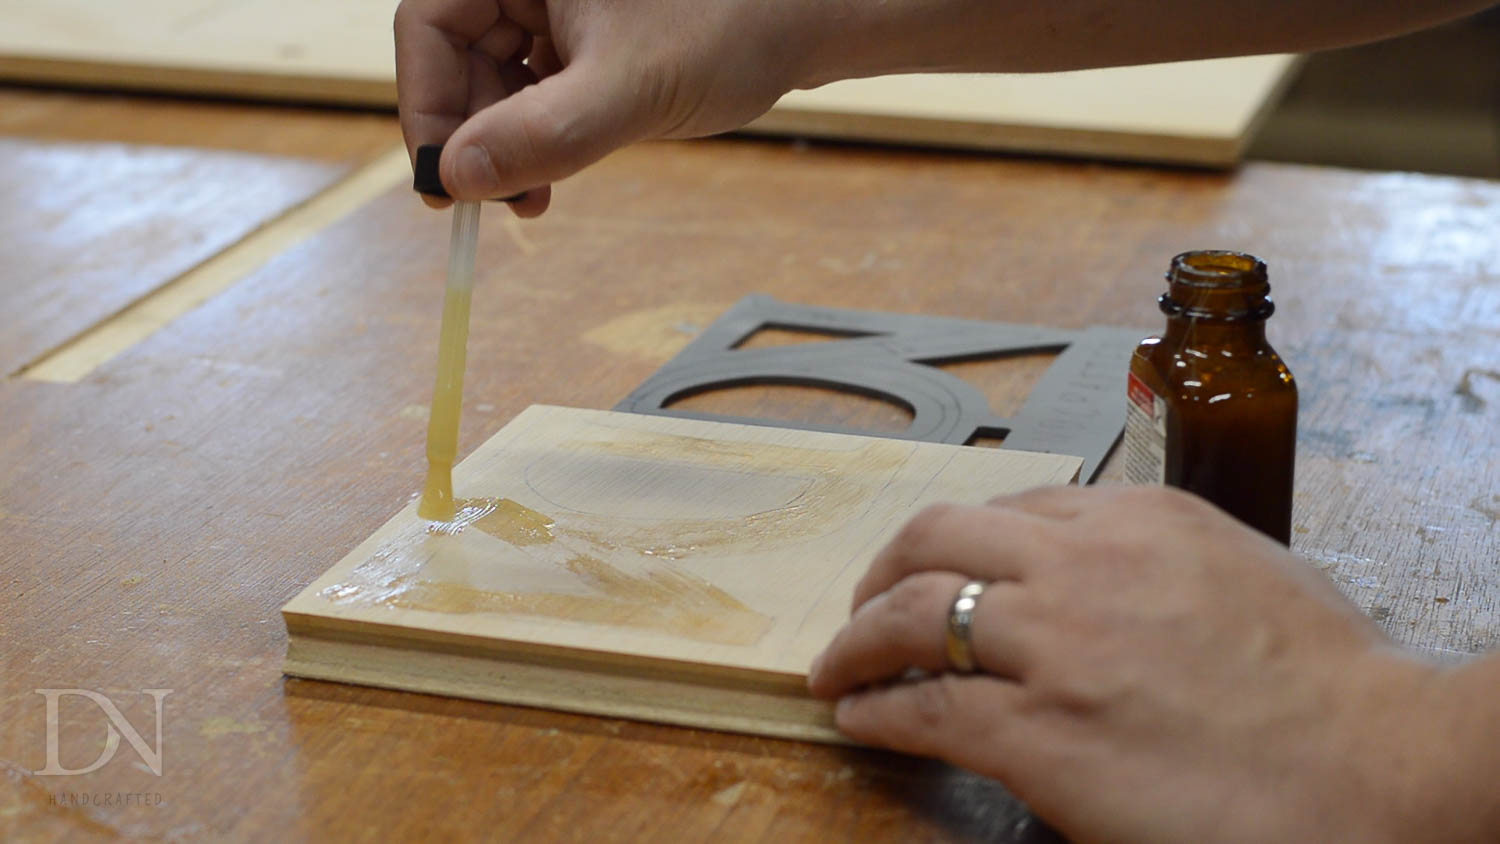
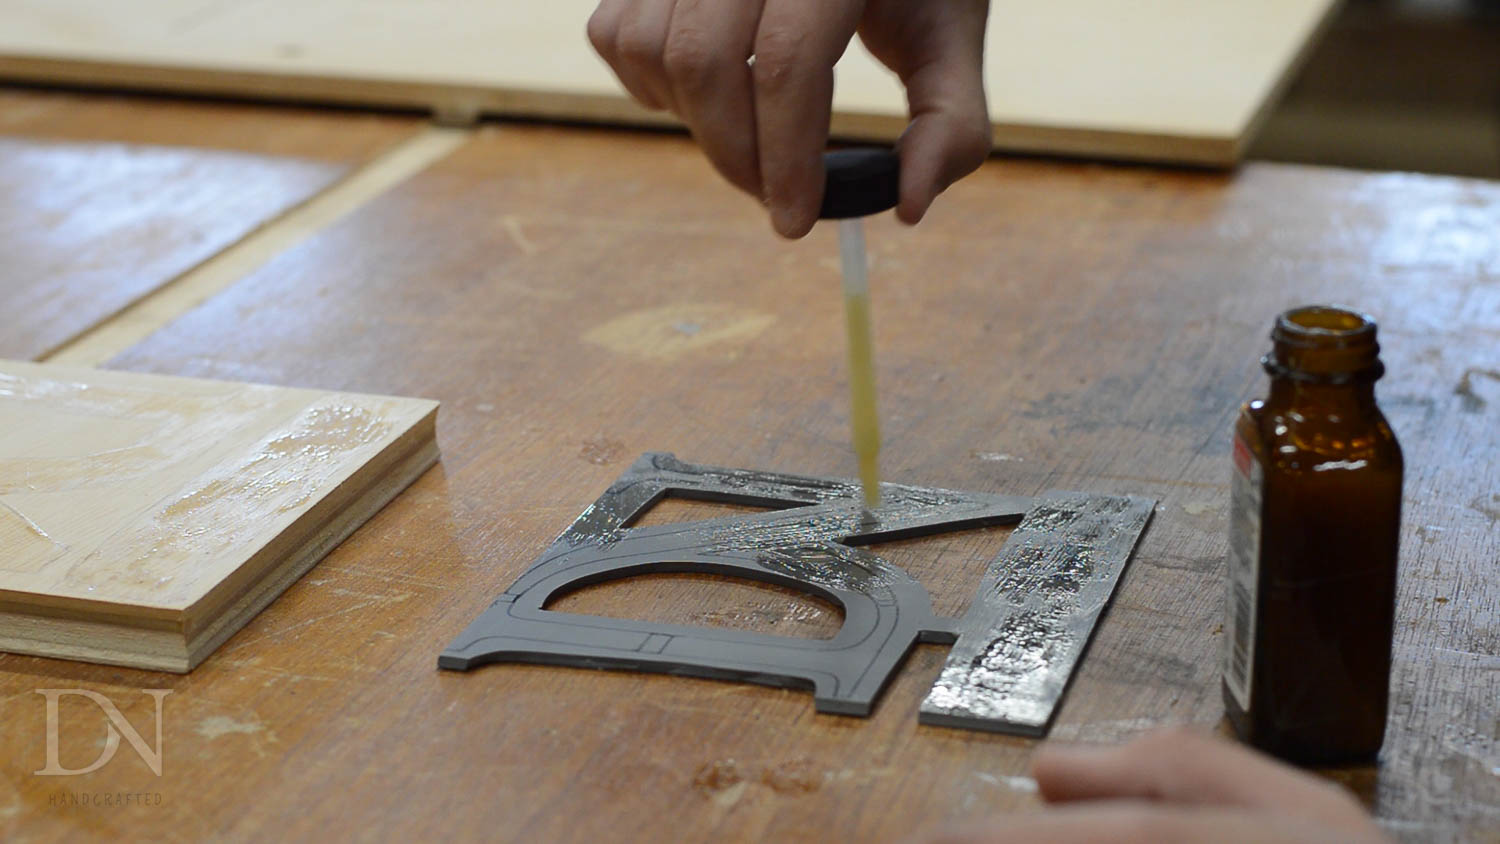
Next I used contact cement, and coated both the plywood and the linoleum and let the contact cement dry for about 20 minutes before attaching them together.
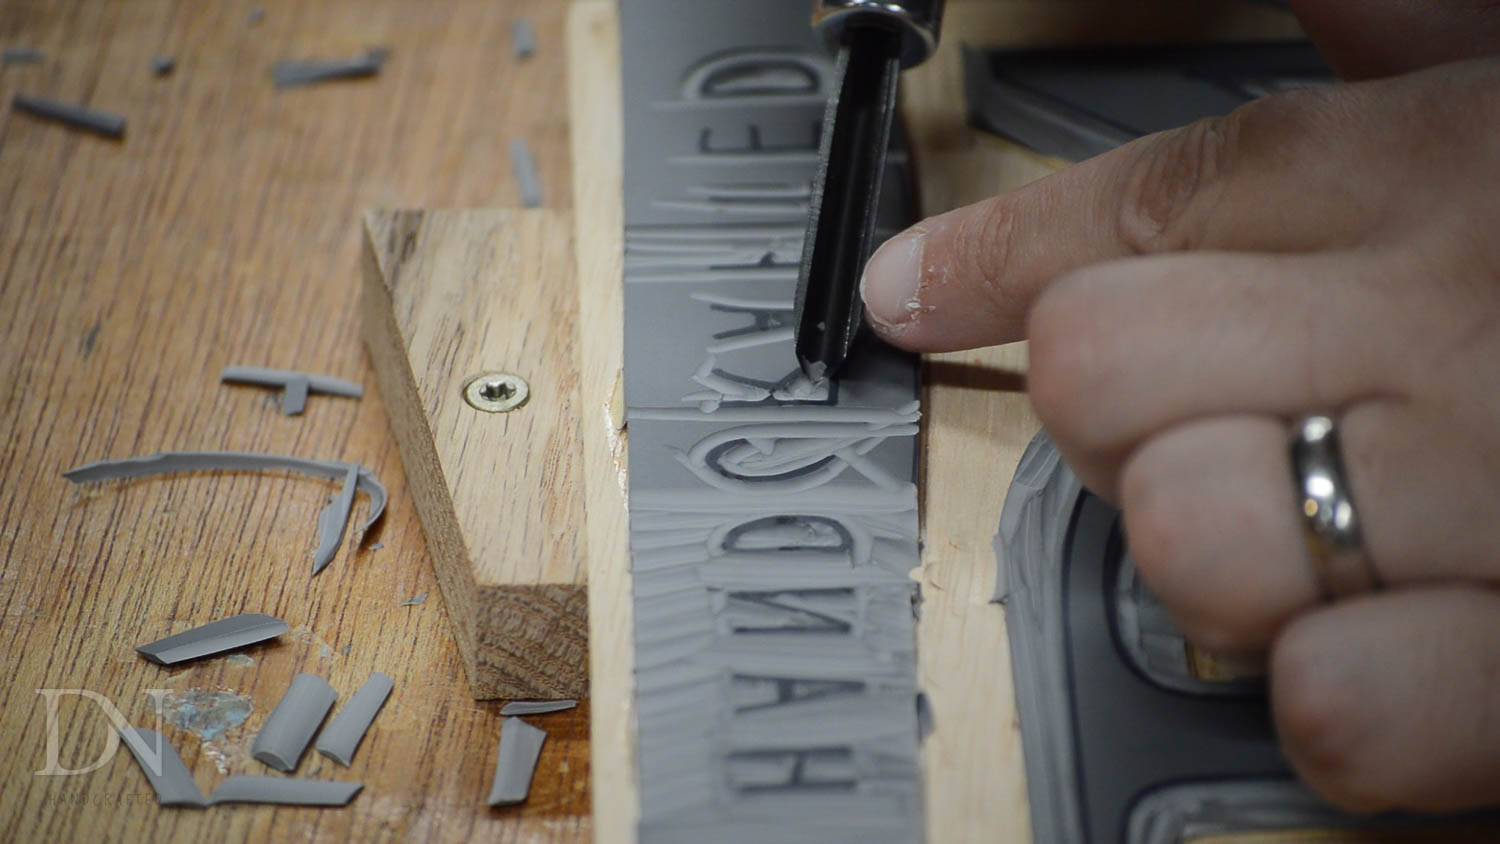
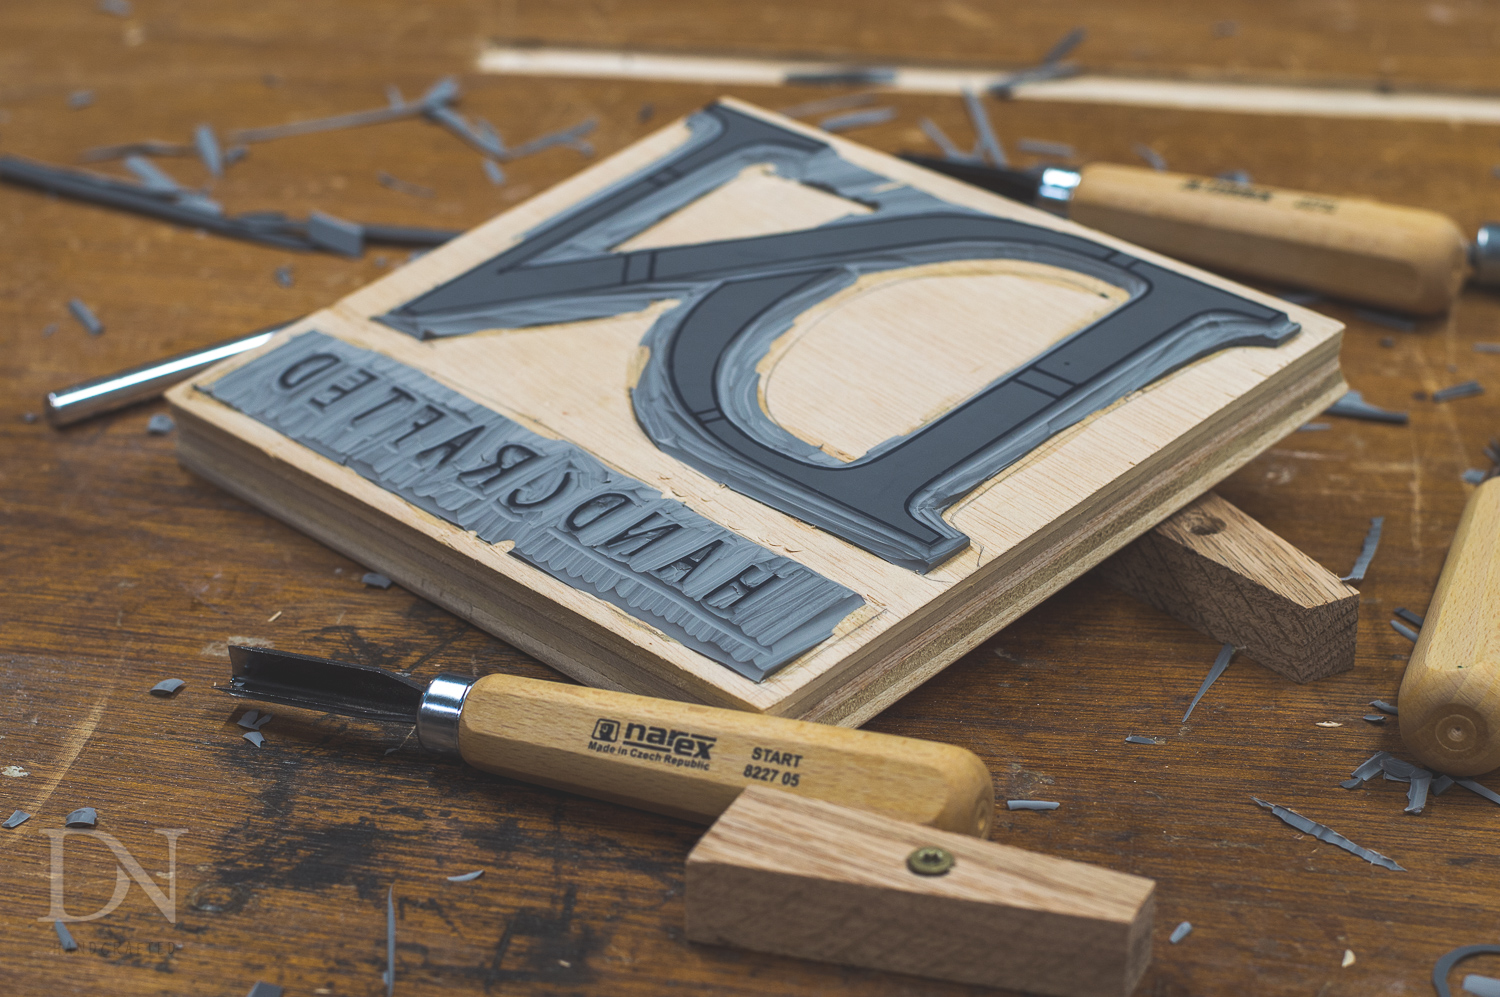
Phase Two: Carving the block/linoleum
I screwed some wedges to my work table to give me a way of holding the block while I was carving it.
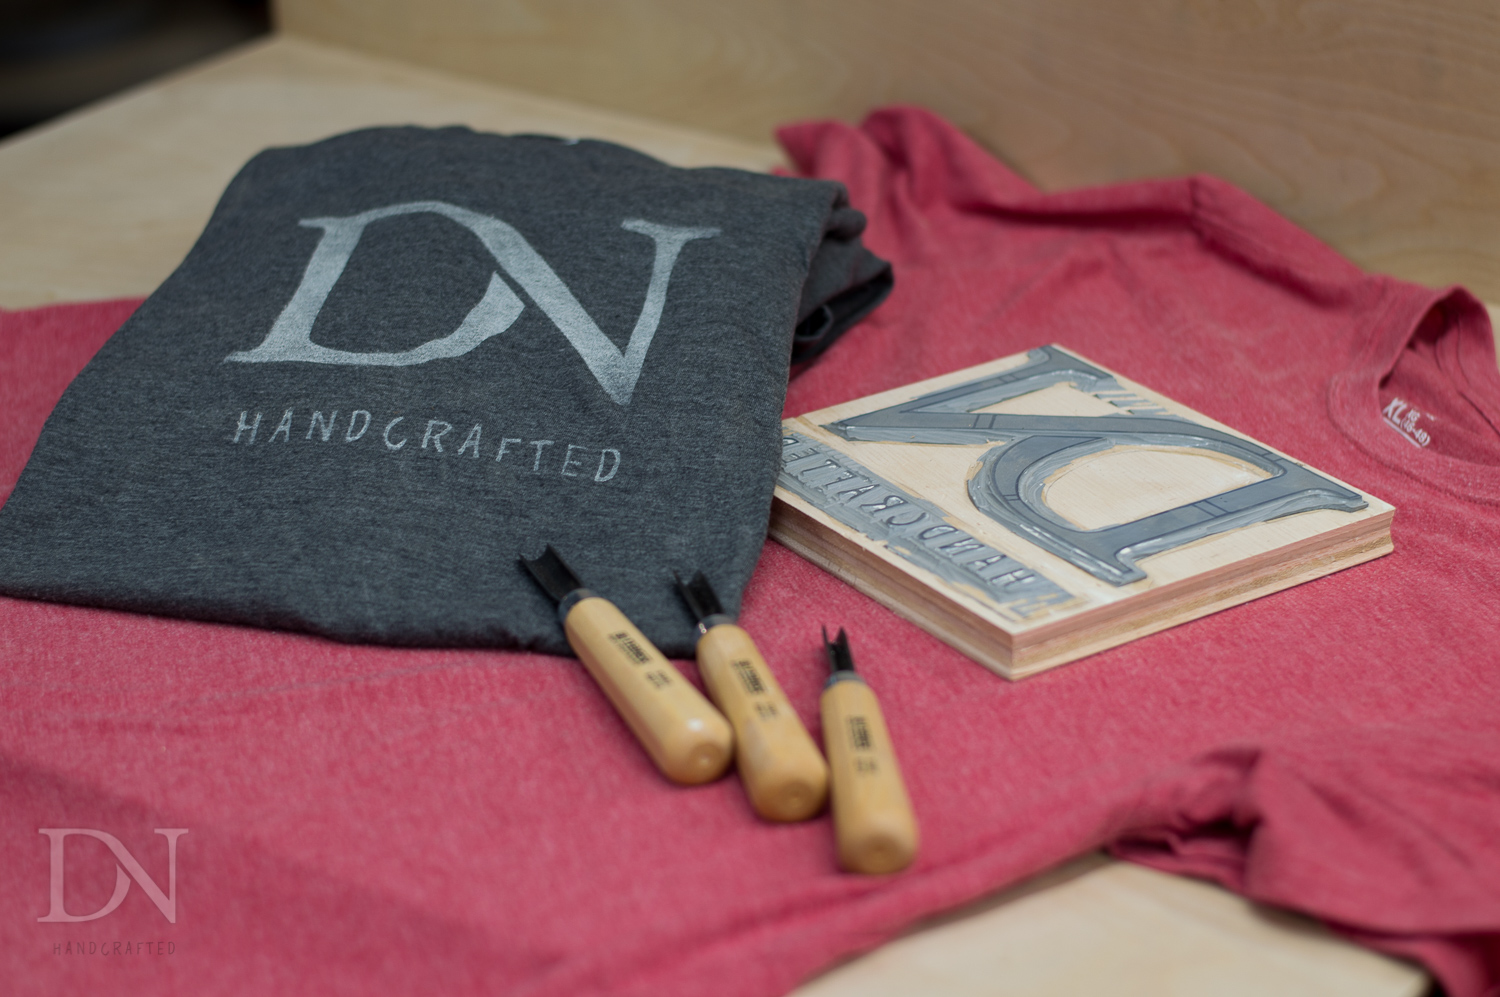
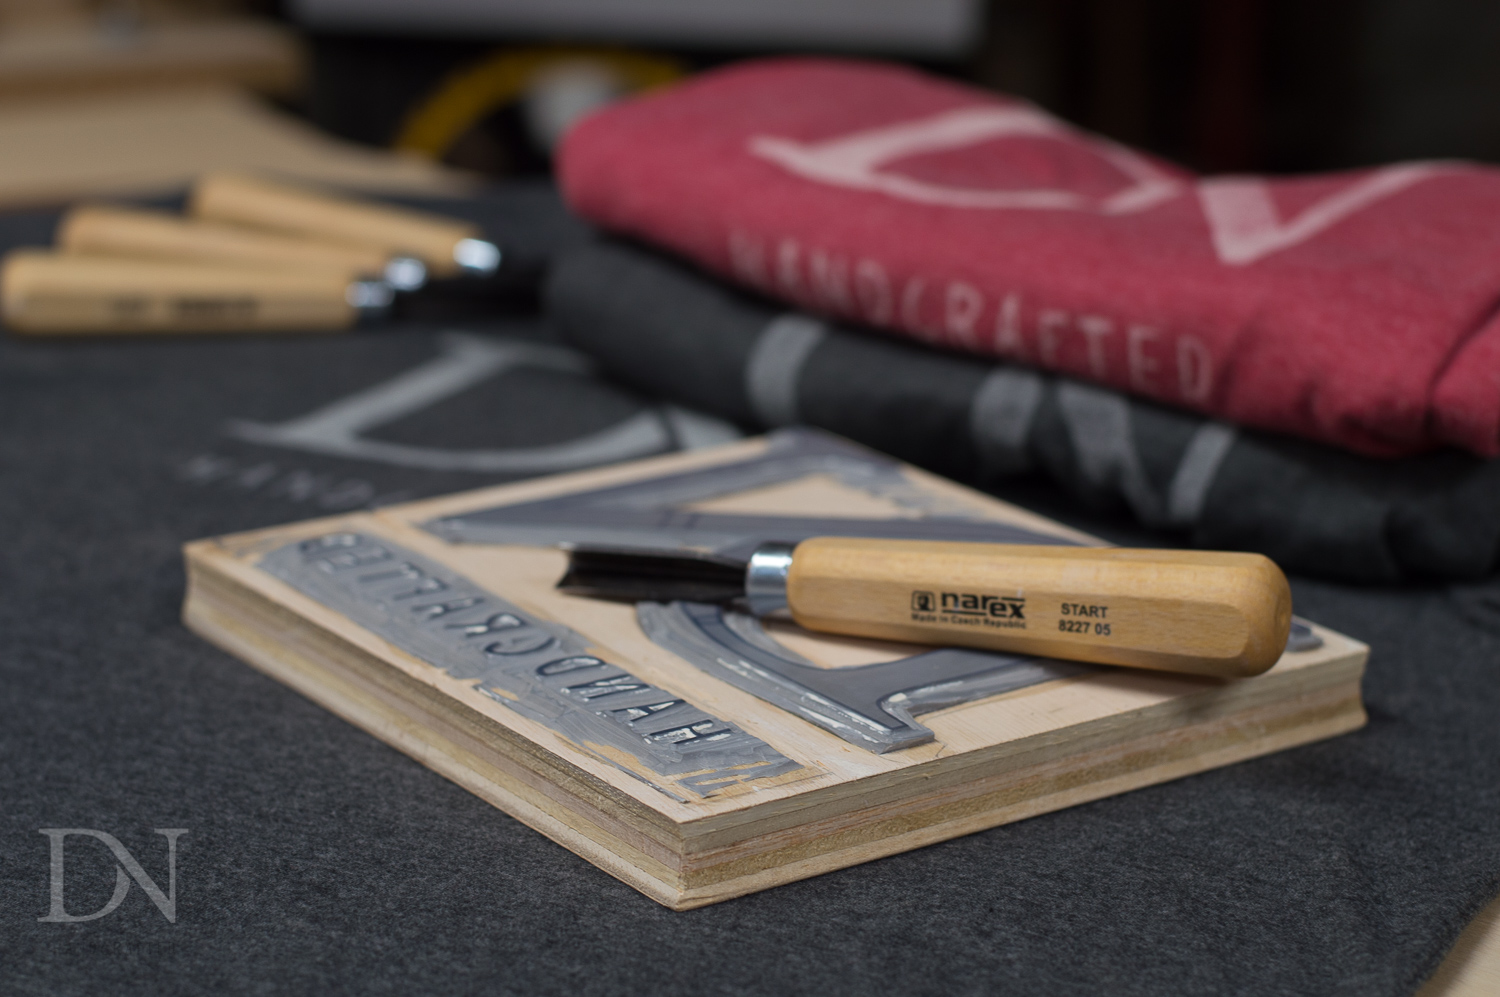
You can purchase linoleum cutting very inexpensively, but In my case, I used a set of carving chisels that I already owned.

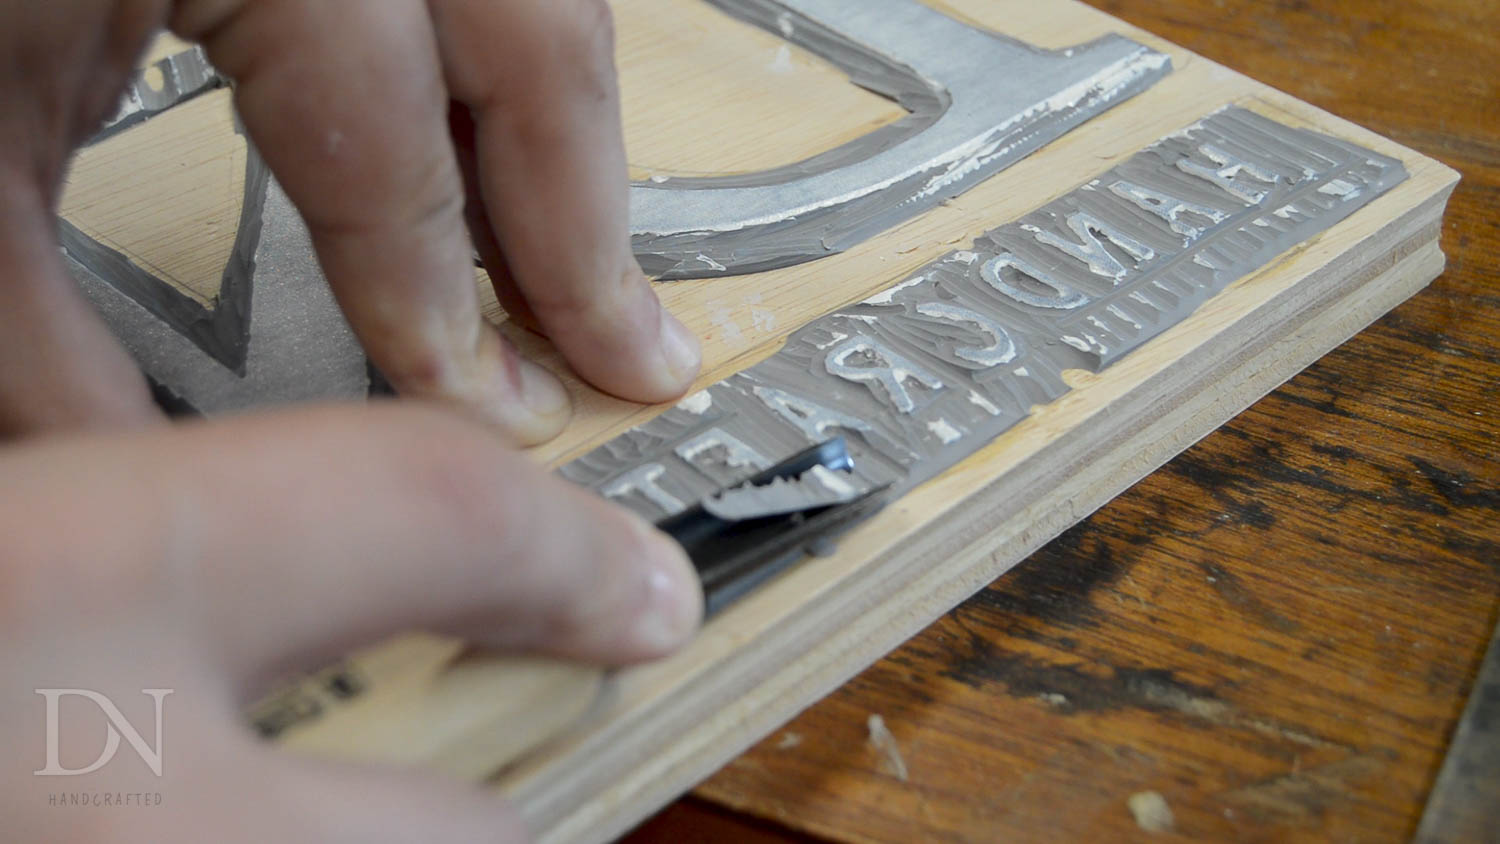
The carving process took a little while, but was actually quite fun.
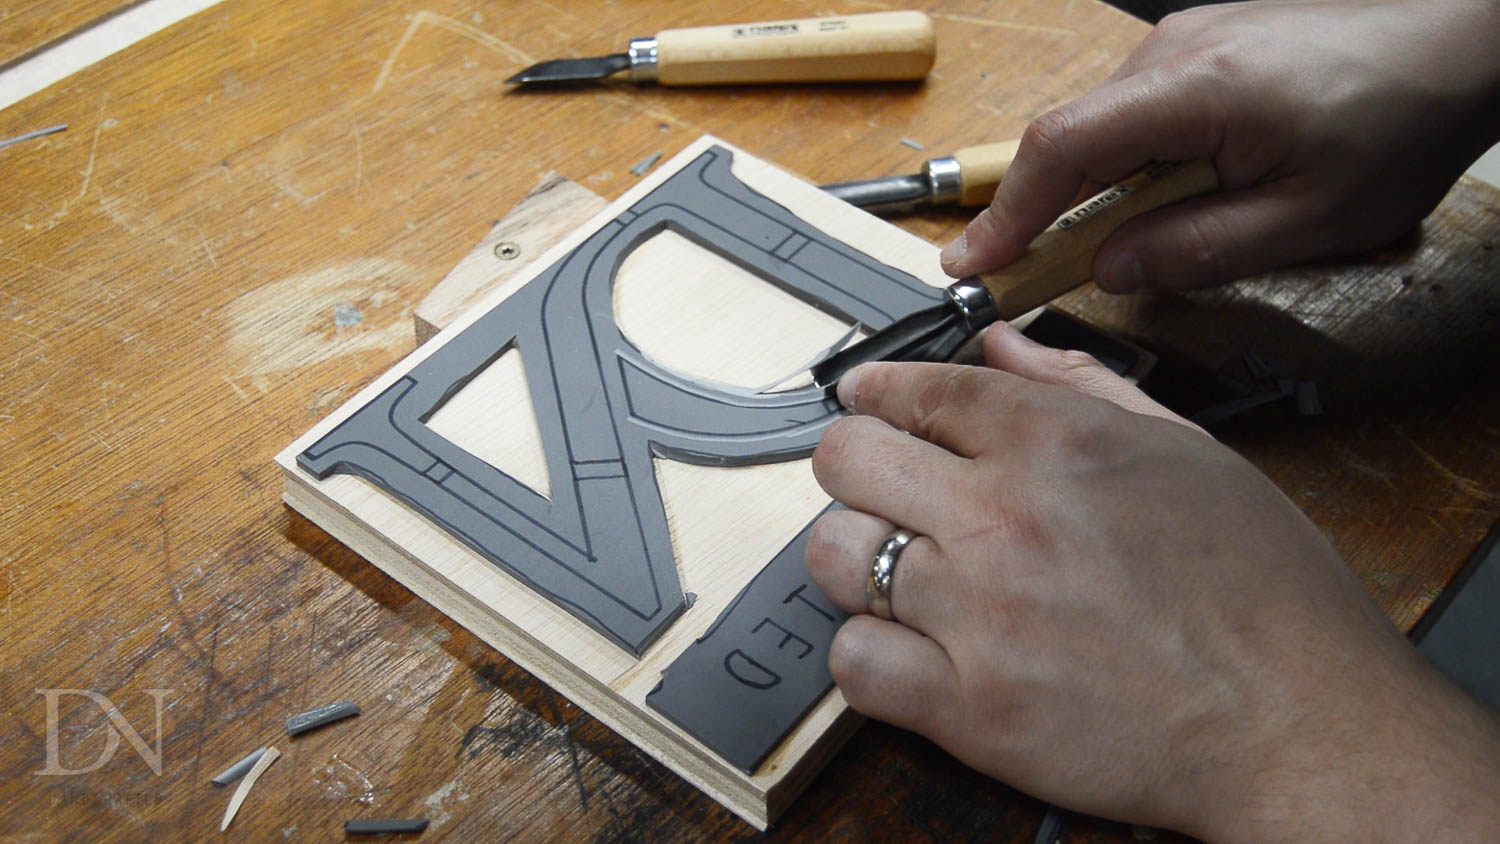
I mostly used a tighter V gouge when I was close to the lines, and then some of the larger gouges when I was just trying to remove material.

The small letters were by far the most time consuming.
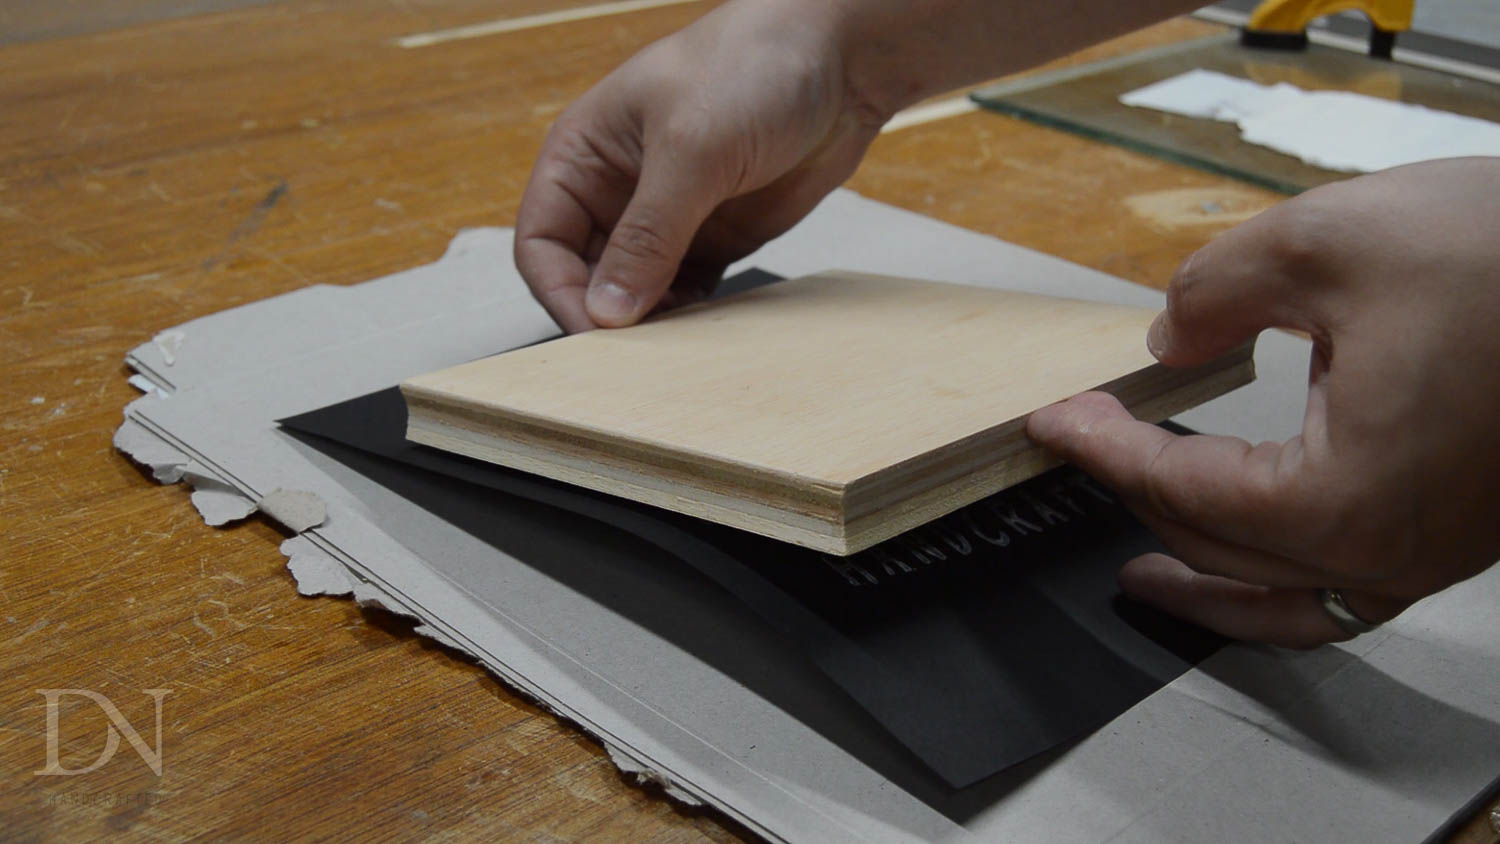
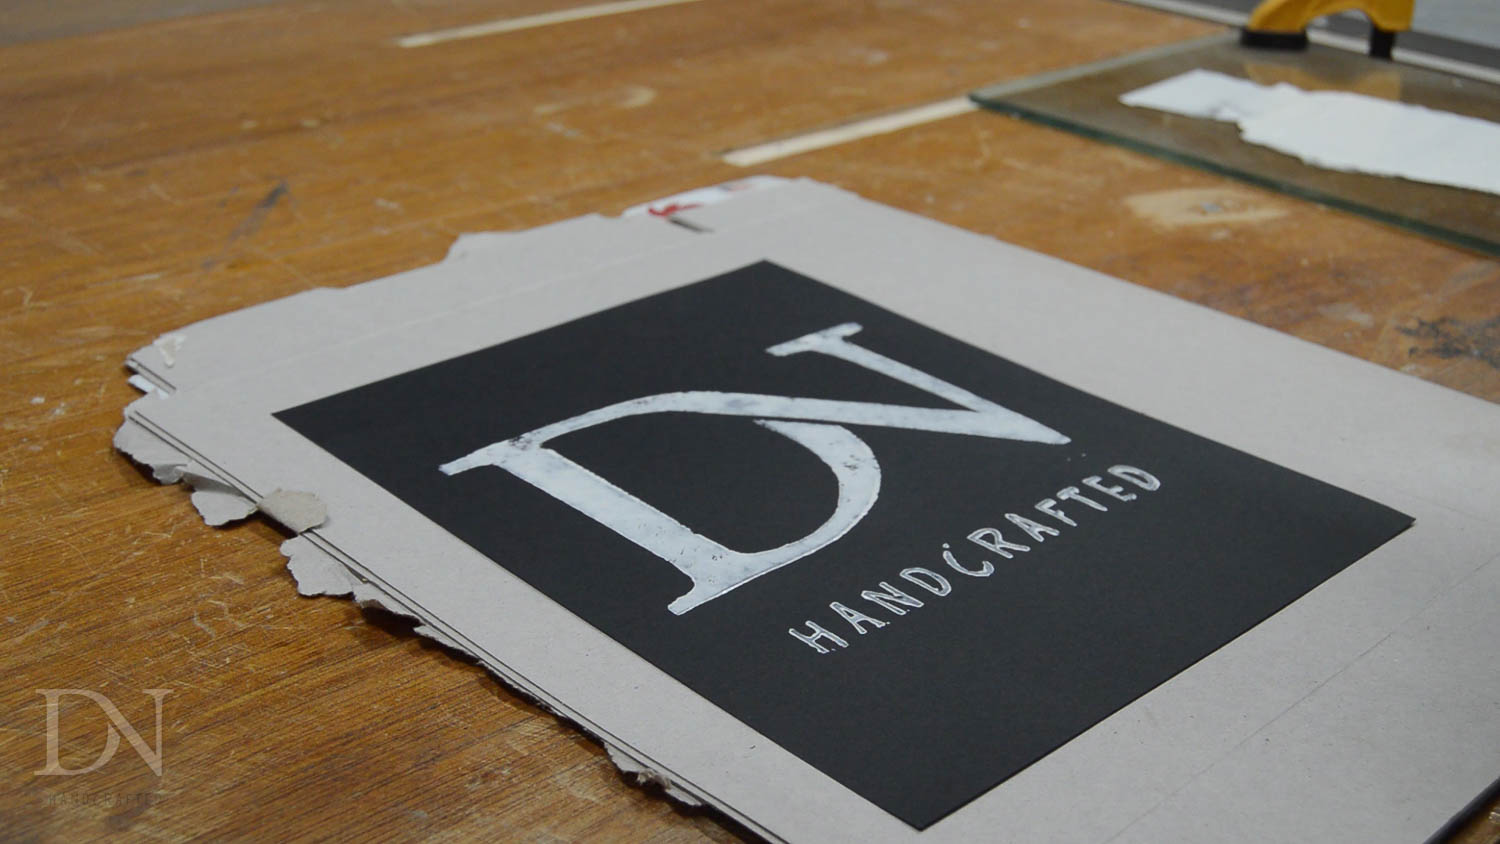
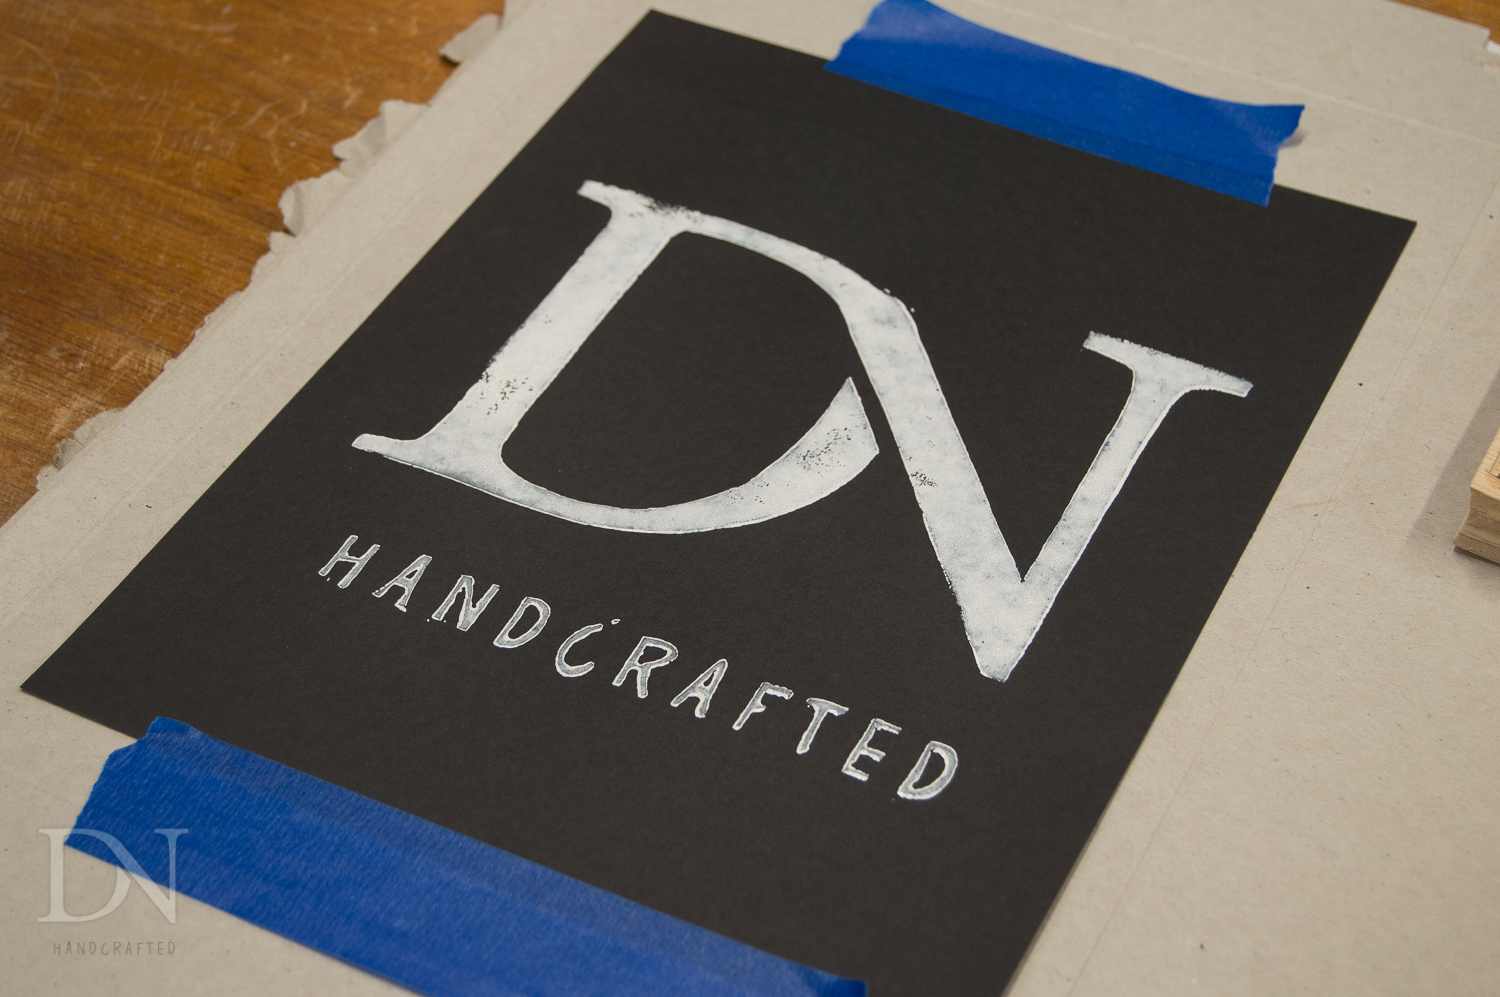
Phase Three: Making the print
Once I had carved the design, it was time to run a test print. The ink I chose is an oil based fabric ink that can be cleaned up with soap and water. If I planned to make a lot of paper prints, I’d use a different ink. You use a tool called a brayer to transfer the the ink from a flat surface onto the lino.
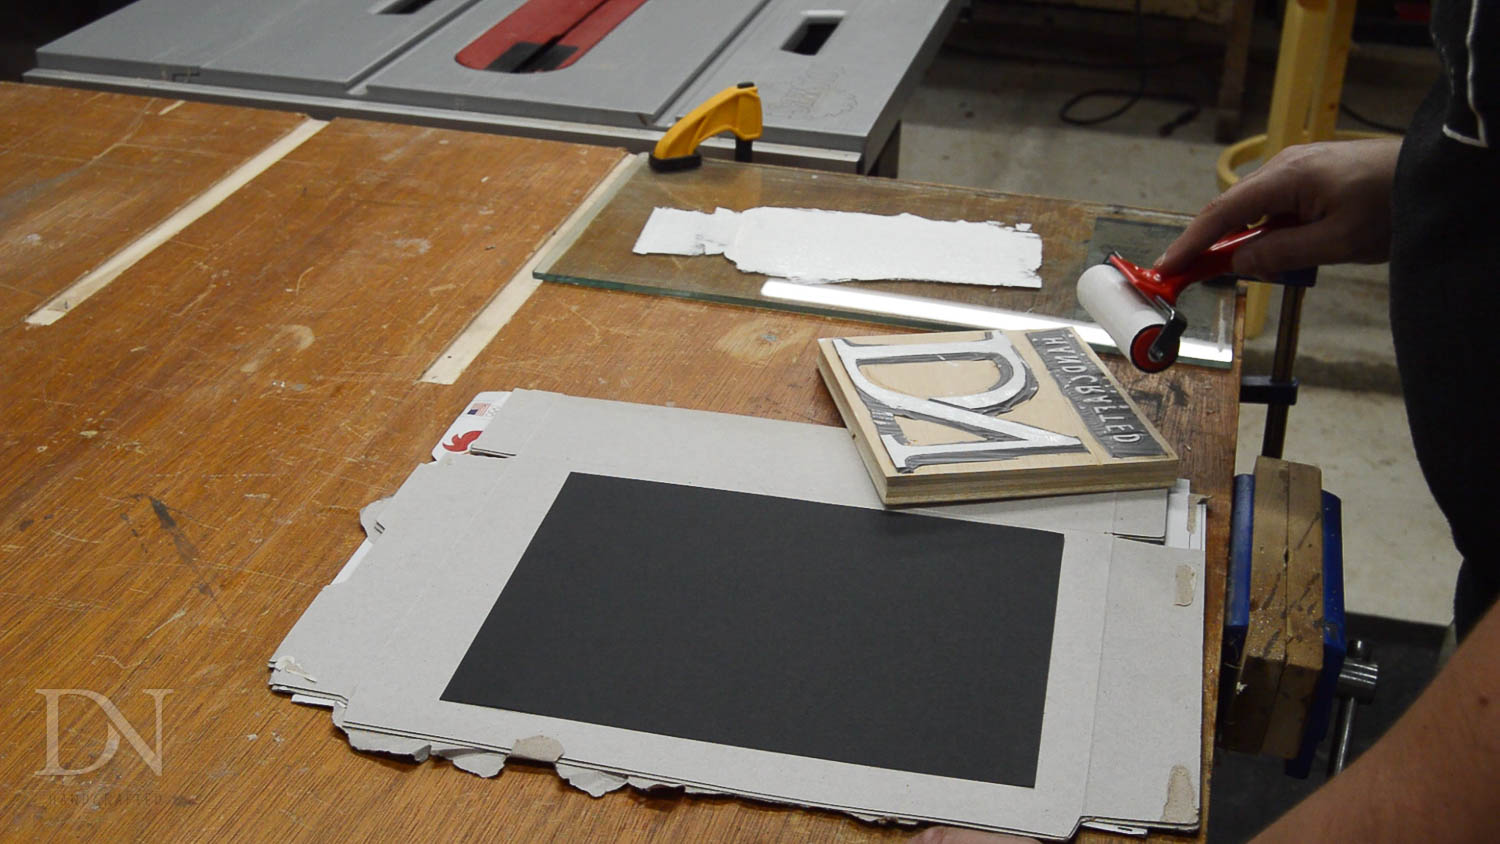
The initial prints turned out pretty well, and I figured out I needed less cardboard backing – and a little less pressure to get a good print without ink collecting on the outside of the design.
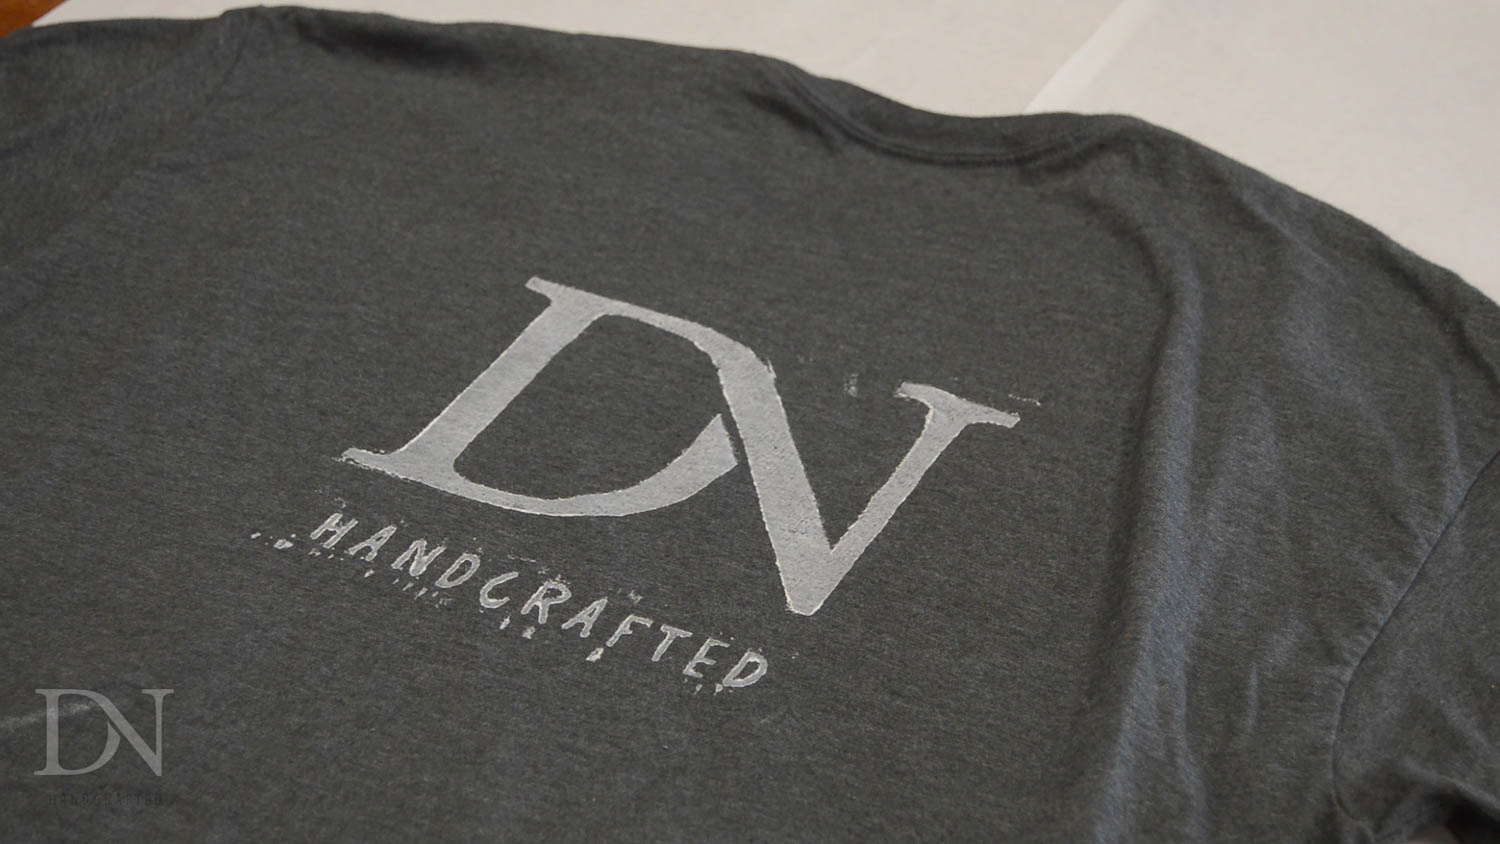
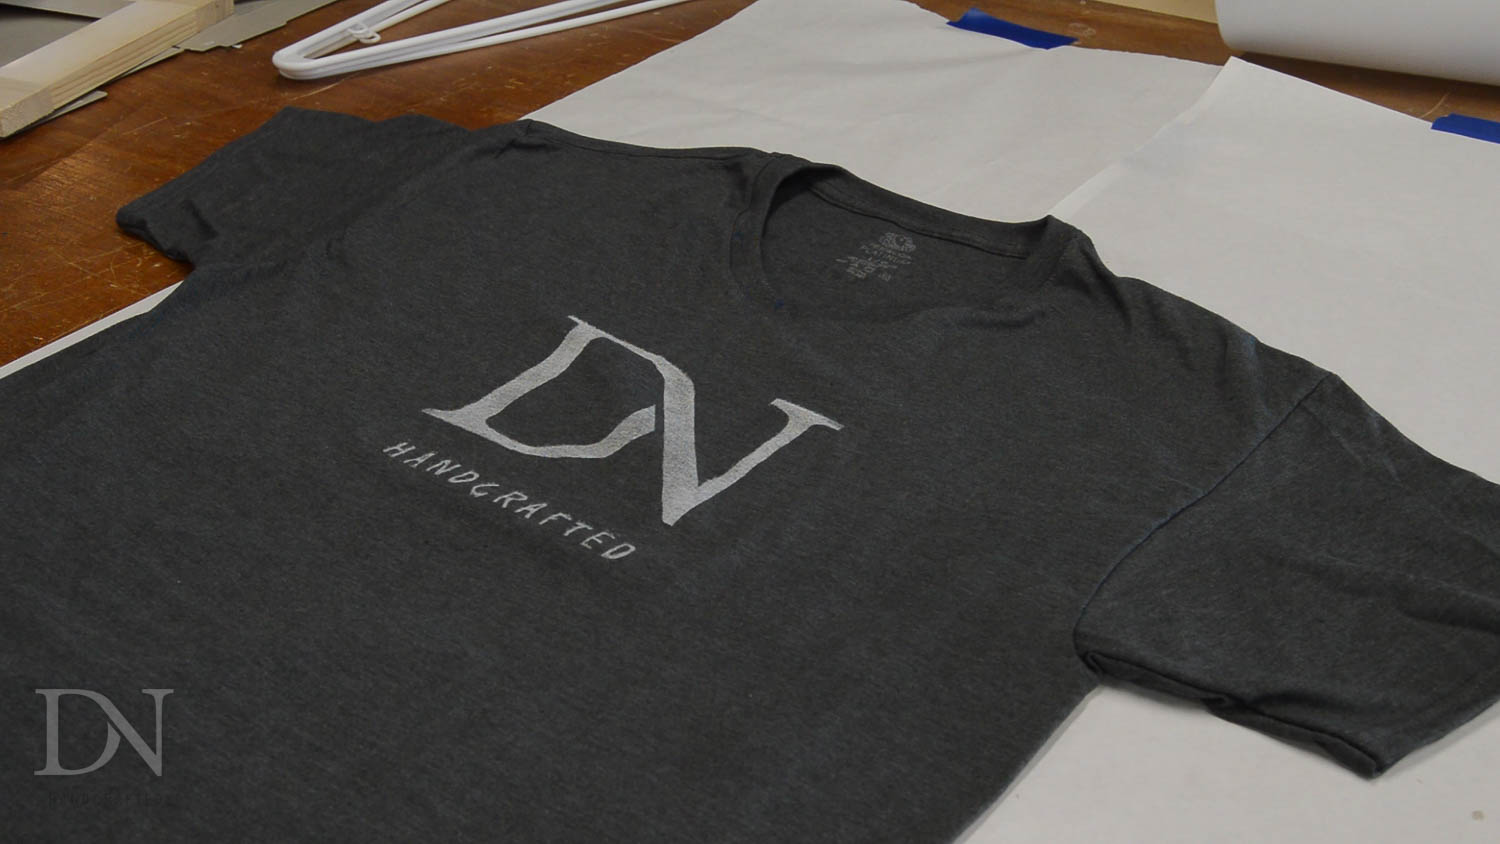
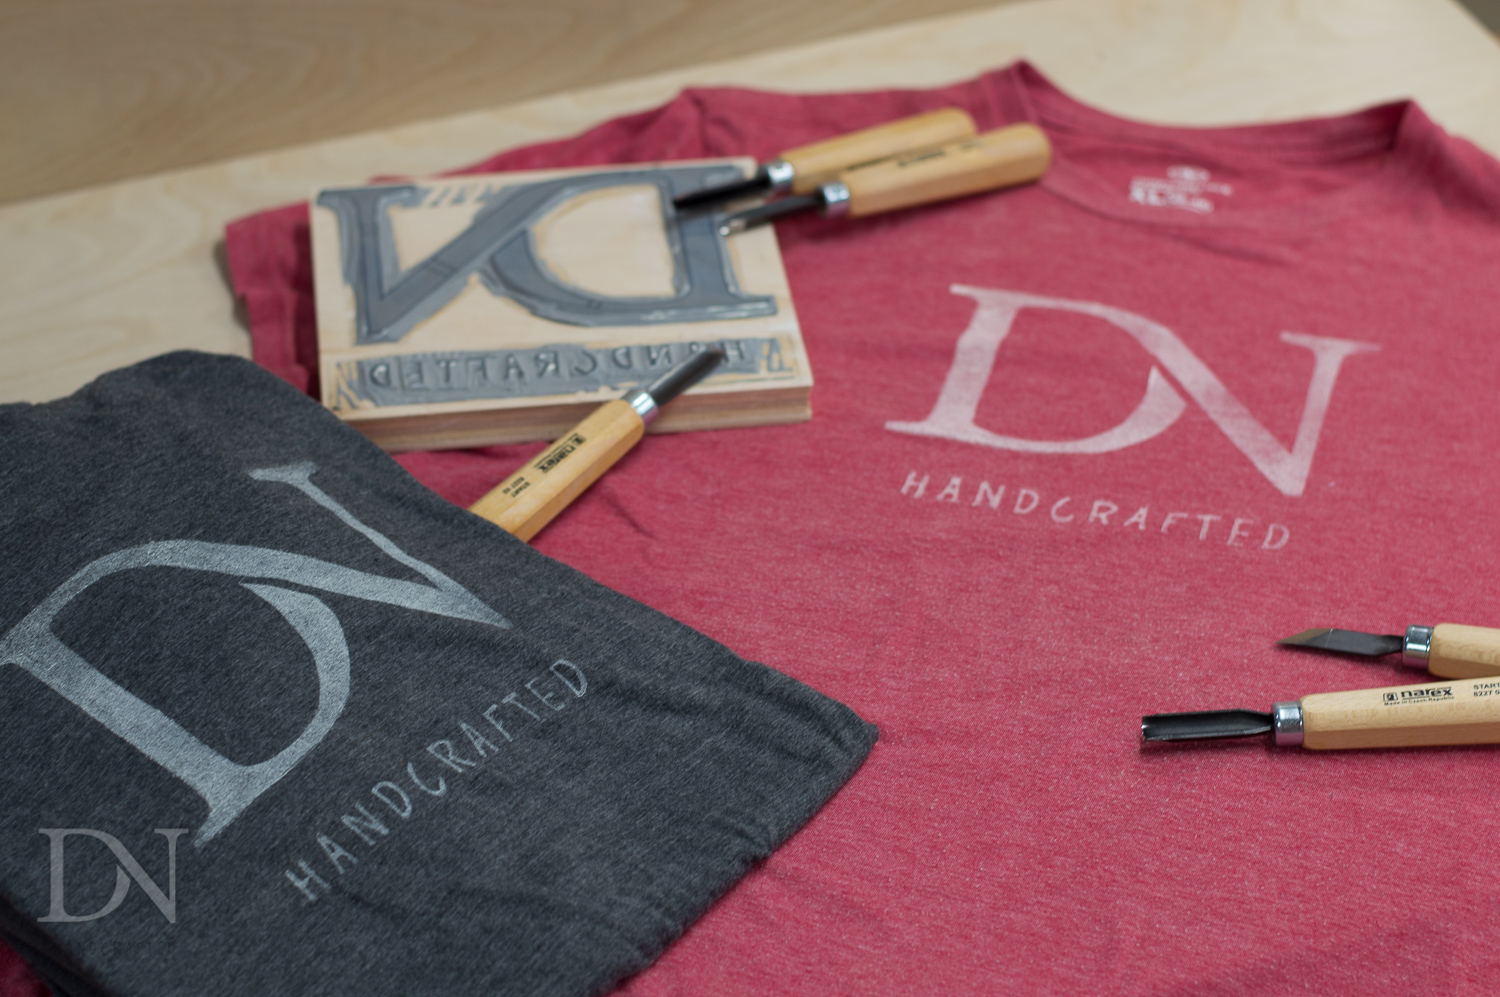
The ultimate goal of all this, was to print t-shirts with my logo on them. So I used a t-shirt from a previously failed spray painting attempt as my test print.
The soft fabric revealed several areas on the lino where I needed to remove more material.
This part is fairly easy, since the parts you want to remove have ink on them!
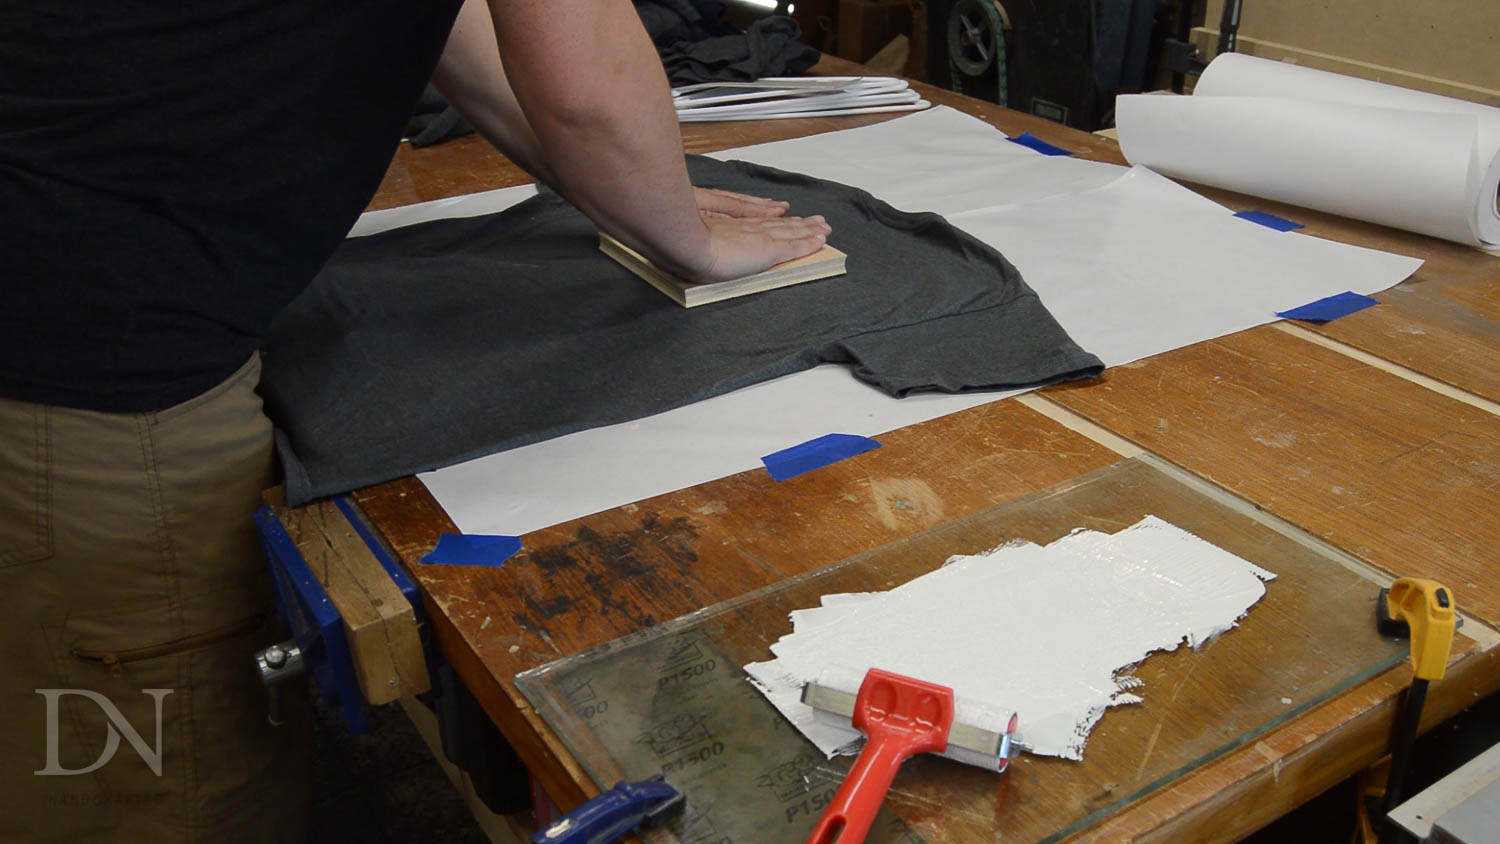
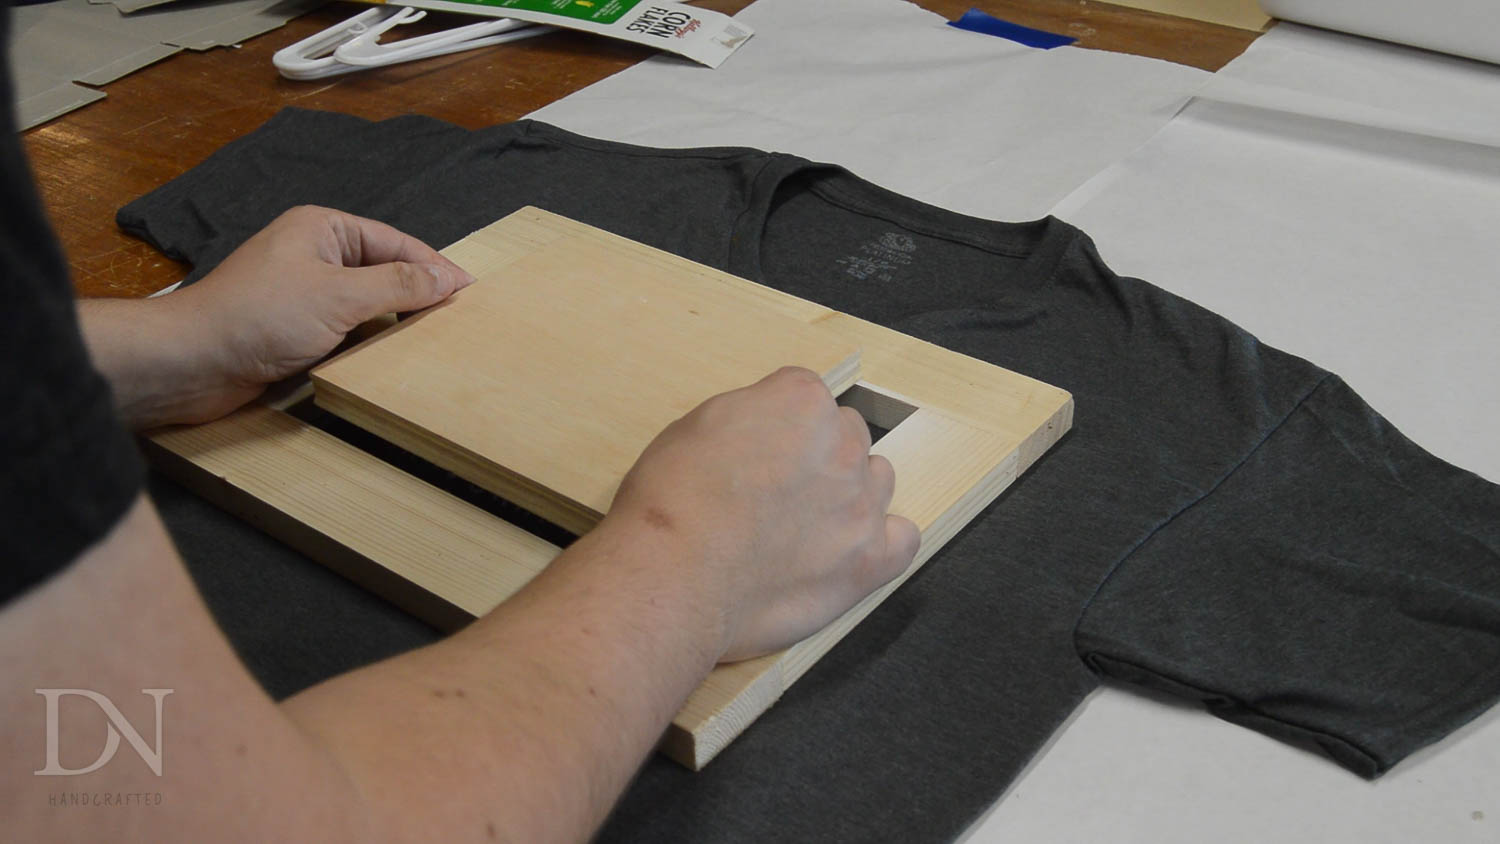
The ink is fairly sticky, so the shirt wants to pick up when you pull up the block. I am not sure how the professionals do this, but I found having a small frame holding down the shirt made it much easier to minimize the shirt pulling up with the block.
After I got the process figured out, I started printing more shirts. The shirts are dry to the touch in about 24 hours, and air cure in a week. You do not have to heat set this particular ink, but just follow the directions for whichever ink you end up using.
Additional Notes (Not in the video)
-
The prints were fairly consistent, but I did struggle to get the brayer to spread the ink evenly without getting extra ink all over my block. I wonder if this was the nature of my logo being quite open.
-
I ran a test with two of the shirts after letting them cure for a week. One was heat set in a dryer (high heat for 1 hour), and the other was not. Both were washed and dried together. I could see no discernible difference between the two, and so simply letting the shirts cure for a week seemed to do the trick.
-
While this is a fun alternative to screen printing, the actual process of making the screen I believe would be far easier than carving a block – however, it is really fun to carve the linoleum.
Gallery
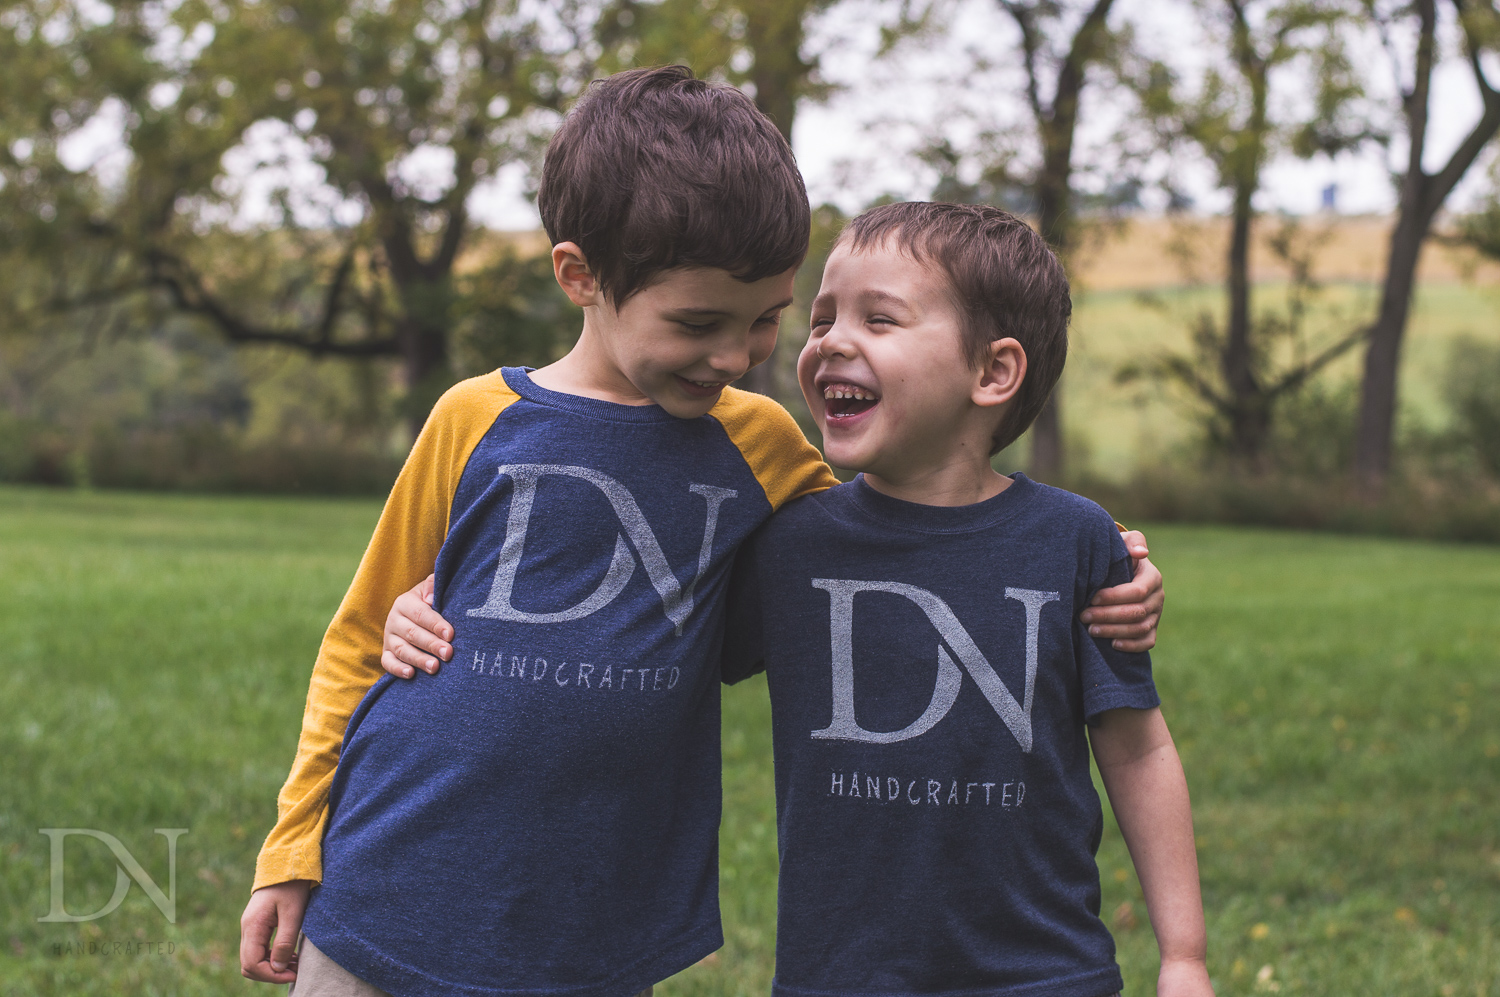
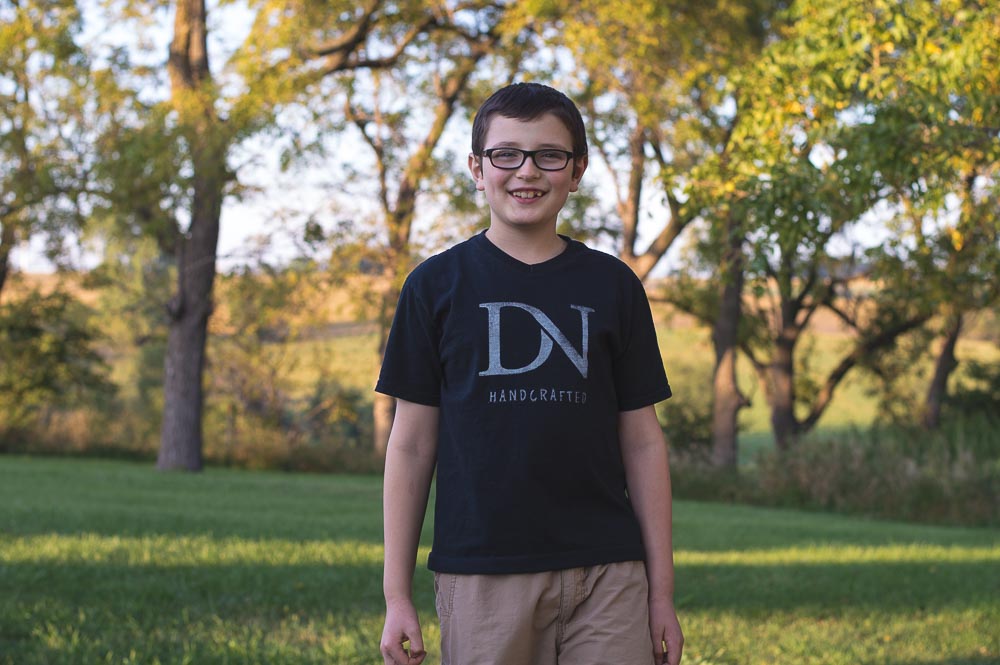
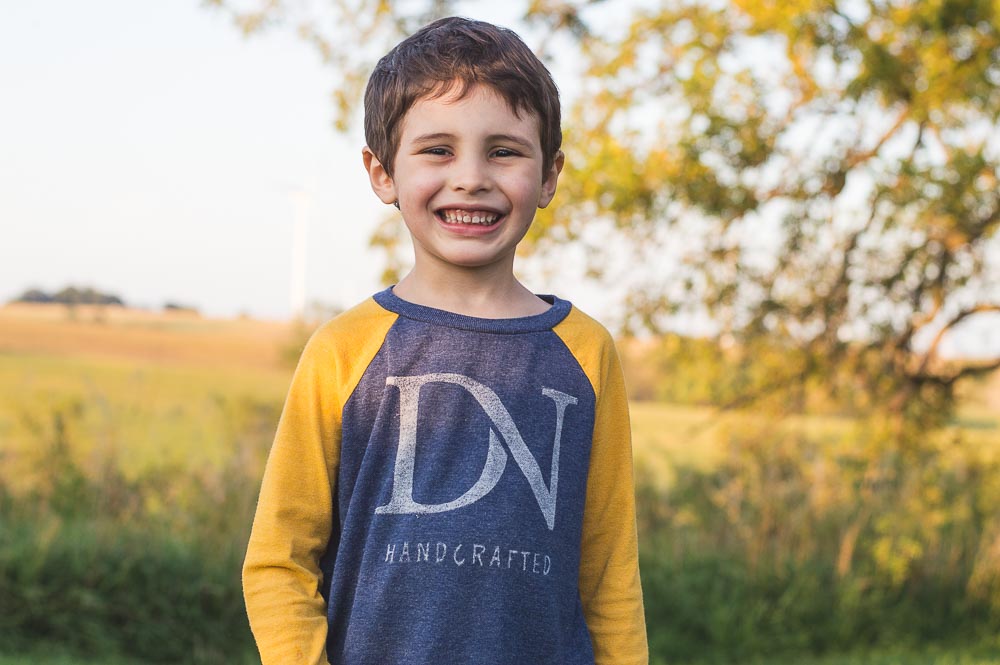
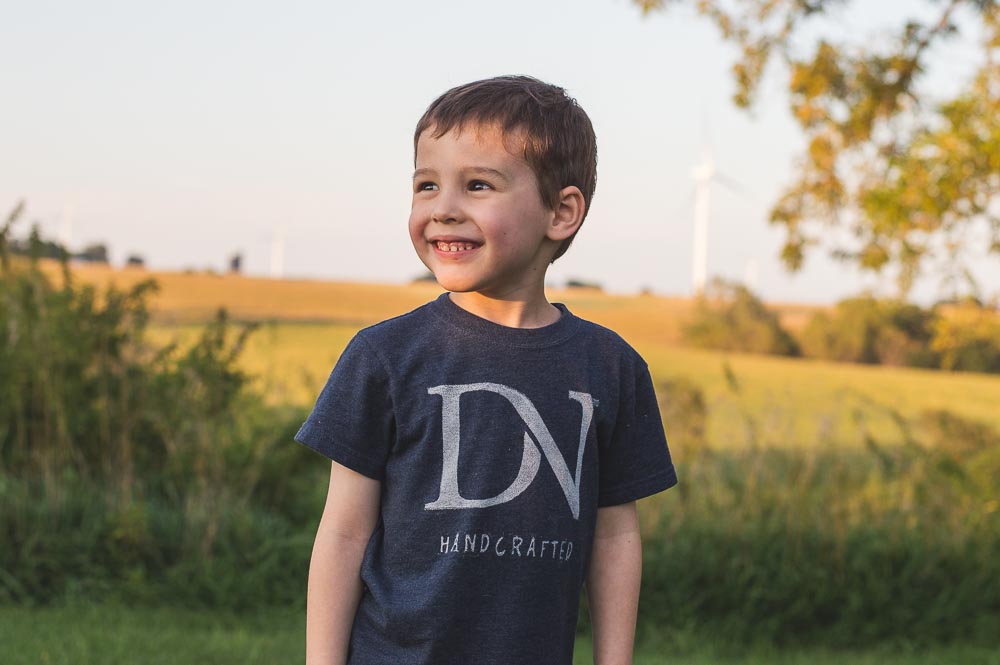
More Pictures
I got my boys to model the shirts I printed for them.