Project Video
Overview
If you are like me and enjoy building stuff out of wood, you probably have scraps and cut-offs all over your shop. This project is a fun way to turn those scraps into beautiful wooden knives that can be used for butter or other soft spreads. You can make one of these knives in under an hour!

Inspiration
My original inspiration for this project (especially the chef knife style) was a pin I saw over a year ago. I tracked it down to an amazing woodworker from Poland, “I love nature”. You can see the knives or visit his website. I am also very impressed with Linwood Handcrafted’s knives and cutting boards.
Free Templates
If you want to make your own butter knife, download the free templates.
How To
This walk-through is a near transcript of the video with screengrabs from the video (with a few other photos interspersed). If you enjoy video content, watch the video instead! If you’d rather scan an article and pictures, please continue…
This simple, quick project uses primarily the band saw and sanding tools, but the result is a beautiful knife for butter or softer spreads. You can make one of these in less than an hour, and with a fairly small scrap of hardwood. Grab the free templates and lets get started.
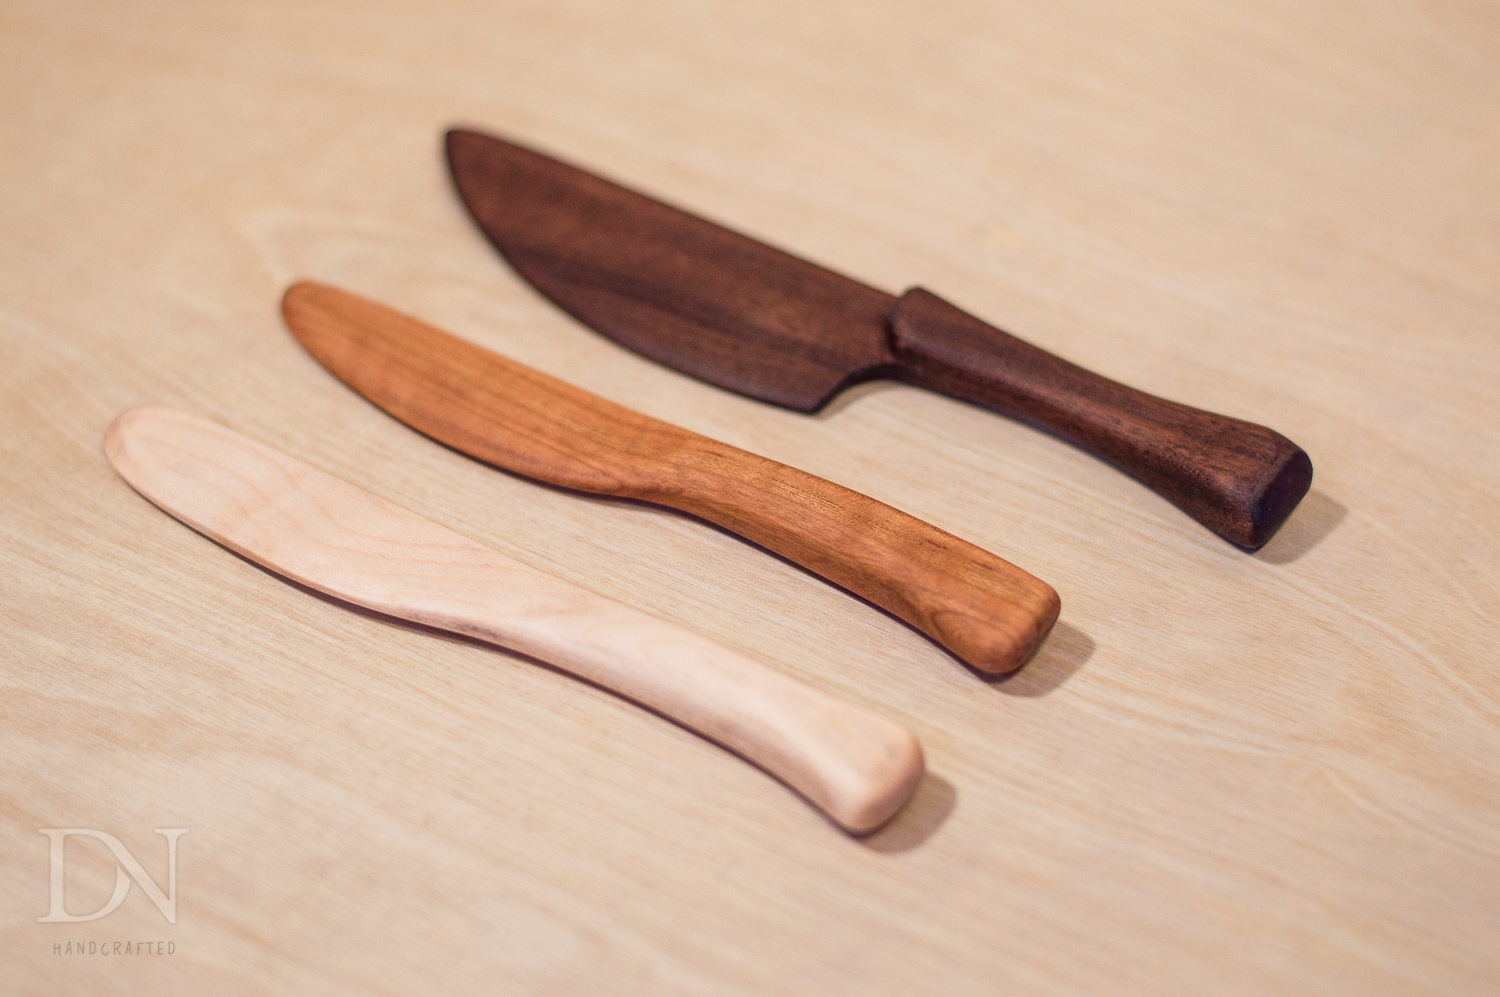
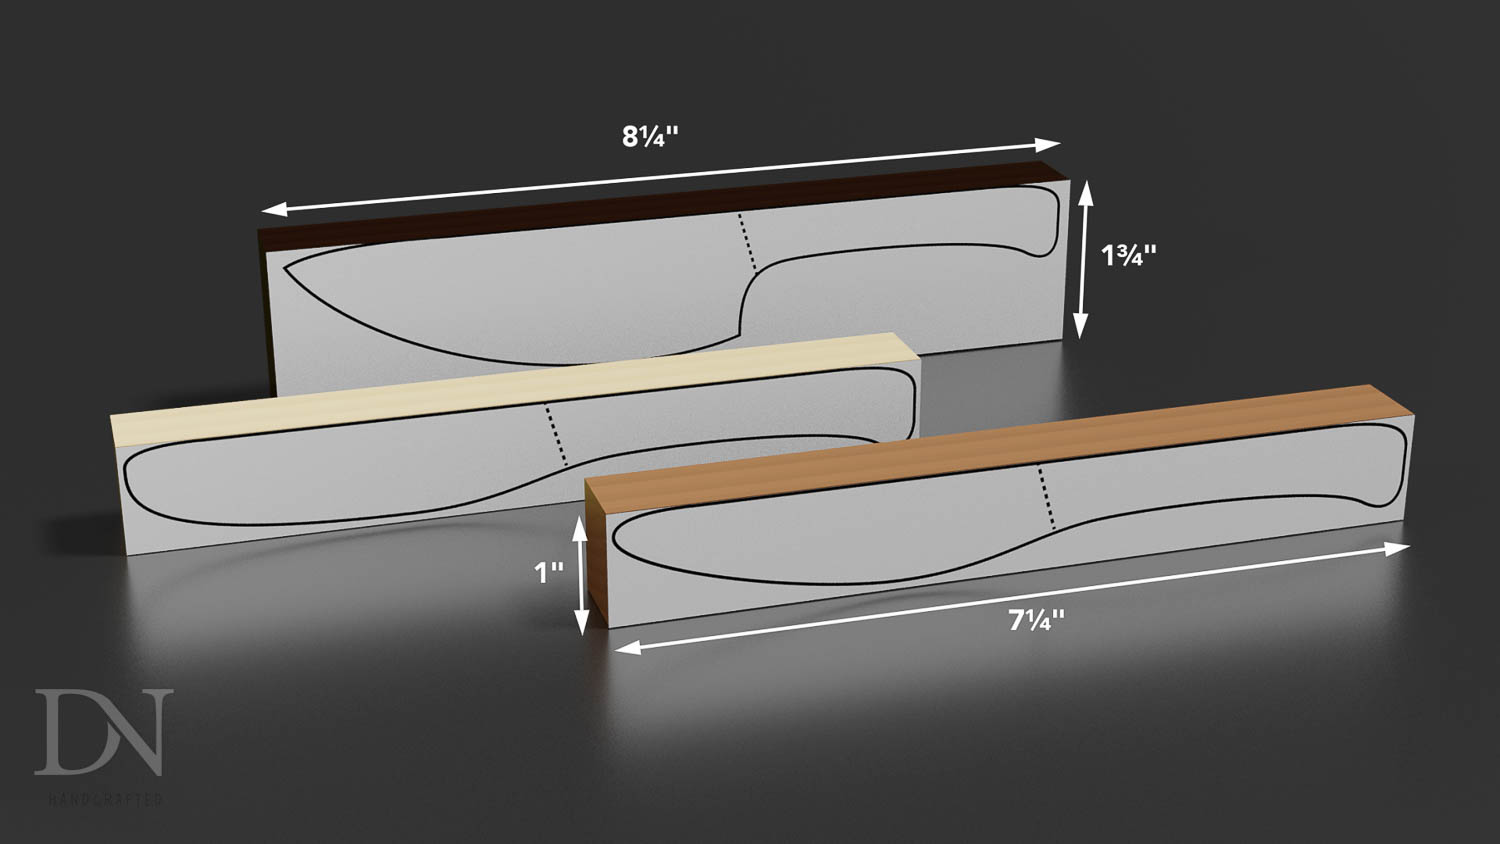
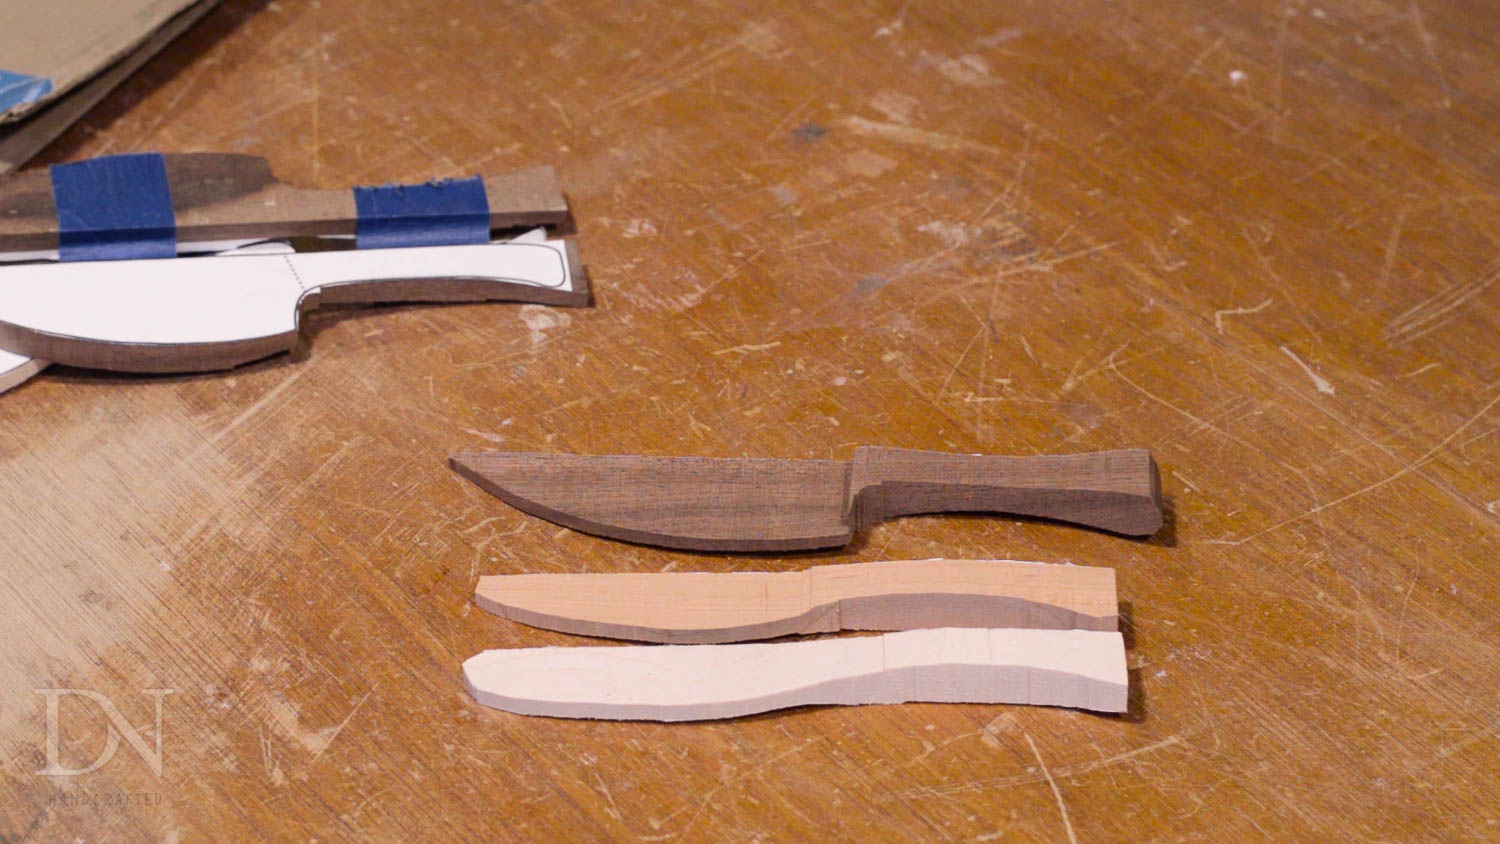
When you are selecting the stock for this project, keep in mind the knives will be fairly thin. So choose stock with a nice straight grain. All three knives can be made from 3/4 stock. For the larger chef knife shape, you’ll need a piece 8 1/4" x 1 3/4". For the either of the smaller knives, you’ll need pieces sized 7 1/4" x 1".
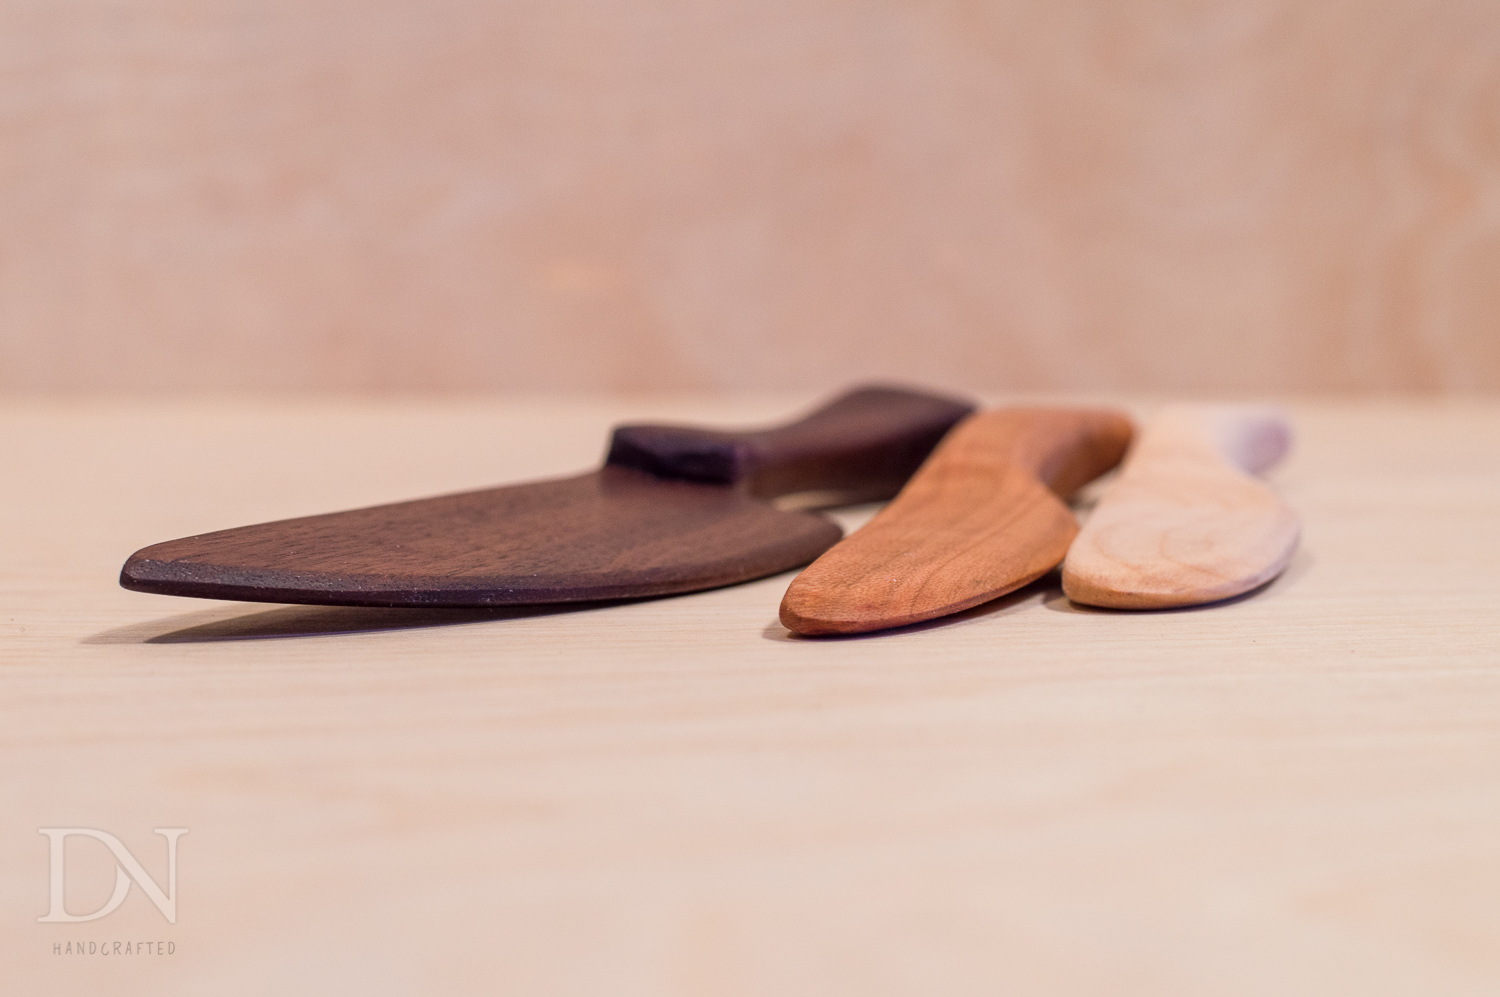
Mill flat, parallel sides on the stock in preparation of attaching the template. I am using cherry, maple, and black walnut for the knives in this article.
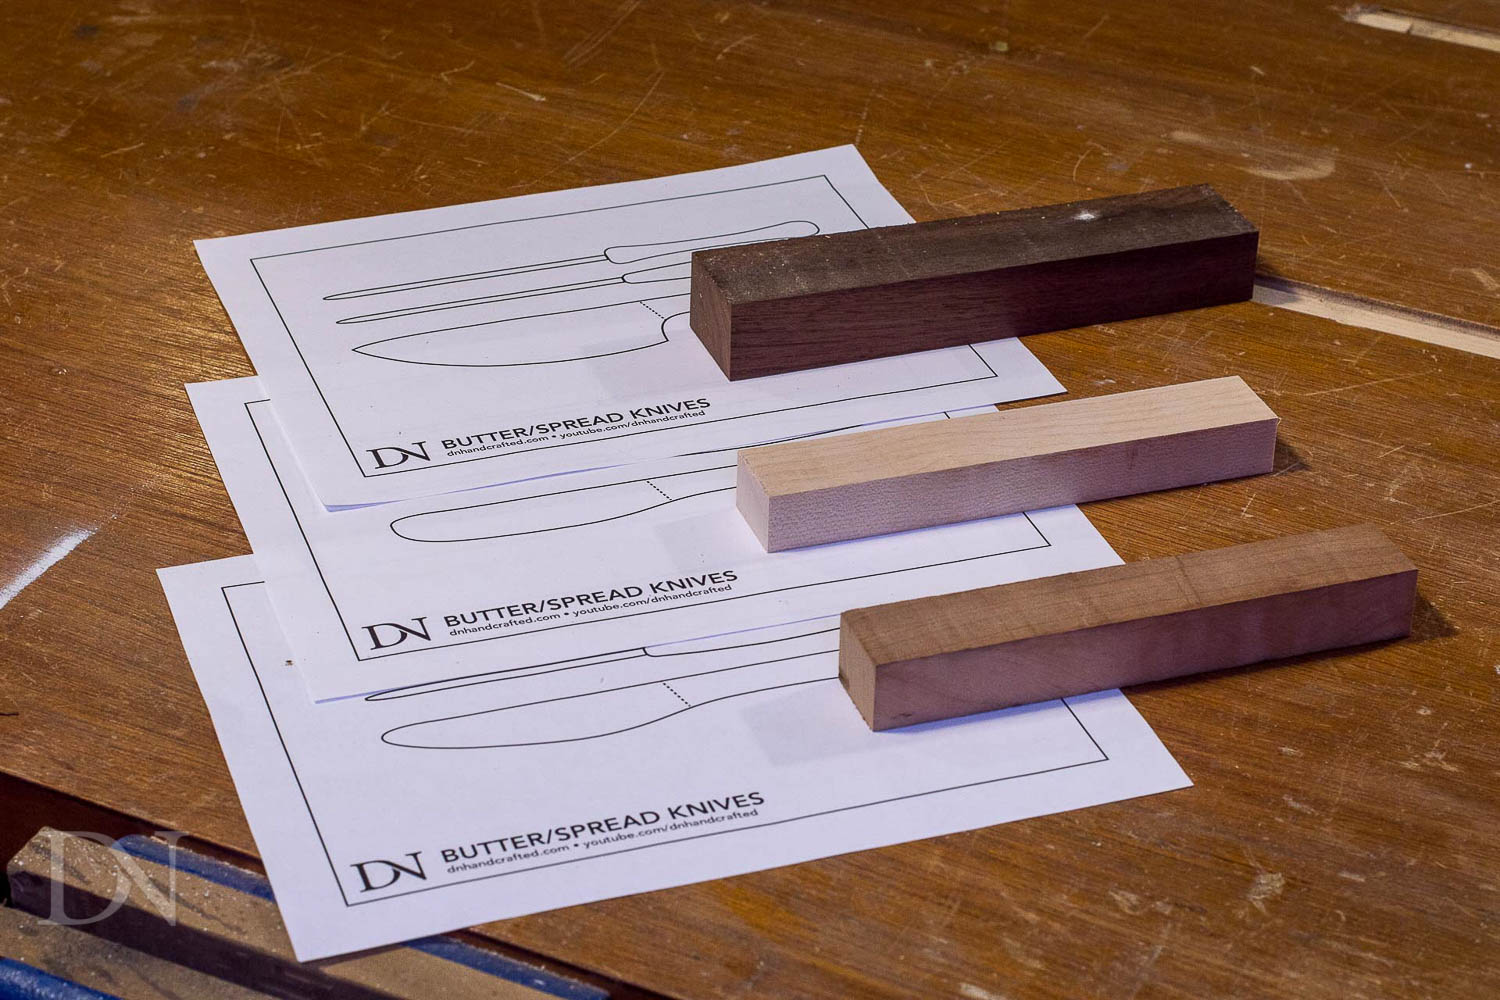
The templates have a few different top profiles for the handles, so cut out the one that looks good to you, then cut out the side profile as well.

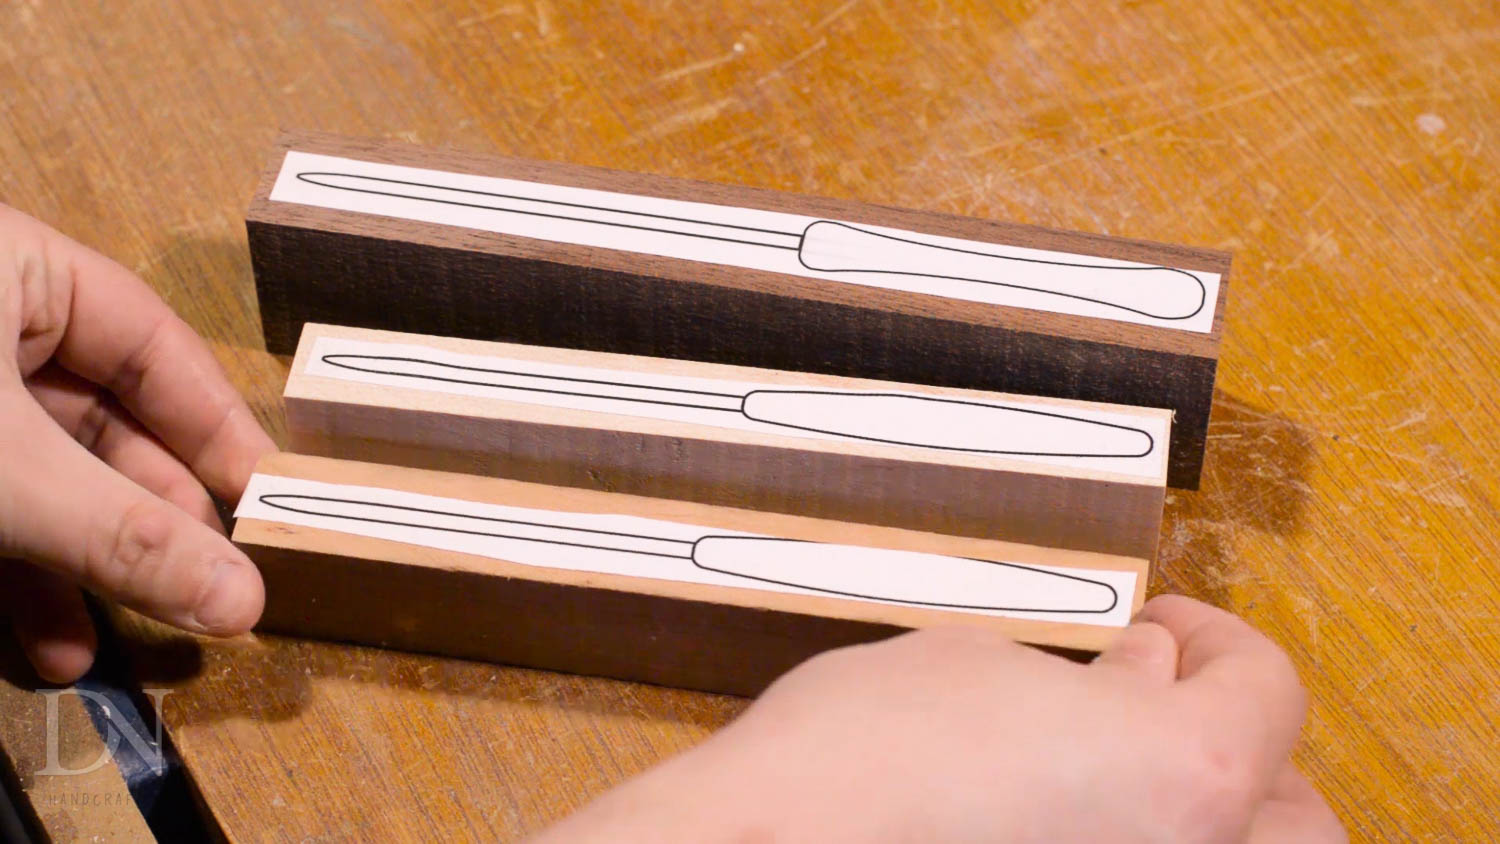
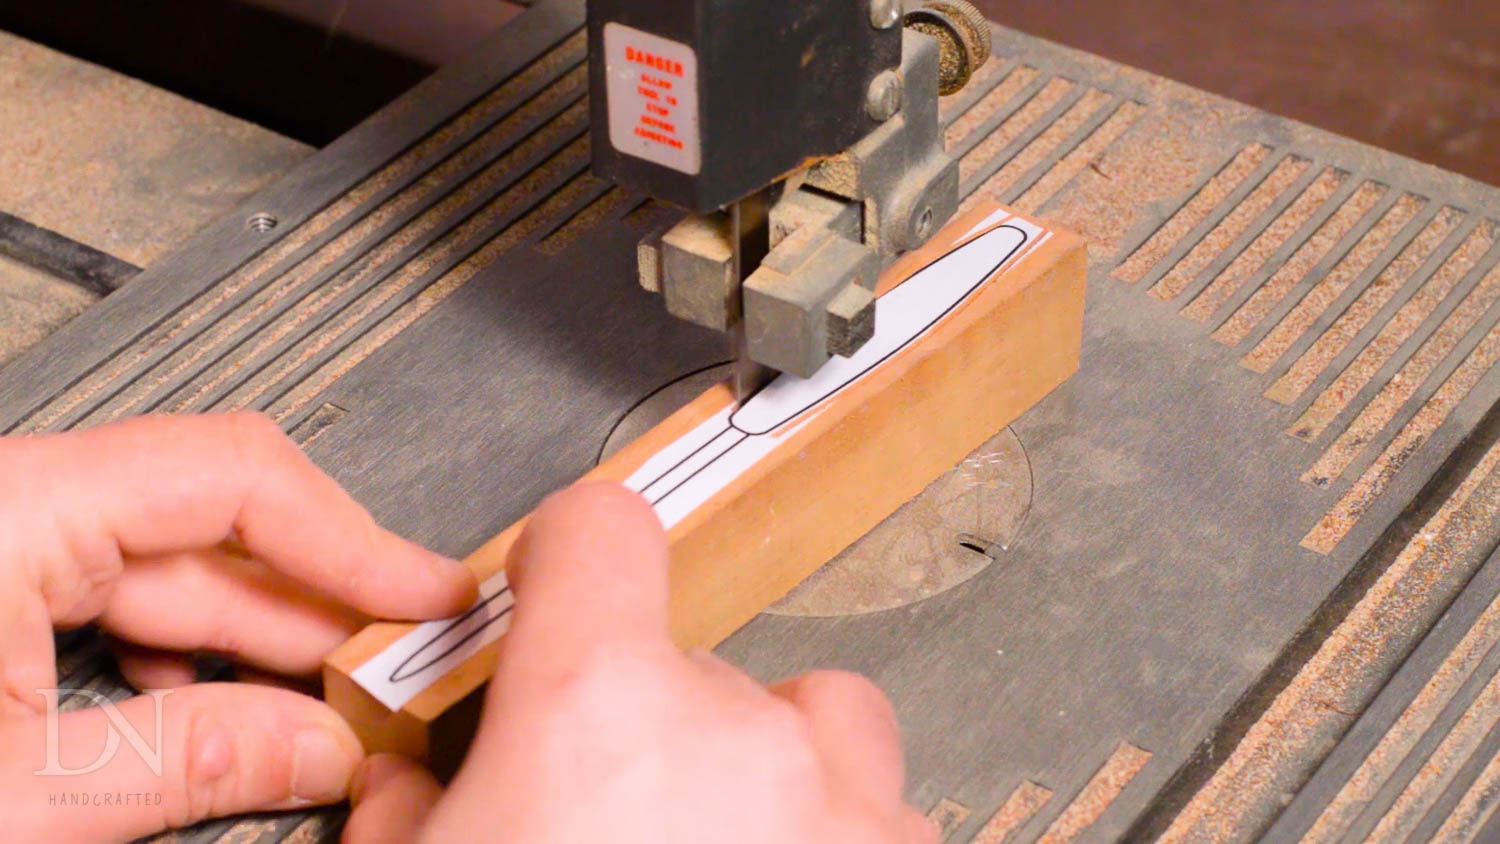
Using spray adhesive, attach just the top profiles to the wood. This project is fairly forgiving, so don’t worry too much about the template being perfectly aligned on the wood.
Over at the band saw, carefully cut just outside of the line. If you take each knife in four cuts, you can keep your fingers well away from the blade. By four cuts, I mean a cut on either side of the blade ending at the handle, and then a cut on either side of the handle ending in the middle at the previous cuts. Don’t discard the sides you are cutting free – we’ll need those in just a minute.
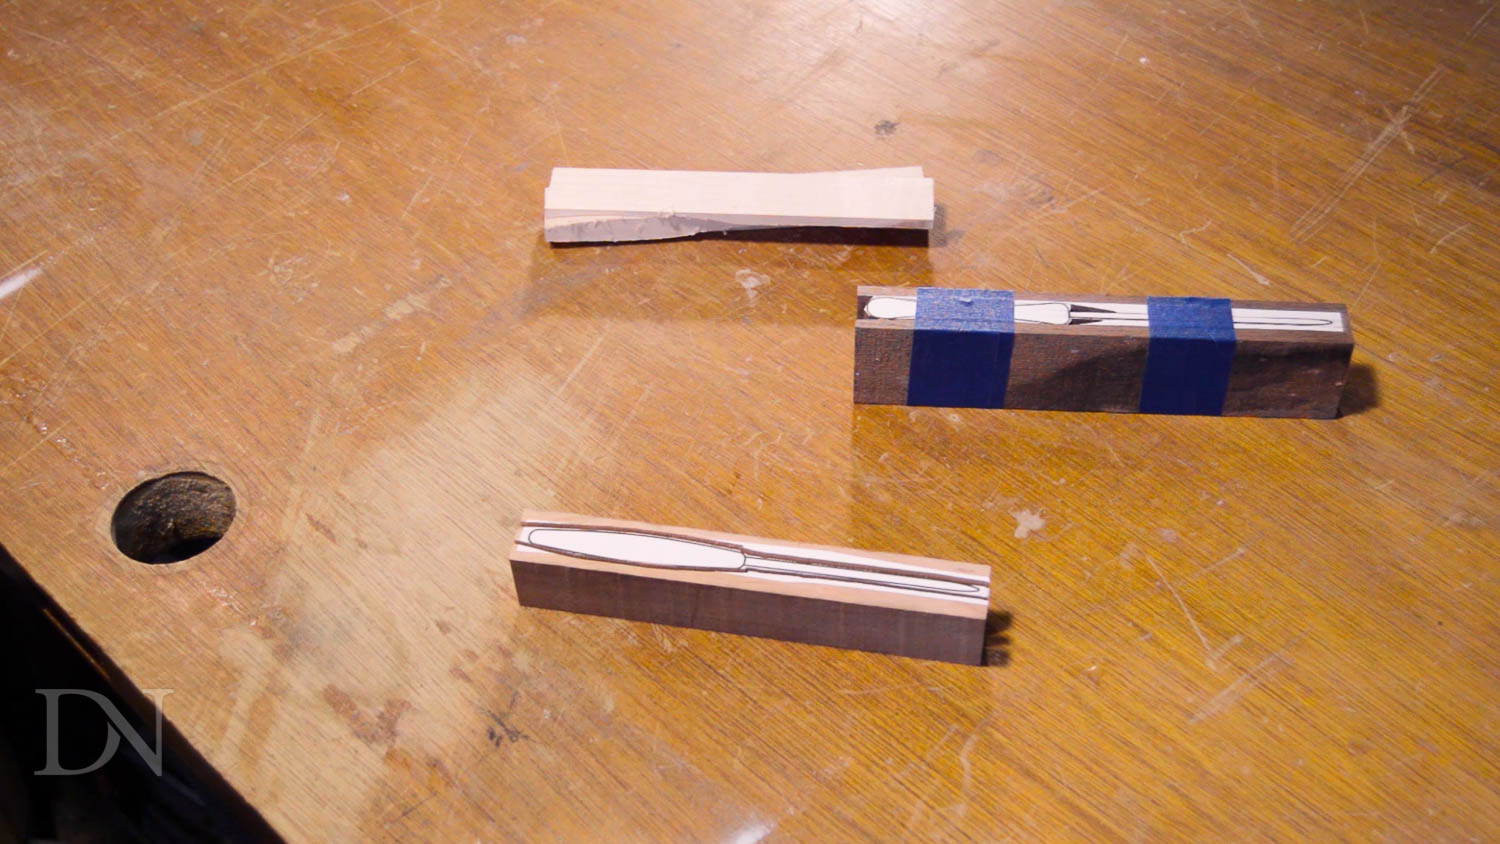
Once you have the knife cut out, re-assemble the three (or more) pieces in their original orientation. Using masking tape, tape the pieces back together. I’ve also seen Jimmy Diresta use hot glue in the corners of the work to put them back together for a process like this.
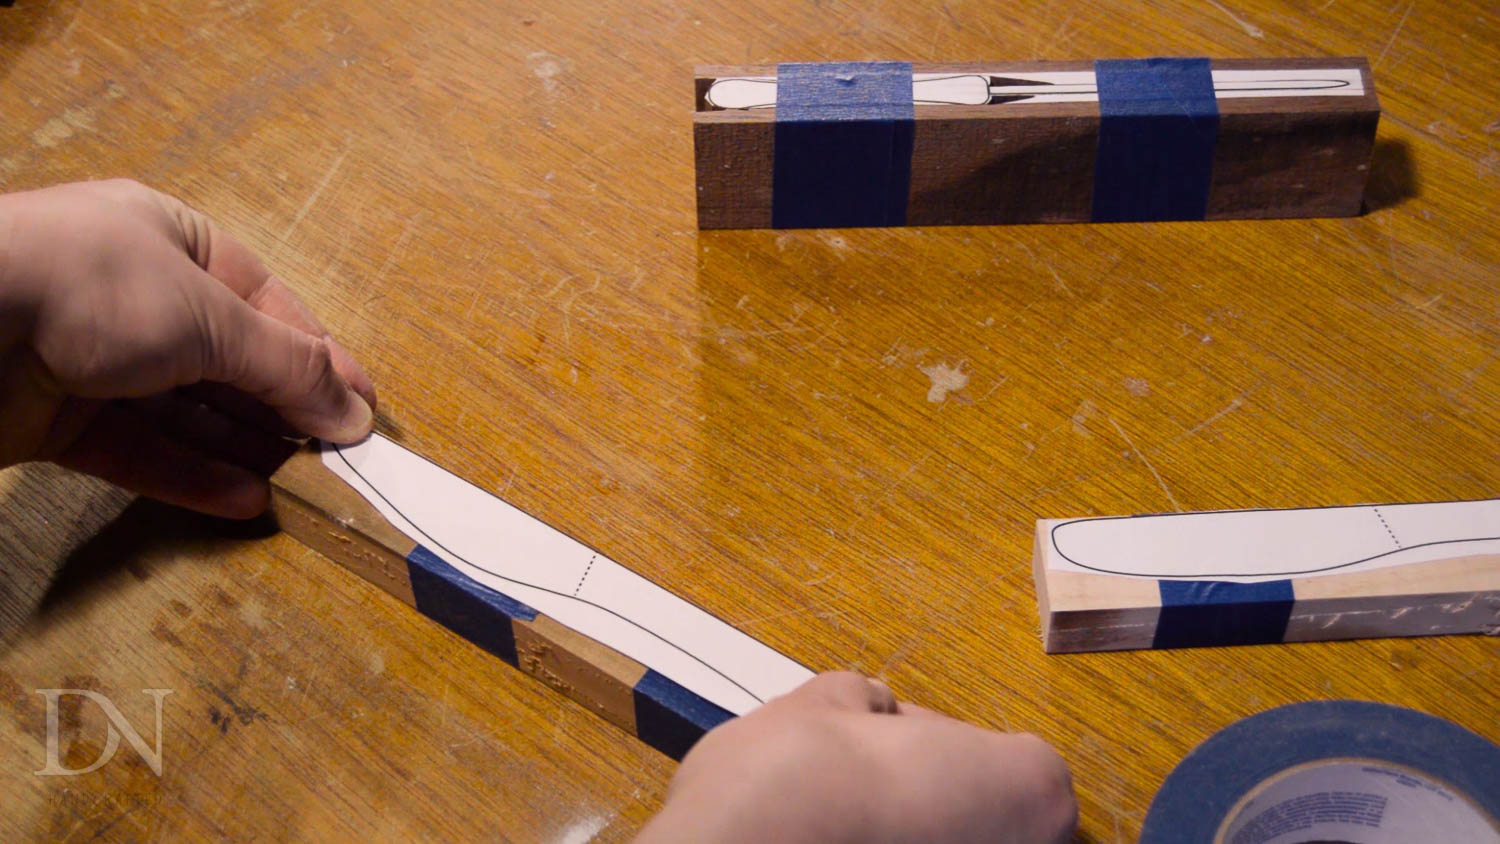
At this point you can attach the side profile using spray adhesive. The knife templates are flat on one side, so do yourself a favor and align that with one side of the wood.
Back over at the band saw, again cut outside the line – this time along the side template profile.
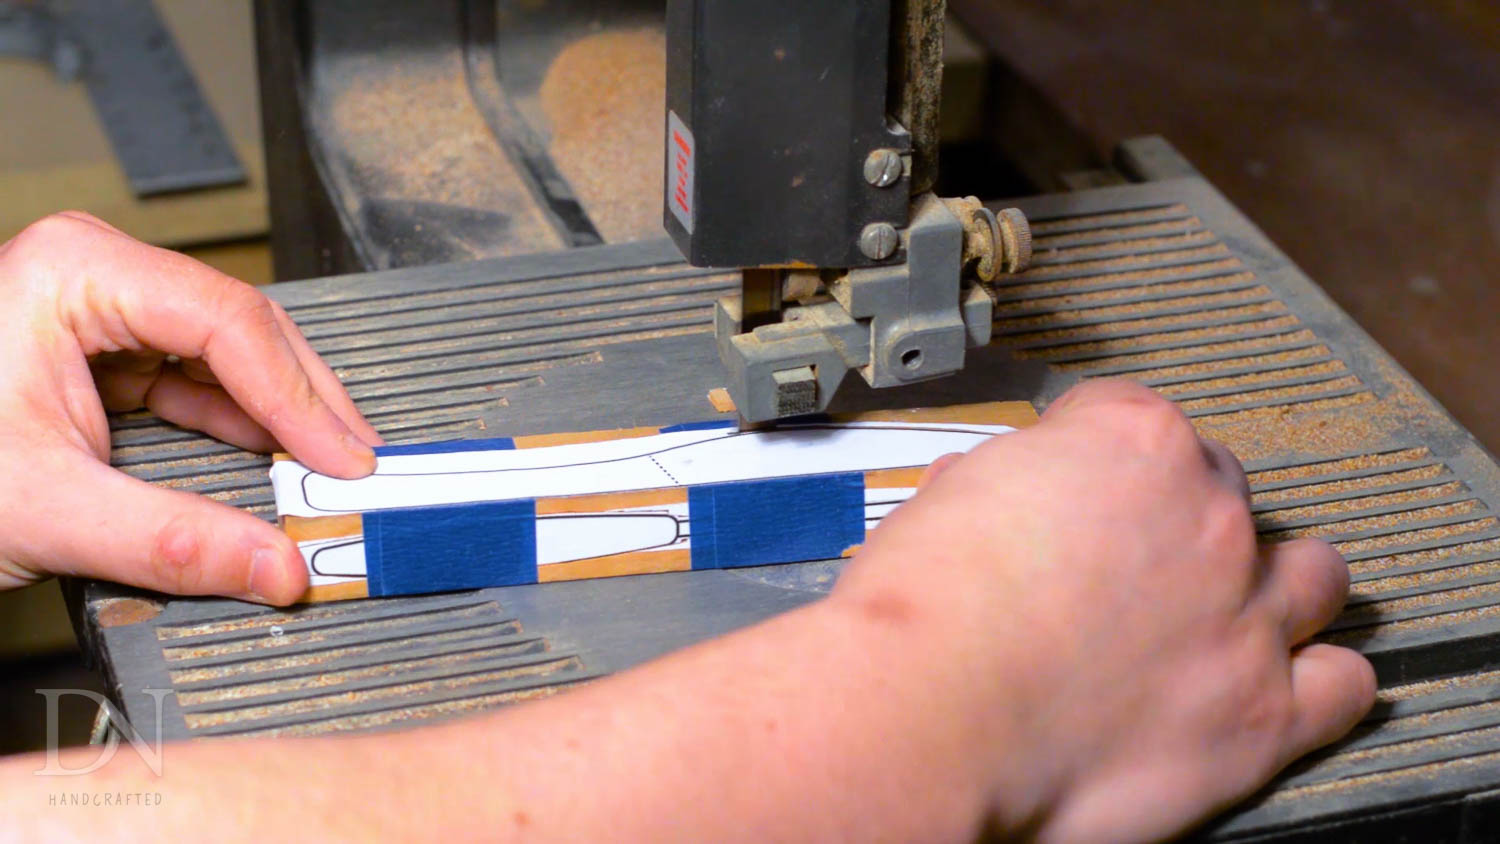
Once the knife is cut out, you can remove the extra pieces still taped together – and you’ll have a really rough knife shape.
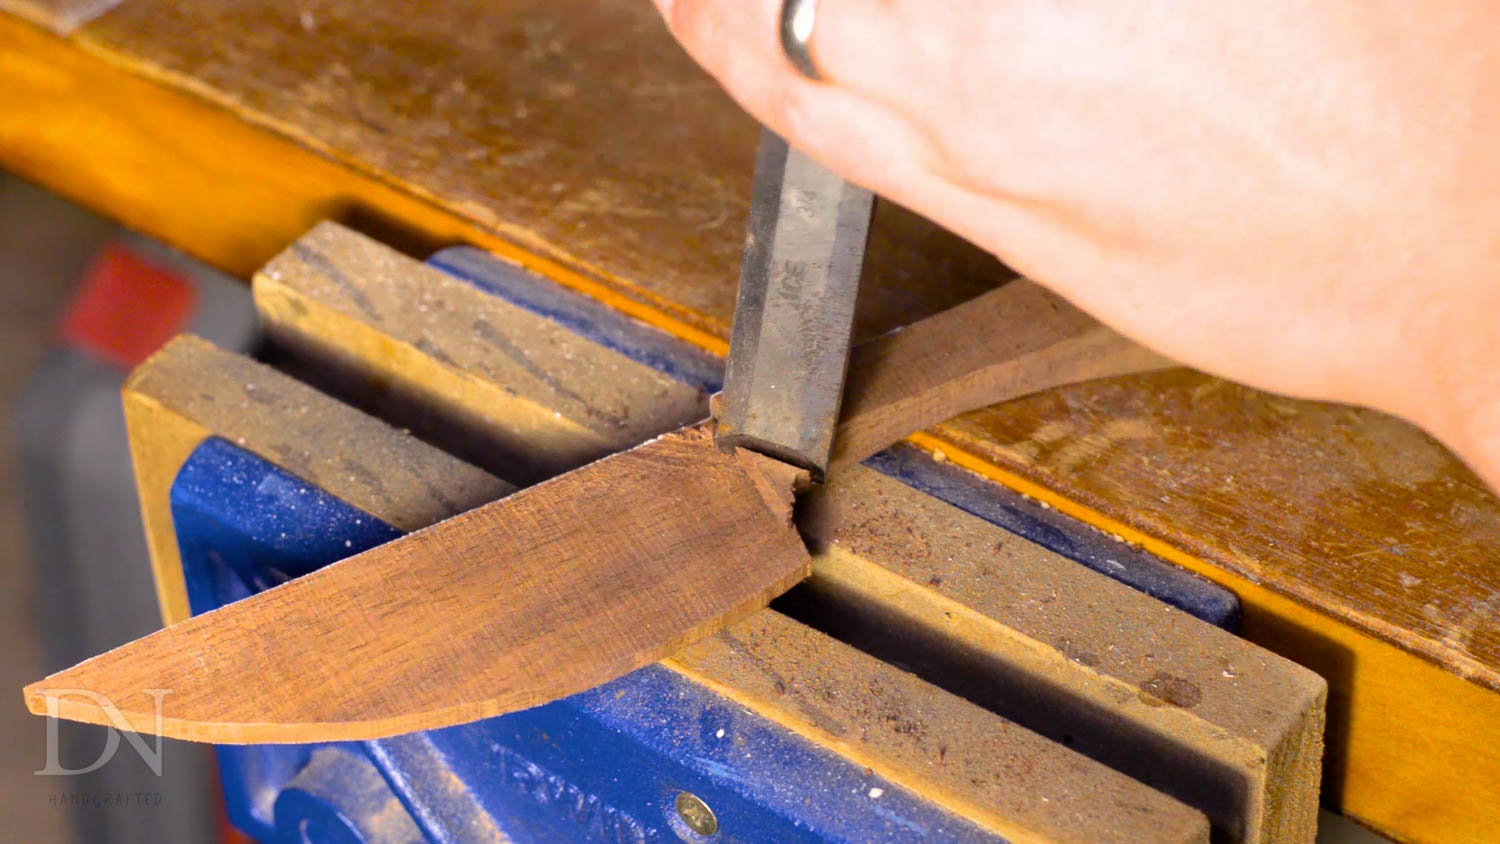
If you go with the more defined handle, you may want to cut part of it back at an angle – this can be achieved using a saw and a chisel. Just be careful not to cut too deep with the saw… don’t ask me how I know that.
Other than finishing, the remainder of this project is sanding – this is the part where you can really have fun and shape the handle and blade to your liking.
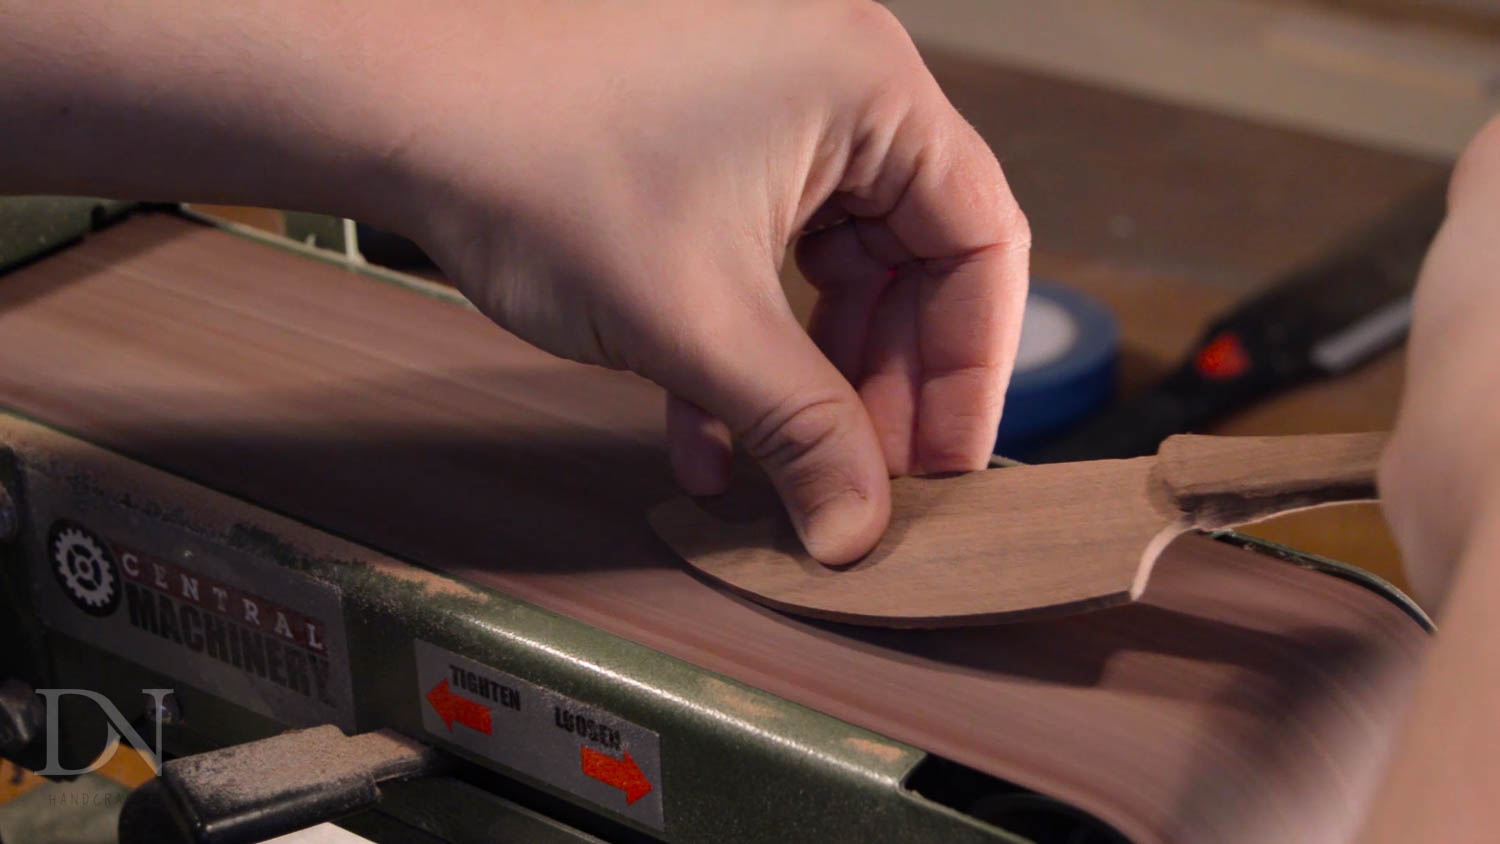
I started by removing the band saw marks from the blade and partially removing them from the handle. Its not as important to clean up the handle just yet, since you’ll be removing a lot of material as you round over the handle.
Use this opportunity to refine the side profile of the blade.
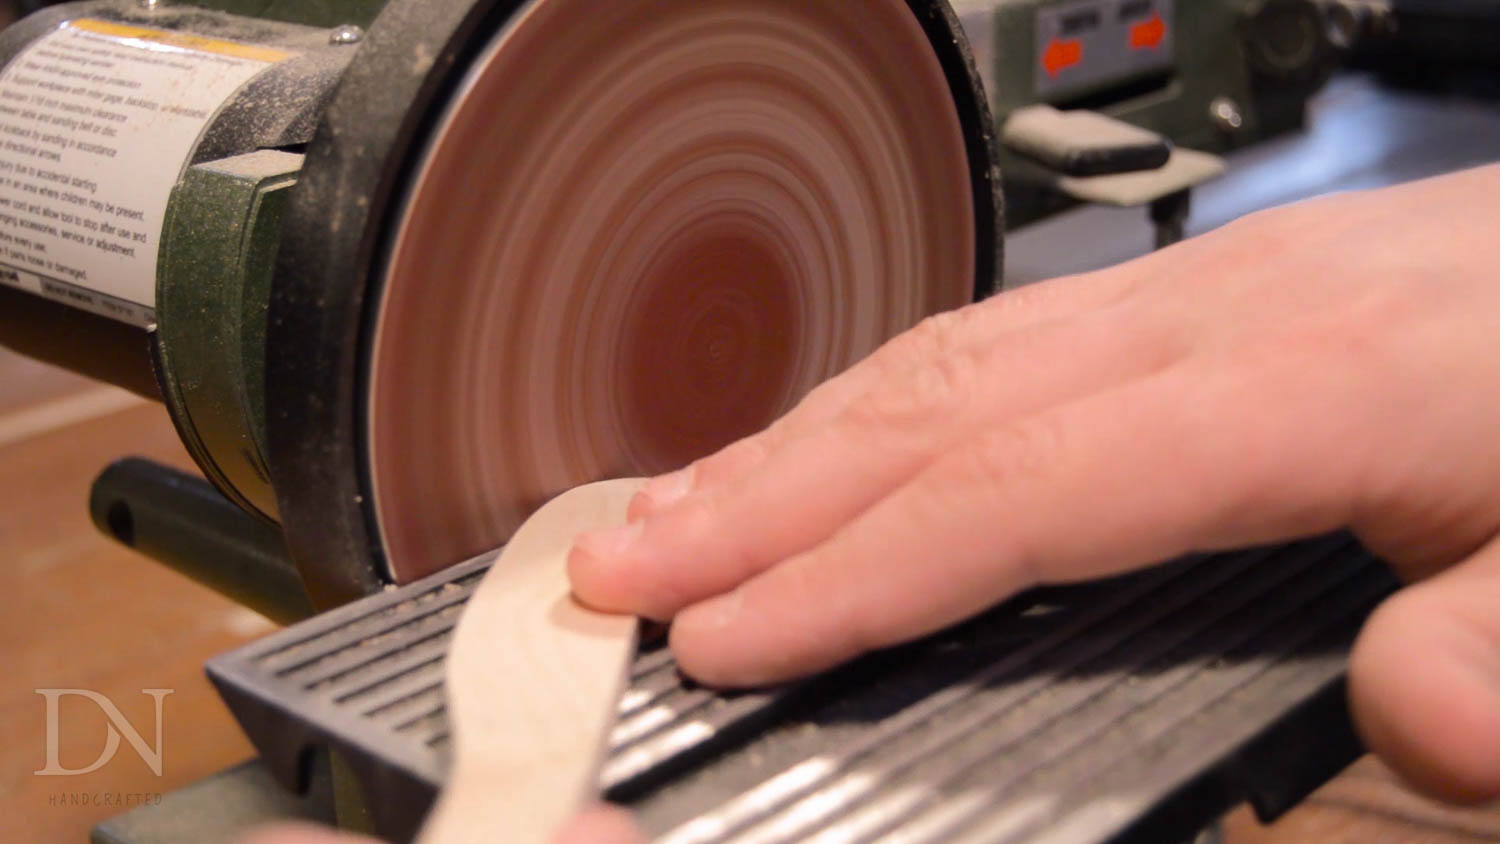
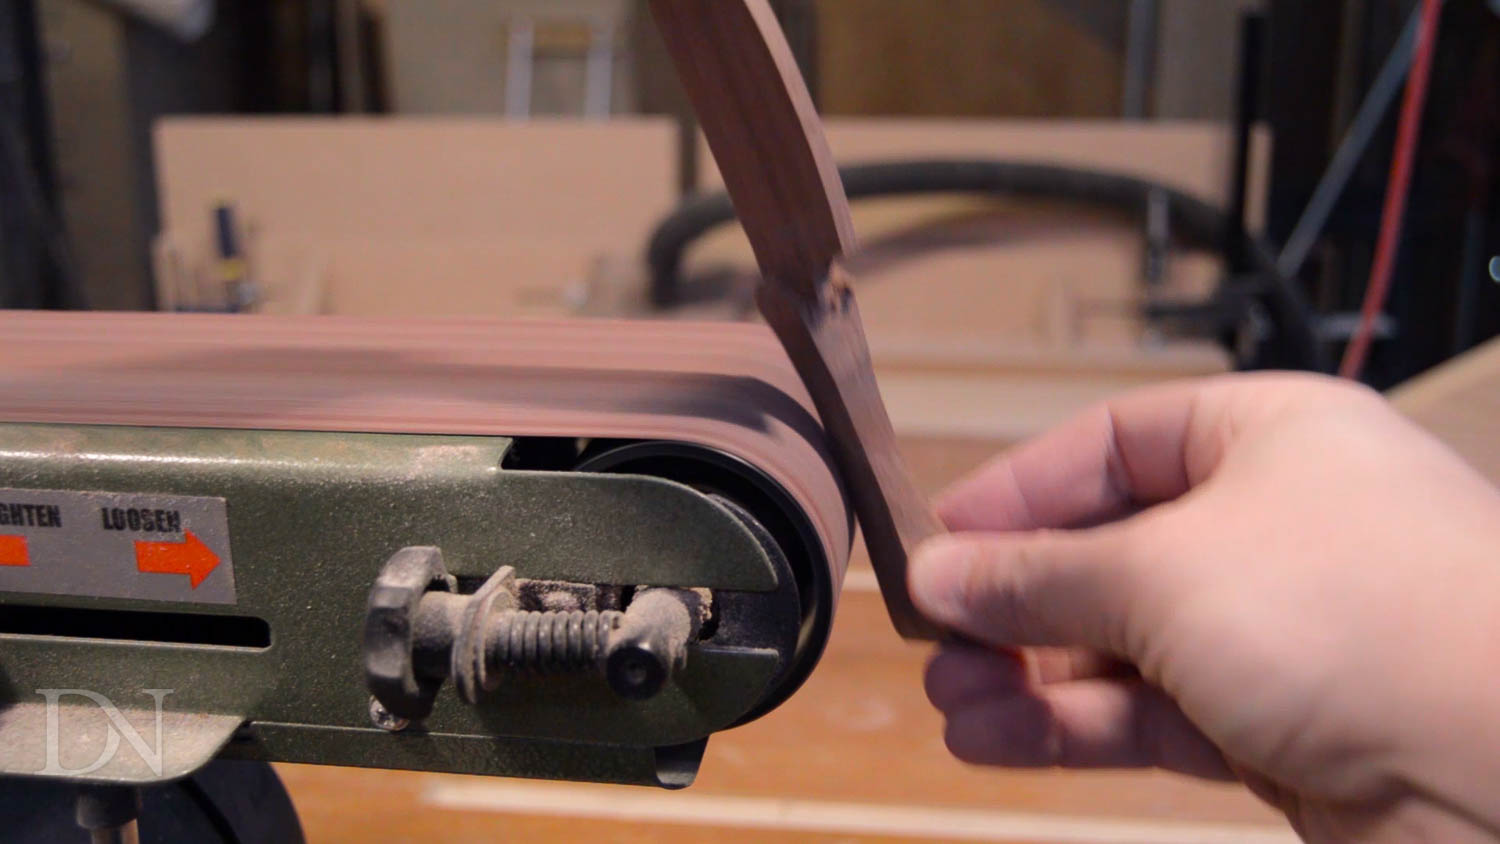
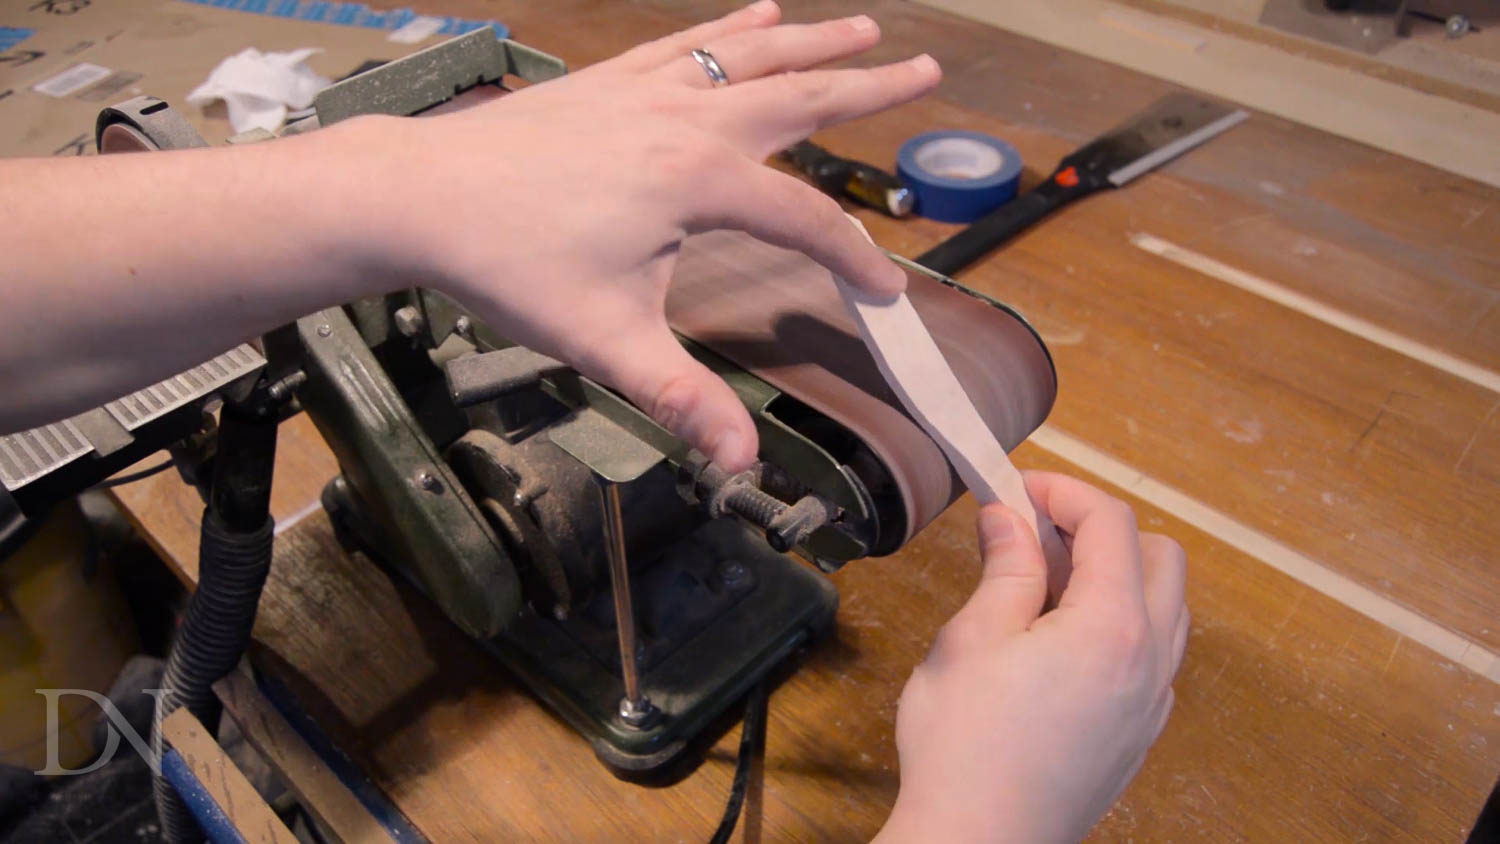
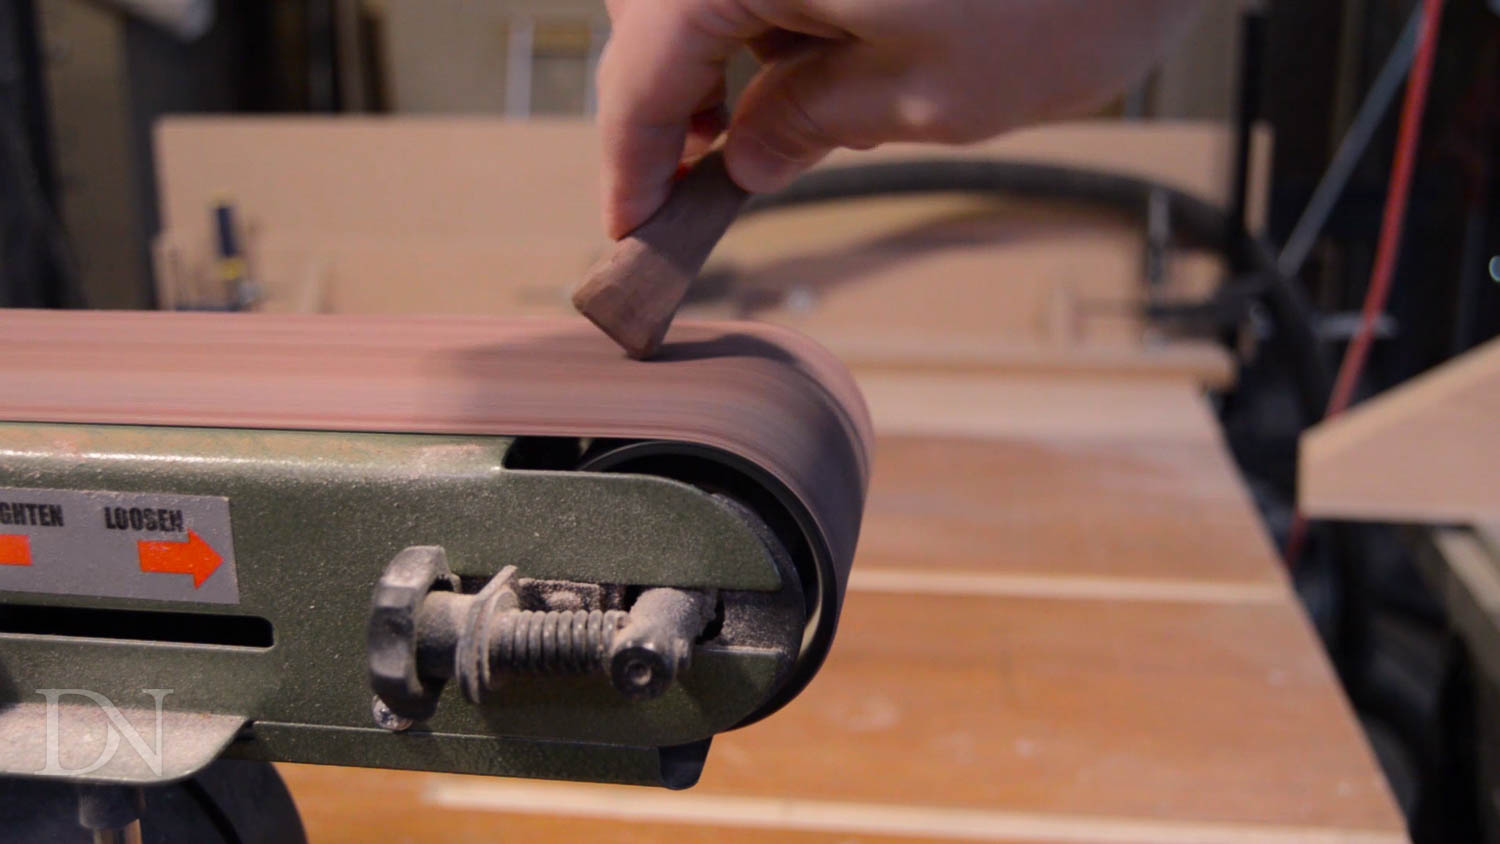
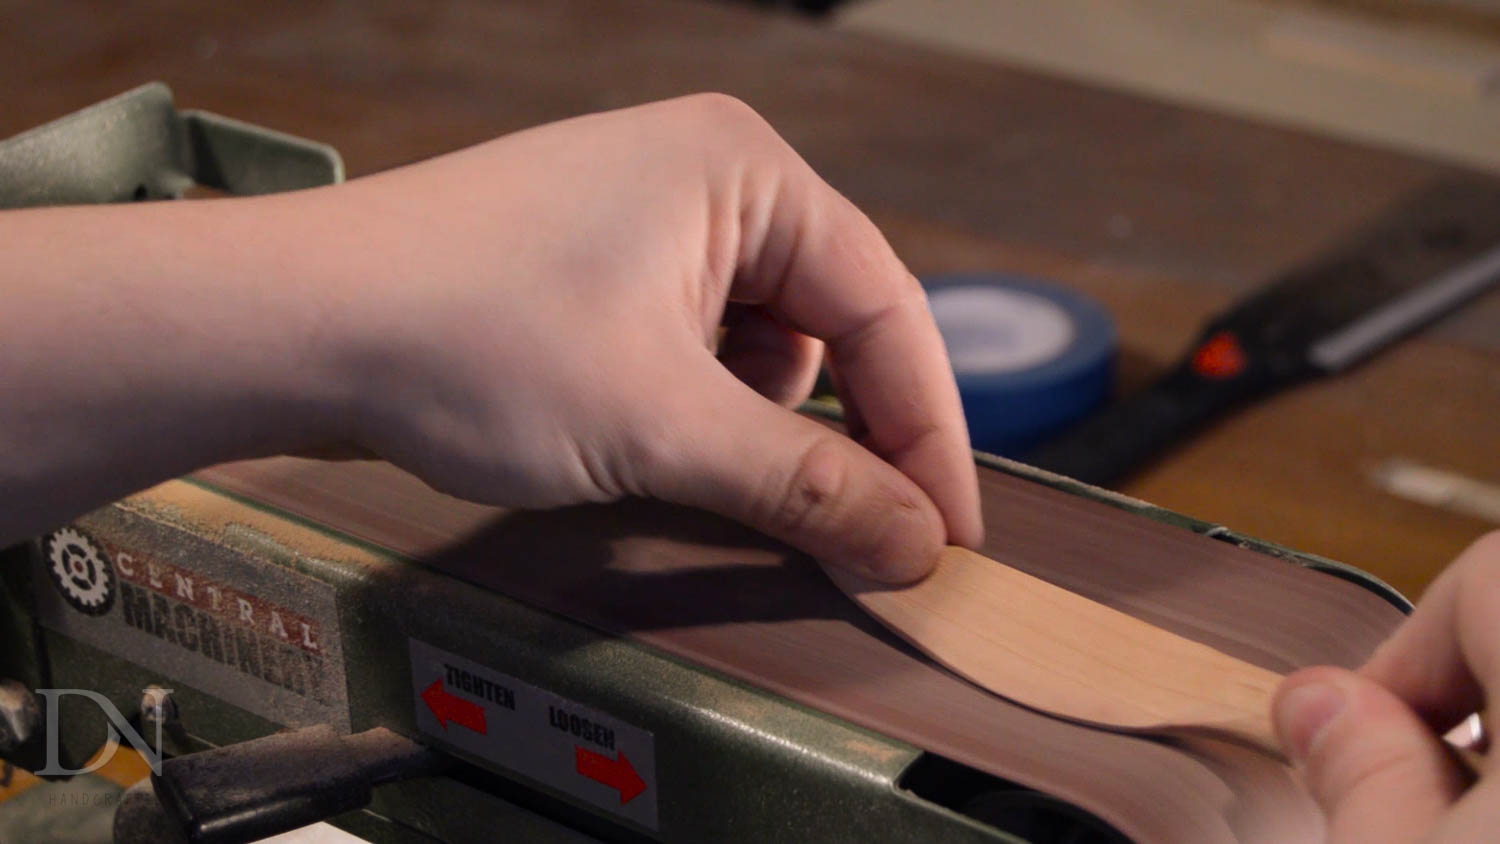
Once the blade is flat and tool marks are removed, round over and really shape the handle. I was able to do 90% of this on my belt/disc sander.
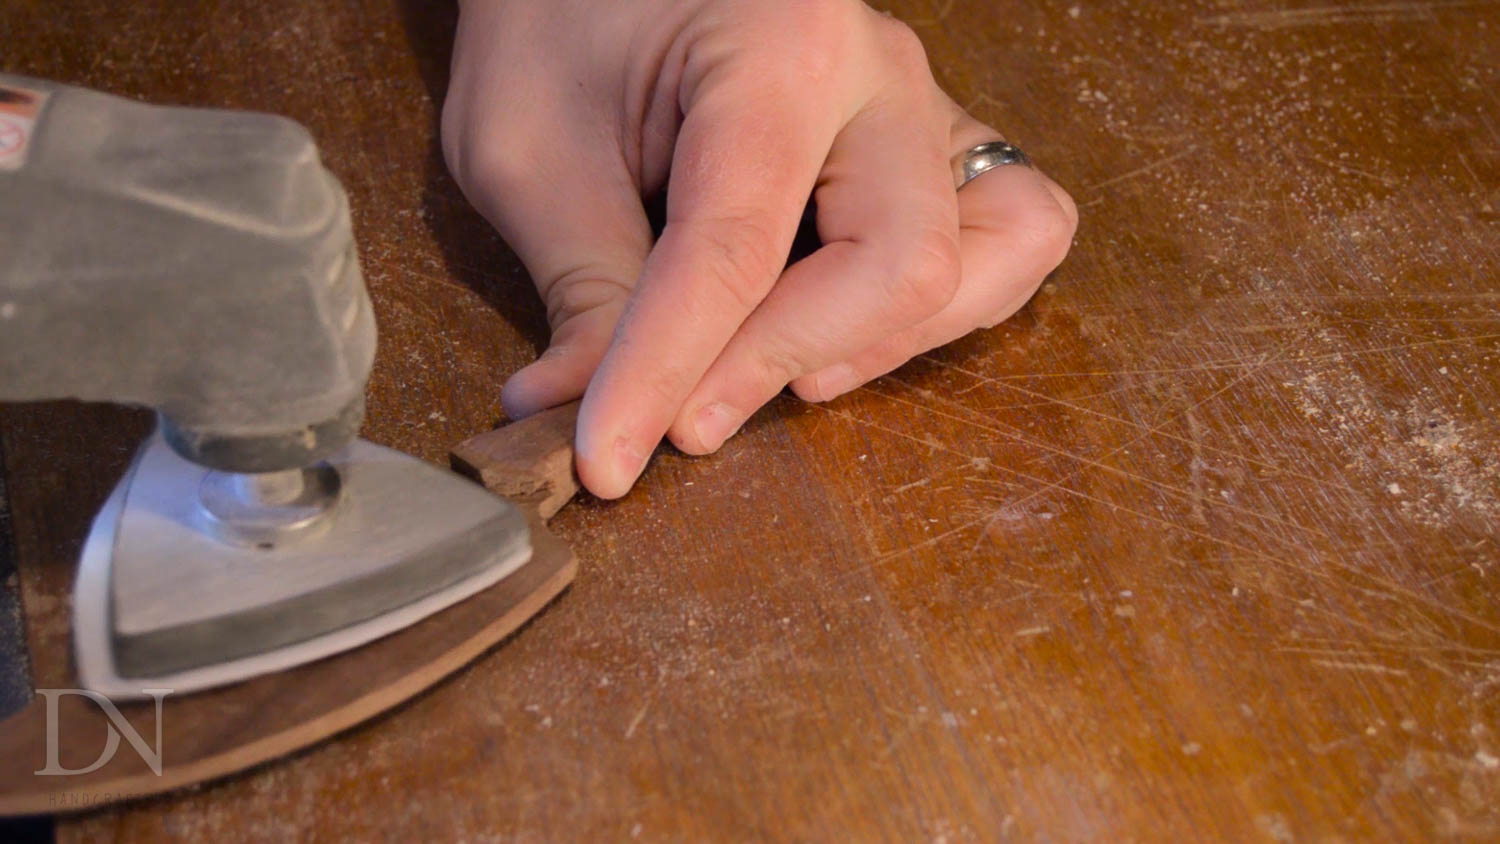
For the tight corners, use a 1” belt sander or a multi-tool like I did.
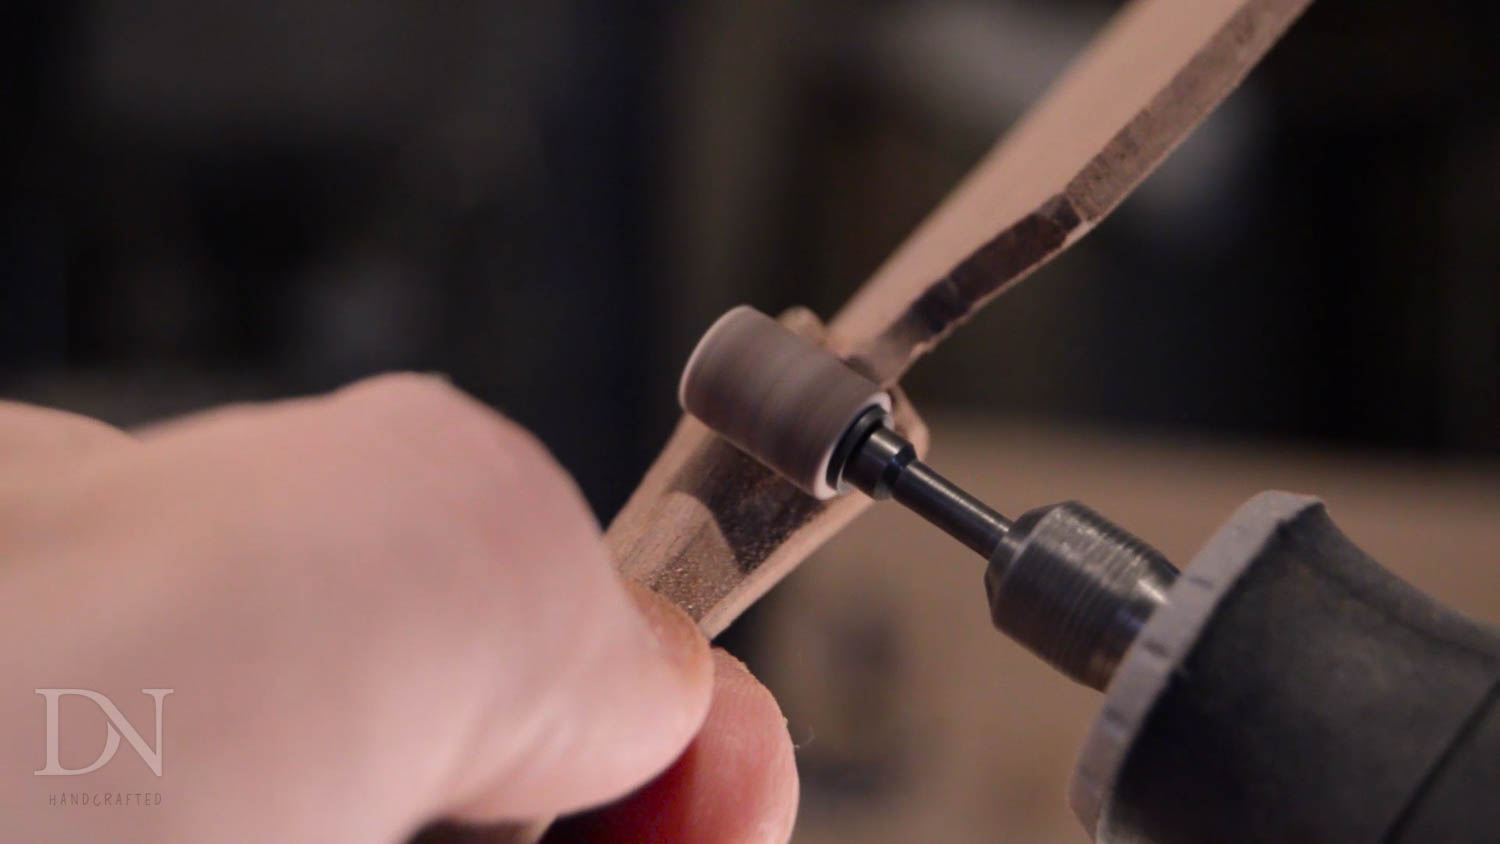
The bottom drop of the chef knife style template means you can’t fully shape it on the belt sander. I used a sanding attachment in my Dremel to refine the shape of the handle.
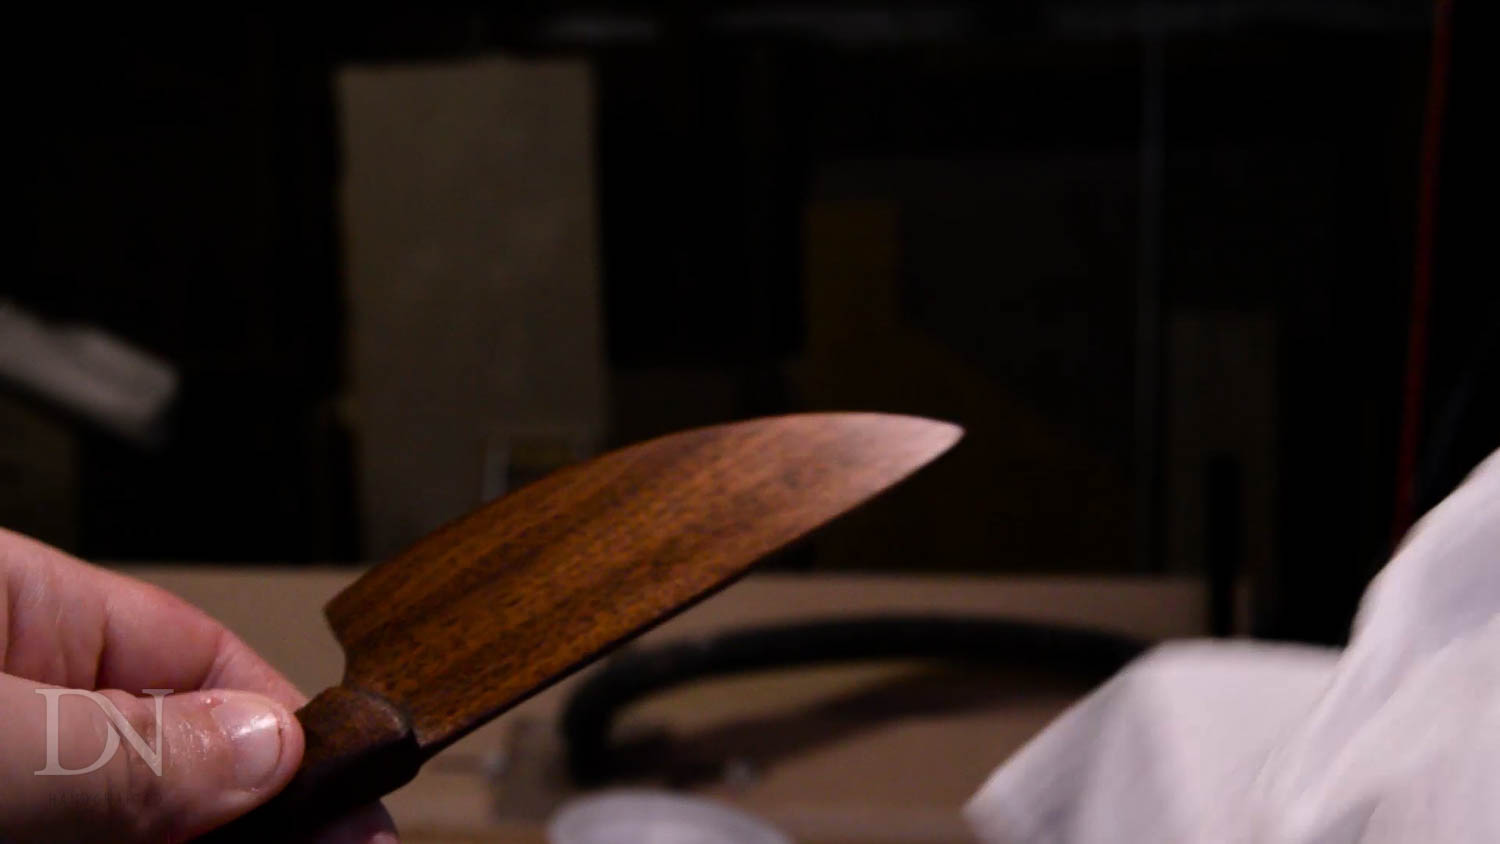
Once you are done with the shaping, its time to add the bevel. I am sure you could be much more precise than I was, but I had good success with just holding the knife at an angle and beveling about half way through the width, then turning it over and repeating the process.
You can leave the sharp bevel or fully blend and round it over, its totally up to you. Just remember, don’t make the edge too sharp – this is for soft spreads and butter, not cutting food – so keep it blunt enough not to hurt anyone and for it not to chip.
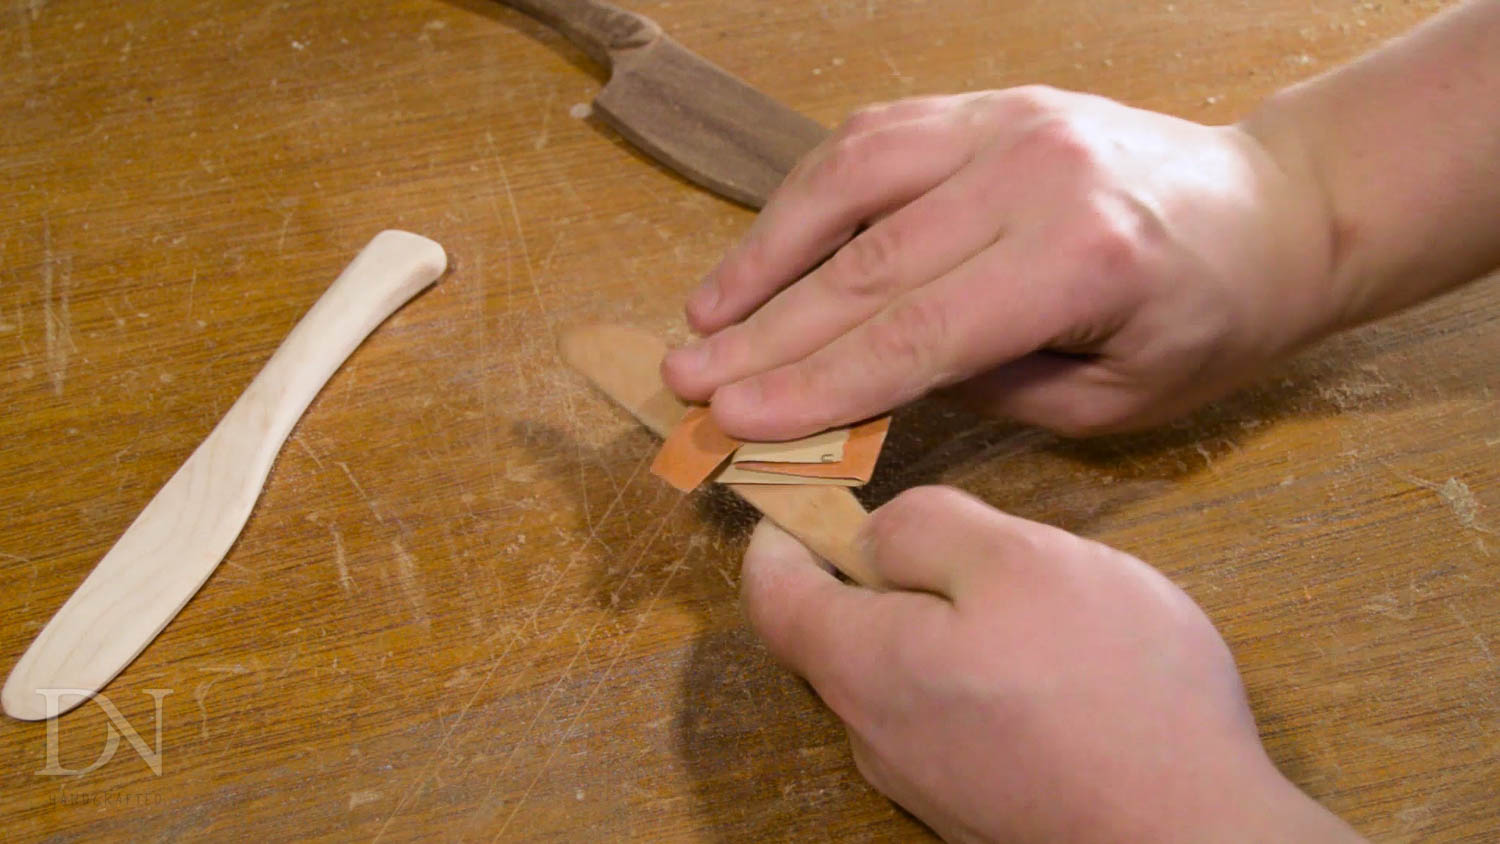
Hand sanding will probably be your best bet to refine the look before applying finish.
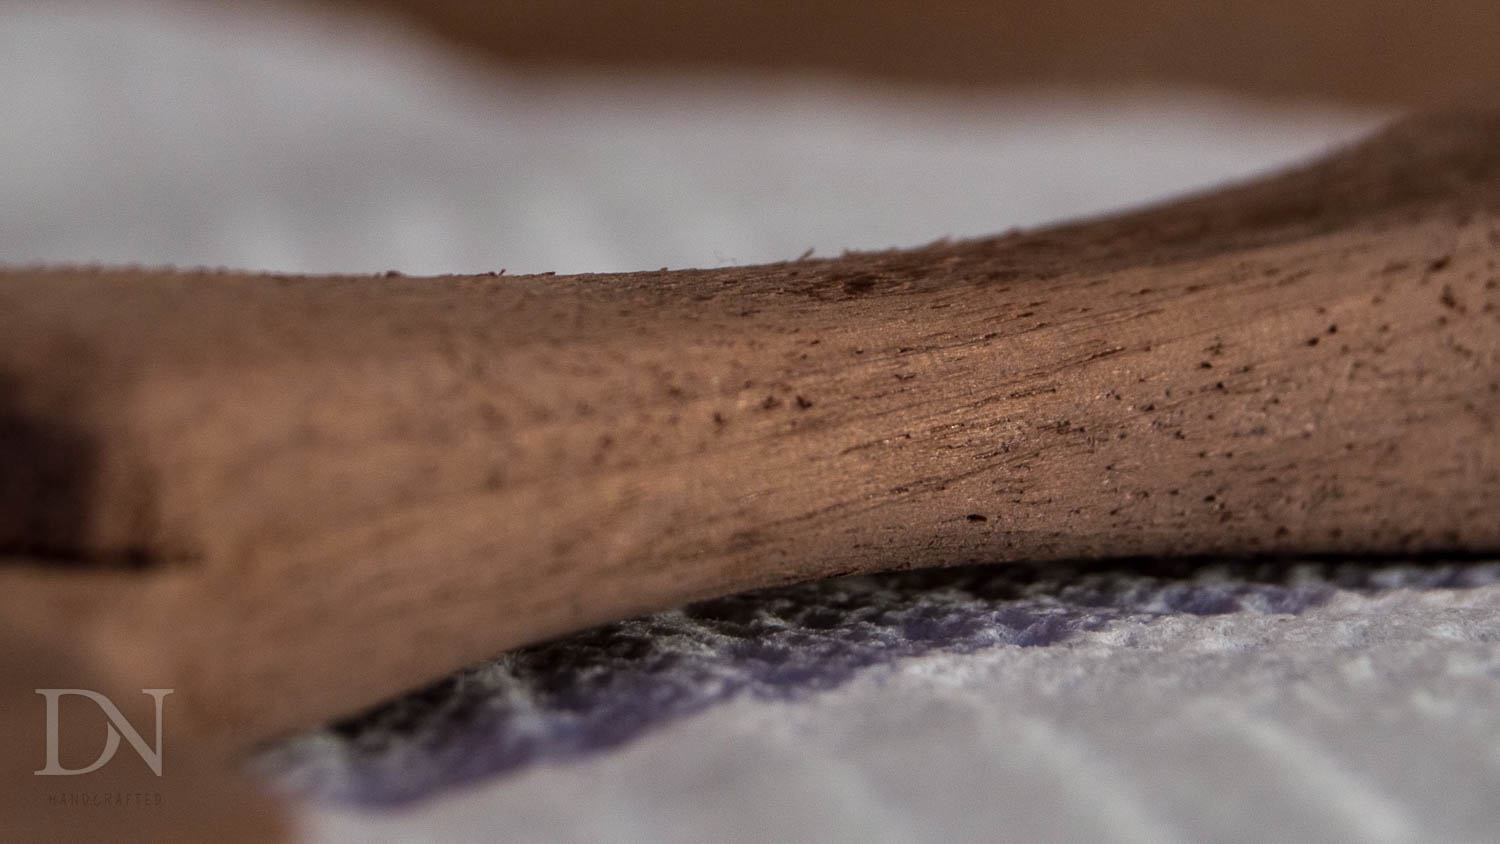
To keep the knife from getting too rough when washed, dunk them in water and let them dry to raise the grain.

You can see how the fibers lift off the wood after this process. A little more sanding and the knives are ready for finish.
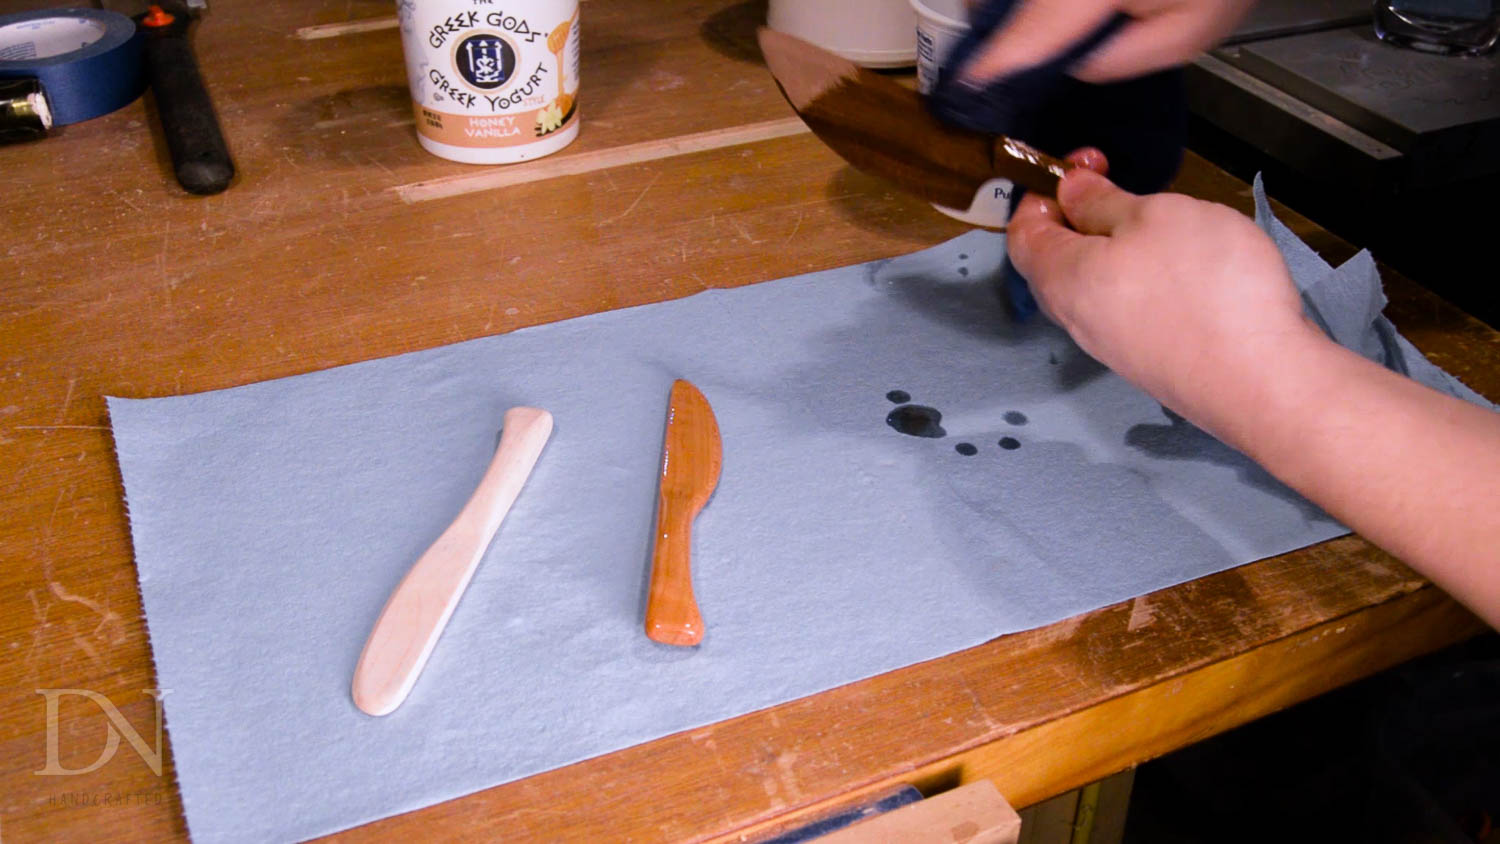
Since these will be in contact with food, use a food safe finish like salad bowl finish or mineral oil and beeswax like I used. I first applied a liberal coating of mineral oil, and let it soak in for a bit.
After wiping off the excess, I applied a home made 4:1 blend of mineral oil and beeswax.
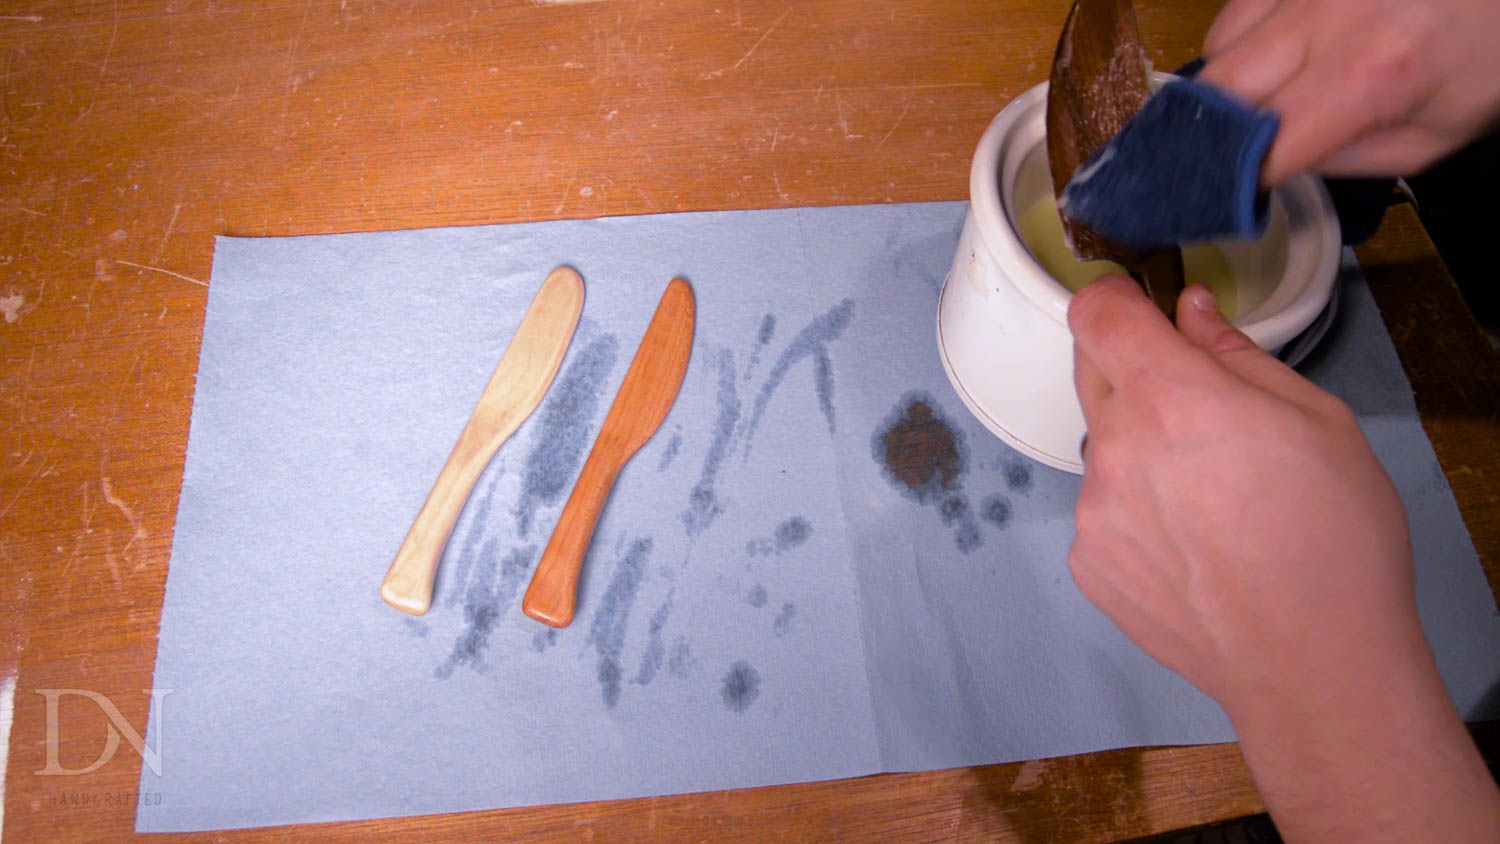
After wiping off the excess again – the knives are ready for use!
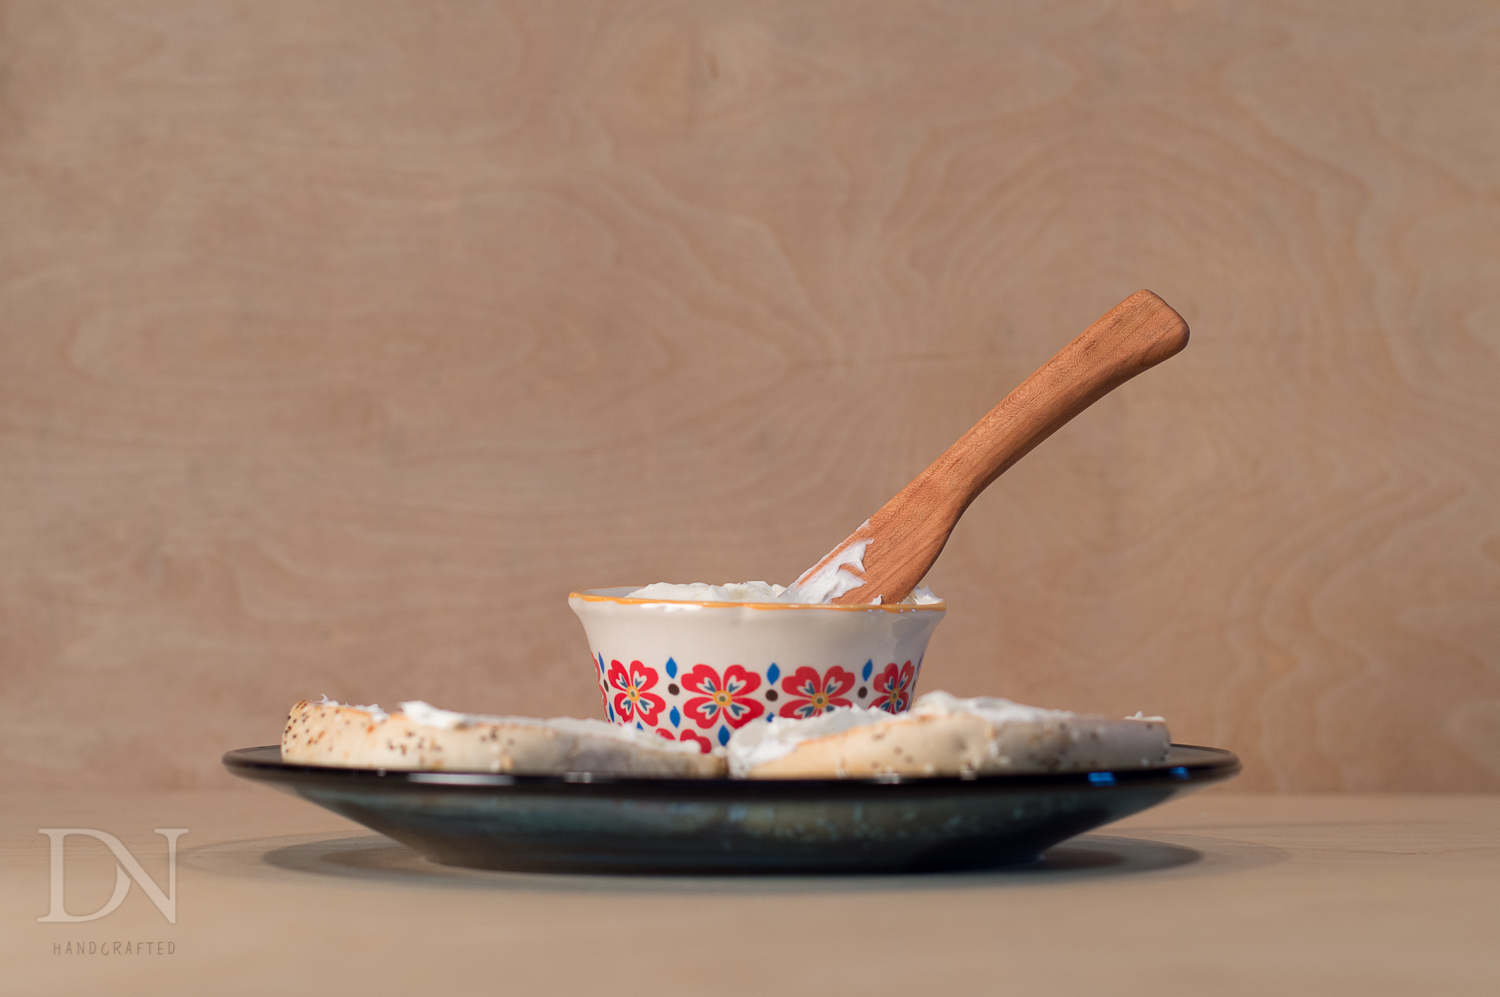
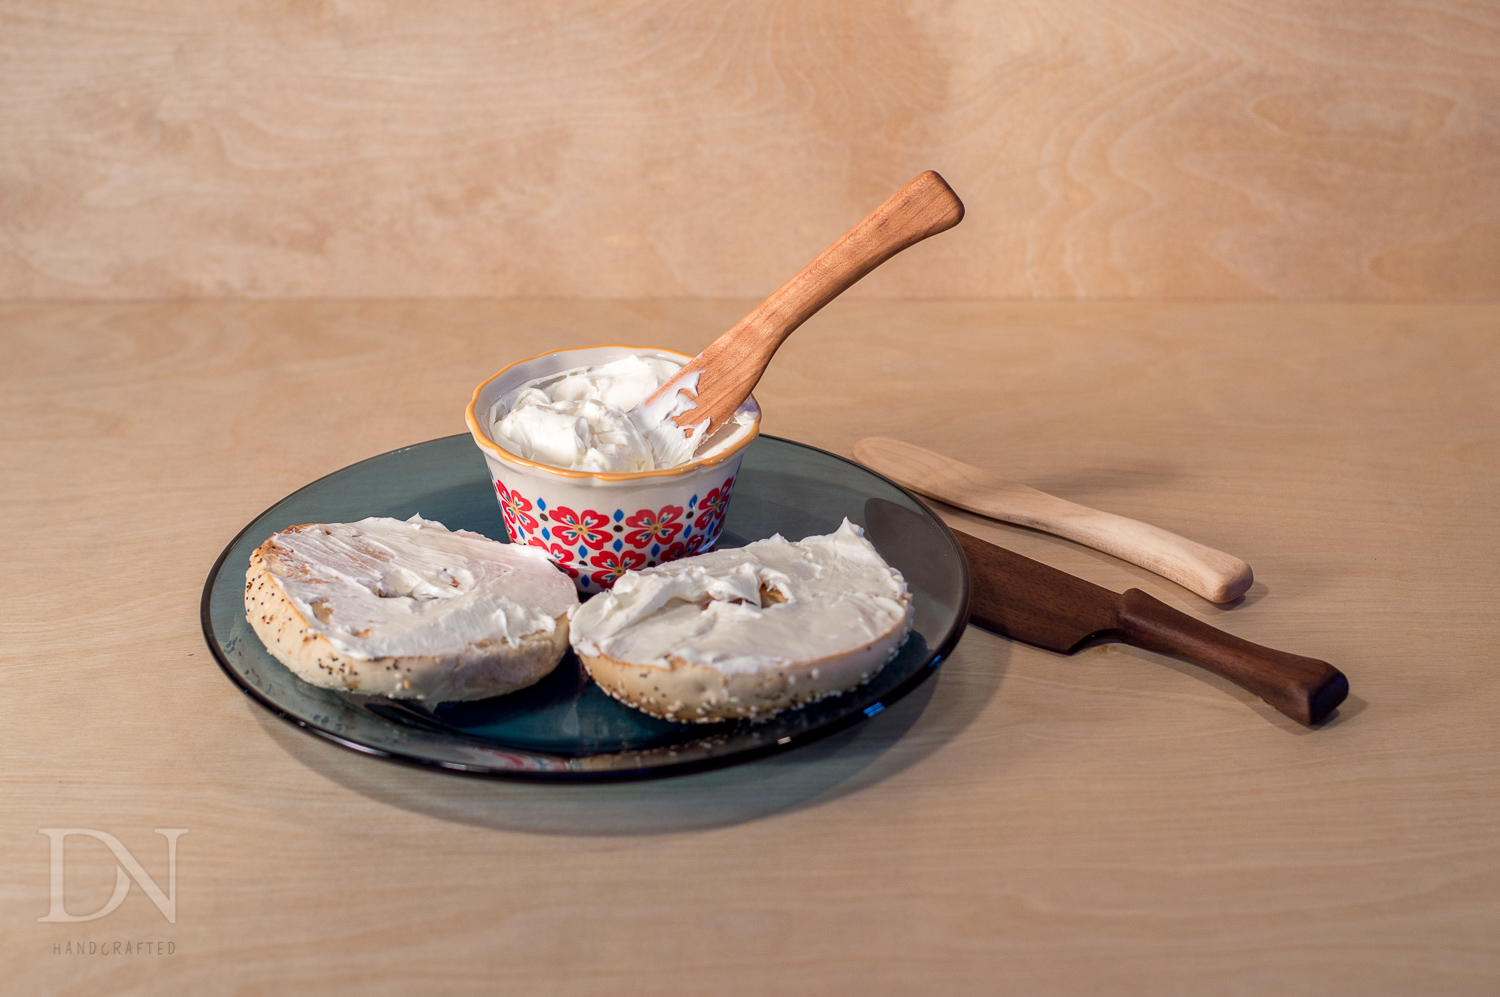
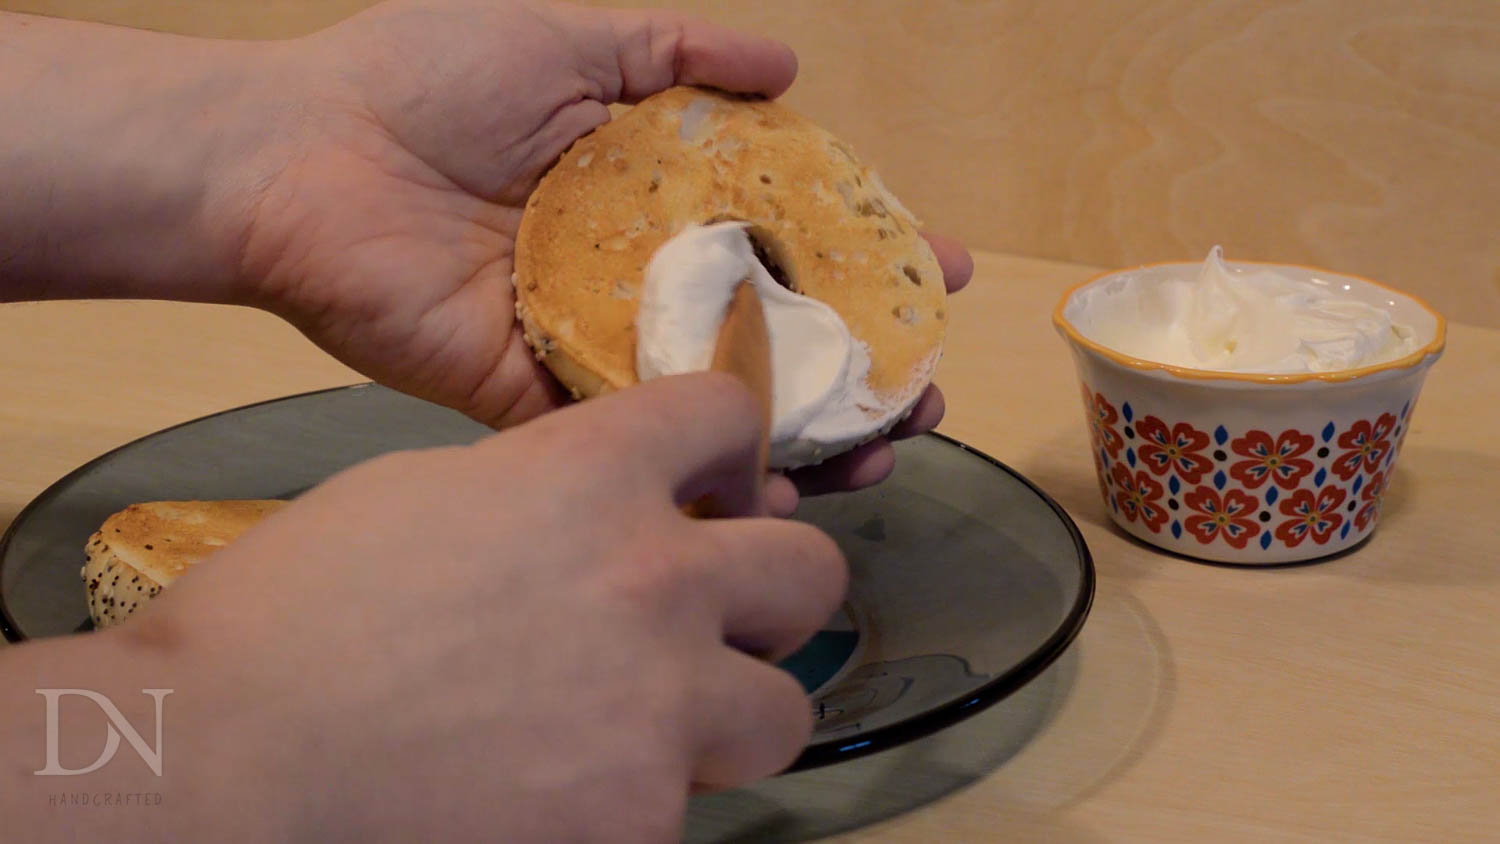
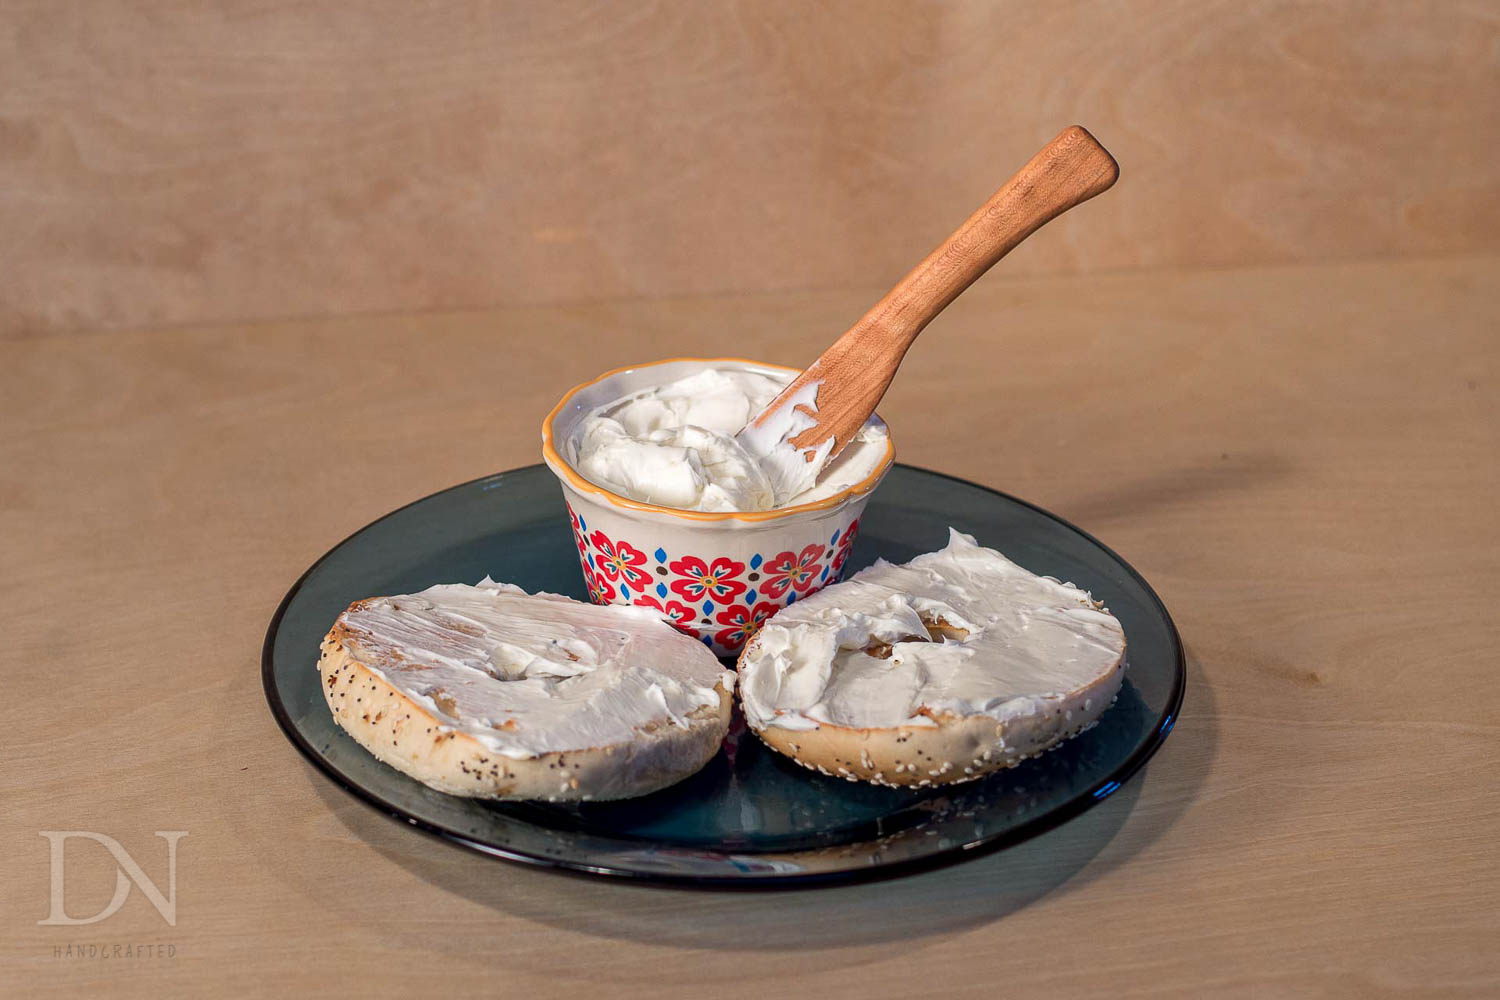
You might want to take them for a test drive with a toasted bagel, and a liberal amount of softened cream cheese… yum!
I hope you found this process simple enough to try it yourself. Next time you find yourself with a free hour, head out to your shop and make some butter knives!
Additional Photos